
Sculpting in Blender for Beginners
Learn sculpting in Blender for beginners with key brushes, workspace setup, and dynamic topology tips to start your 3D sculpting journey.
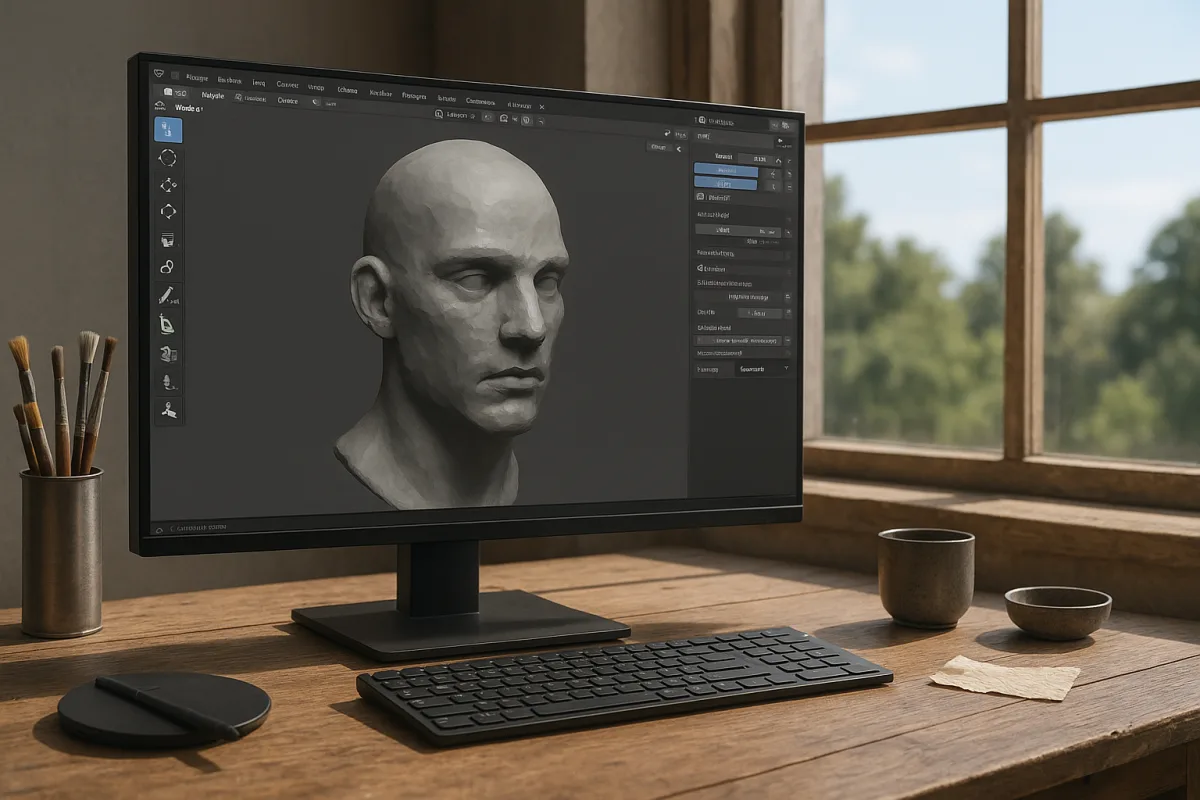
The first problem: the mesh does not behave like clay
Open the Sculpting workspace in Blender 5.2 LTS rather than trying to assemble a sculpting layout from the standard Layout tab. Blender places the relevant brush tools in the left toolbar and exposes the settings you need most often. [3][12]
Before sculpting, apply the object’s scale with Ctrl+A, then Apply Scale. A non-uniformly scaled object can make brush radius and deformation feel inconsistent, which is a miserable problem to diagnose once you are already making forms. [3][4]
For a first sculpt, do not begin with a detailed character mesh downloaded from somewhere else. Use a simple sphere, or another primitive with enough geometry to deform, and make the exercise about reading volume rather than rescuing topology.
The useful beginner goal is not a finished creature, portrait, or production asset. It is a convincing large form, such as a lopsided rock, a simple head-like mass, or a padded shape that still reads clearly from several angles.
Learn the controls that interrupt your hand the least
In Blender 5.2 LTS Sculpt Mode, F changes brush size and Shift+F changes brush strength. Those two shortcuts matter because sculpting is a repeated cycle of changing scale, making a stroke, checking the silhouette, then changing scale again. [3][12]
Do not leave a brush at one size and try to solve every problem through repeated small strokes. Large brushes establish proportion, medium brushes clarify planes, and small brushes only belong after the larger decisions hold up.
Brush strength should change with the stage of the sculpt. The research brief recommends roughly 60 to 100 percent for broad blocking and 10 to 20 percent for detail, because strong small strokes tend to create visible surface bumps. [6]
That percentage range is a working starting point, not a law. A soft brush, a large radius, tablet pressure, and the mesh’s density all change how strongly a number feels, so judge the mark rather than trusting the slider.
The second problem: too many brushes, no clear job for any of them
Start with six brushes in Blender 5.2 LTS: Draw, Clay Strips, Inflate, Crease, Grab, and Smooth. Blender’s documentation and beginner guides consistently treat these as enough to establish the basic vocabulary without turning brush selection into procrastination. [2][3][7][12]
Use Draw when you need straightforward addition or subtraction of material. It is the plain sketching brush, useful for testing a ridge, building a mound, or cutting a shallow depression before deciding whether that feature deserves more deliberate treatment. [7][12]
Use Clay Strips when building broad, organic mass. Its layered marks are useful for constructing cheeks, muscle-like forms, rock strata, or folds, because it encourages you to add volume in overlapping passes rather than stamping isolated blobs. [2][7]
Use Grab for proportion changes. If a head is too narrow, a shoulder too high, or a silhouette too symmetrical, Grab solves the underlying shape without forcing you to rebuild the area through dozens of tiny Draw strokes. [7][12]
Inflate pushes the surface outward without the dragging character of some other brushes. It suits soft swelling forms, but it is easy to overuse, so make one controlled pass and rotate the model before adding another. [7]
Crease makes sharper folds, seams, and compressed transitions. It is most useful after the surrounding form already has volume, since a crease placed on a flat or undefined surface often reads as an arbitrary dark line instead of structure. [7][12]
Smooth is not a repair button. Blender sculpting guidance and Re:Form Blog’s discussion of lumpy sculpts both warn, in different terms, that excessive smoothing removes the very planes and edges that make a form readable. [6][12]
A good habit is to smooth only the specific artifact you can identify, then return to the constructive brush that describes the form. Smooth can soften noise, but it cannot tell you whether a cheekbone, fold, or ridge belongs there.
The third problem: the surface has too little, or far too much, geometry
Dynamic Topology, usually called Dyntopo, changes mesh density as you sculpt. In Blender 5.2 LTS, enable it with Ctrl+D when you need detail where you are working without manually subdividing the entire object first. [3][12]
For a beginner starting point, set Relative Detail to about 7 percent. Relative Detail bases density on screen pixels, whereas Constant Detail works in Blender units, so Relative Detail is generally easier to judge while learning through viewport feedback. [5][12][13]
Seven percent is not an optimum established by testing. It is a suggested entry point from the available beginner material, and the research brief found no consensus on a universal Dyntopo detail setting for every subject or computer. [5][13]
If the surface becomes faceted before you can make the form you want, increase density gradually. If Blender begins to lag, lower the detail demand, use fewer tiny strokes, or return to a larger brush instead of trying to force dense geometry through weak hardware.
Dyntopo is especially useful when you do not yet know where forms will land. It can concentrate geometry in the areas you sculpt, but the trade-off is irregular, unstructured topology and potentially heavier viewport performance. [11][12][16]
That makes Dyntopo a poor place to become precious about clean edge flow. Use it to discover forms and detail placement, then plan a cleaner topology route if the asset needs animation, controlled subdivision, or disciplined downstream texturing.
The fourth problem: Dyntopo solved exploration, but the asset needs structure
The Multiresolution modifier in Blender 5.2 LTS serves a different purpose from Dyntopo. It preserves a base mesh’s topology while allowing sculpted subdivision levels, making it better suited to refinement on a mesh whose broad structure is already planned. [11][12]
For an animation-ready character, start from a clean quad-based base mesh, then use Multiresolution to sculpt levels of detail while retaining that foundation. This is more controlled than treating an irregular Dyntopo result as production topology. [11][15]
The research brief suggests learning through Dyntopo first, then moving toward Multiresolution refinement. Read that as a workflow progression in your skills and asset planning, not a promise that every Dyntopo mesh can simply become clean Multires topology without preparation. [11][12]
This distinction is worth learning early because topology is not cosmetic. A sculpt can look good in one static view while still being difficult to deform, unwrap, subdivide predictably, or revise when someone asks for a proportion change.
The fifth problem: every detail stroke makes the sculpt worse
Lumpy work usually comes from asking a high-strength brush to do fine work. Re:Form Blog identifies excessive strength as a common cause, and the practical fix is to reduce intensity before trying to solve surface detail. [6]
Keep stroke speed and pressure as consistent as you can. Uneven speed, inconsistent pressure, and a changing brush radius all produce uneven deposits of material, which beginners often mistake for a mesh-resolution problem. [1][6]
Check the sculpt from the side and from above before adding more detail. If the silhouette does not work, a crease, pore, wrinkle, or sharp edge will only decorate the wrong underlying form.
Brush spacing, stroke method, falloff, and direction also affect the marks Blender produces. Do not change all of them at once, but inspect them when a brush seems to produce repeated dots, unwanted ridges, or an unexpectedly hard edge. [12][14]
Falloff is particularly important because it determines how abruptly a brush influence fades. A broad falloff is generally easier for shaping soft transitions, while a tighter falloff gives more localized control once the form is established. [12]
Use the default setup until you can name the problem you are fixing. There is no evidence in the research brief for a required beginner interface customization beyond using the Sculpting workspace and the basic brush shortcuts, so avoid copying elaborate layouts on faith.
The sixth problem: Blender slows down before the sculpt is useful
Blender’s official requirements list an 8 GB RAM minimum, though 32 GB or more is recommended for more complex work. The minimum CPU is a 64-bit quad-core processor with SSE4.2 support, while eight cores or more are recommended. [10]
For graphics hardware, Blender lists 2 GB VRAM and OpenGL 4.3 compatibility as a minimum. Its recommended class is 8 GB VRAM or more, with CUDA, OptiX, HIP, or Metal support depending on the platform. [10]
Those are requirements, not guarantees of smooth sculpting. Real performance depends heavily on Dyntopo density, viewport settings, other scene objects, texture load, and the scale of the sculpt, so budget hardware can still work if you control mesh density. [10]
When performance drops, do not immediately assume you need a new computer. First reduce Dyntopo density, stop adding microdetail, hide unrelated scene objects, and work at the lowest mesh complexity that still supports the form you are trying to make.
Build judgment before chasing completion time
There is no well-supported estimate for how long a beginner Blender sculpt should take. Available learning-time claims are general to 3D modeling rather than sculpting specifically, so treating a first sculpt as a timed benchmark would be misleading. [8]
Instead, repeat a narrow problem until you can see the cause and effect. Make a form with Grab, build it with Clay Strips, define one transition with Crease, then remove only accidental noise with Smooth.
That is slower than copying a finished tutorial pose, but it teaches the actual decision-making loop. You are learning to control density, silhouette, brush scale, and surface transition, which transfers to Blender 5.2 LTS and to sculpting tools beyond Blender.
Frequently Asked Questions
How do I start sculpting in Blender as a beginner?
Begin by opening Blender 5.2 LTS’s Sculpting workspace, which provides the necessary brushes and settings. Before your first stroke, apply the object’s scale with Ctrl+A to avoid inconsistent brush behavior. Start with a simple primitive like a sphere rather than a detailed mesh, focusing on creating convincing large forms rather than finished models.
What are the essential brushes for beginner sculpting in Blender?
The six essential brushes for beginners are Draw, Clay Strips, Inflate, Crease, Grab, and Smooth. Draw is used for adding or subtracting material, Clay Strips builds broad organic mass, Inflate pushes surfaces outward, Crease creates sharp folds, Grab reshapes the mesh, and Smooth refines surfaces.
How do I use dynamic topology in Blender sculpting?
Enable Dynamic Topology (Dyntopo) to allow the mesh to adaptively add detail as you sculpt. A recommended starting point is about 7% Relative Detail for early form exploration. Monitor viewport performance and lower detail or simplify your approach if the system becomes sluggish.
What shortcuts help with sculpting in Blender?
Two important shortcuts are F to change brush size and Shift+F to adjust brush strength. These shortcuts help you quickly modify brush settings without interrupting your workflow, allowing you to switch between large strokes for blocking and smaller strokes for detail efficiently.
How do I prepare my mesh before sculpting in Blender?
Before sculpting, apply the object’s scale by pressing Ctrl+A and selecting Apply Scale. This ensures brush radius and deformations behave consistently. Also, start with a simple primitive mesh that has enough geometry to deform rather than a complex or downloaded character mesh.
How we researched this
This article was assembled from 16 cited references.
Nothing here is based on hands-on testing. Where a figure or finding appears, it belongs to the source cited beside it, and the writing says so rather than implying otherwise. Every source is listed below so you can check it.
Sources
- SculptStat: Statistical Analysis of Digital Sculpting Workflows
- Digital Sculpting in Blender 5.2: A Beginner's Guide
- Sculpting in Blender? Here's How to Start Without the - Toxigon
- Blender Interface Basics for Sculpting: Viewport, Modifiers, Materials and First Render | VK GameDev
- Sculpting in Blender — Blender 2 DA
- Why Your Sculpt Looks Lumpy (And How to Fix It) — Re:Form Blog
- Sculpting brushes explained: what each one does · Mixos
- How Long Does It Take to Learn 3D Modeling? (2026 Guide) | HowLongFor.com
- Sculpting Quick Start Guide for Absolute Beginners - BlenderNation
- Requirements — Blender
- Sculpting | Blender for Visual Investigation
- Sculpting - Blender 5.2 LTS Manual
- 2.8 Sculpting Resolution? - Blender Stack Exchange
- Stroke - Blender 5.1 Manual
- Basic Sculpting - Blender Fundamentals 4.5 LTS - Blender Studio
- https://wiki.blender.jp/Dev%3ARef/Release_Notes/2.66/Dynamic_Topology_Sculpting?utm_source=openai
Related Articles
Blender 5 Beginner Tutorial Series: Learn 3D Modeling Basics
Explore a Blender 5 beginner tutorial series that teaches 3D modeling, topology, lighting, and rendering with a focus on workflow dependencies.
Blender vs Nomad Sculpt for Beginners: Which to Choose?
Compare Blender 4.5 LTS and Nomad Sculpt to find the best 3D sculpting app for beginners based on workflow, hardware, and learning goals.

Blender Ergonomics for Beginners: Safe Setup and Breaks
Learn Blender ergonomics for beginners with tips on posture, breaks, and workspace setup to work safely and comfortably.
Sculpting Software for Beginners: Blender vs Nomad Sculpt
Learn how to choose the right sculpting software for beginners by comparing Blender and Nomad Sculpt features, ease of use, and workflow fit.