
Blender 5 Beginner Tutorial Series: Learn 3D Modeling Basics
Explore a Blender 5 beginner tutorial series that teaches 3D modeling, topology, lighting, and rendering with a focus on workflow dependencies.
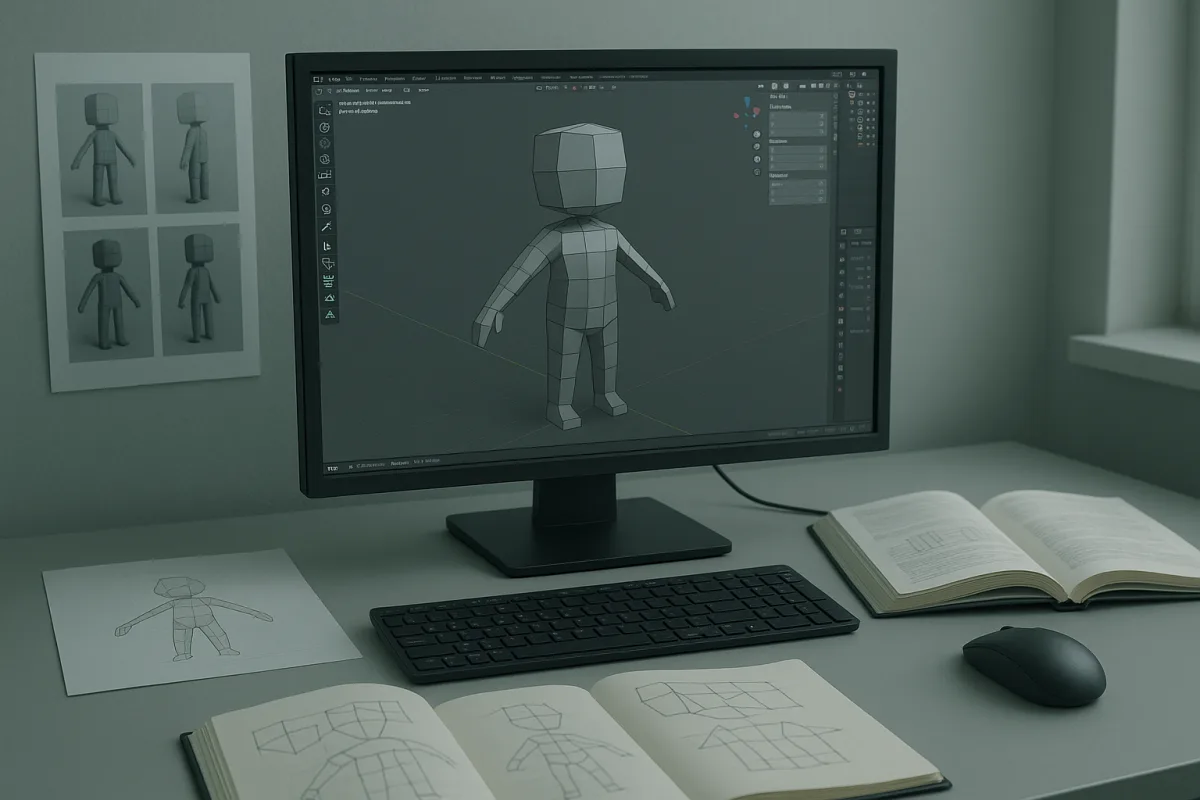
A Beginner Tutorial Series Is Really a Dependency Graph
A structured Blender beginner series is not valuable because it tells you which buttons to press in the right order. It is valuable because 3D work has dependencies.
You cannot sensibly diagnose a bad render until you understand materials, lights and the camera. You cannot make a believable material until you can manage object scale and UVs. You will have a hard time fixing a sculpted character if you do not yet recognise why its topology will not deform. And procedural tools such as Geometry Nodes become much less mysterious once you understand what vertices, edges, faces and attributes actually are.
That is the one idea worth getting right when choosing a Blender beginner tutorial series: learn in an order where each stage gives the next stage something useful to work with.
This matters especially in Blender 5.0 and newer. Blender 5.0, released in November 2025, brought a significant interface overhaul alongside smarter node tools and HDR support. Blender 5.2 LTS, released in July 2026, focuses more on performance and workflow refinements. [16][17] An older tutorial can still teach perfectly sound modelling or lighting theory, but its screen layout, menus and shortcuts may not match the Blender version in front of you. A beginner course is therefore not just a collection of projects. It is a map from the current interface to durable 3D concepts.
I am writing here with Blender 5.2 LTS in mind. If you are using Blender 5.0 or 5.1, expect small UI differences. If you are following a Blender 3.0-era tutorial, expect more than small differences.
Why the usual curriculum order works
Most respected beginner roadmaps converge on a sequence: interface basics, basic modelling, organic modelling or sculpting, materials and texturing, UV unwrapping, lighting, rendering, animation, then procedural work such as Geometry Nodes. [1][4][6] That agreement does not prove there is one correct curriculum. There is not. A doughnut project, an architectural house scene and a simple character teach different things well. But the sequence reflects the production pipeline.
Think of a finished render as a chain:
- A scene needs objects.
- Objects need usable forms.
- Those forms need surfaces.
- Surfaces need a way to place texture detail.
- The scene needs light and a camera.
- The renderer turns all of that into pixels.
Each link exposes problems in the one before it.
A beginner who models a mug, assigns a ceramic material, unwraps a label area, lights it with a window-shaped area light and renders it has not merely made a mug. They have encountered a miniature version of the whole asset-to-image process. The model needs sensible proportions. The bevel affects highlight width. The material needs roughness variation. The label needs UV space. The lighting determines whether the glossy glaze reads as ceramic or plastic. The camera decides what the viewer notices first.
That is why beginner projects are often modest. The famous doughnut-type exercise associated with Blender Guru is not valuable because a doughnut is a prestigious portfolio asset. It is useful because a small object can carry modelling, modifiers, shading, displacement, lighting and rendering without requiring a week of asset production. Blender Guru’s beginner material remains one of the widely recommended free starting points, alongside Blender.org’s official learning resources. [1][12]
The goal is not to collect projects. It is to build enough connected understanding that you can change the project.
If a tutorial says, “add a subdivision modifier,” pause long enough to ask what problem it solves. Subdivision creates a smoother limit surface from a coarse control cage. It costs geometry, memory and viewport performance as levels rise. It can also reveal bad topology, because a pole in the wrong place or an unsupported hard corner becomes obvious when the surface smooths. You do not need to master topology on day one, but you do need to see that the modifier is not decorative. It changes how the mesh behaves.
The first dependency: transforms before detail
The most common early modelling mistake is to begin detailing an object before its basic dimensions and transforms are under control.
In Blender, an object has mesh data and object-level transforms. Scaling an object in Object Mode changes the object transform, while editing vertices in Edit Mode changes the mesh itself. That distinction becomes important as soon as you use bevel widths, procedural textures, array spacing, physics or texture coordinates. Non-applied scale can make an apparently identical bevel look different from object to object.
This is not a law that demands you apply scale every time you touch a model. Leaving transforms live is often useful during blockout. It is a working habit, not a rule. But before you judge a bevel, unwrap for a consistent texel density, or rely on dimensions in a scene, know whether the object’s scale is doing hidden work.
A good tutorial series returns to the same principle through several projects. First, you use primitive shapes to learn selection and transforms. Later, you use the same controls to establish the silhouette of furniture, a room or a character. The interface actions repeat, but the reason becomes clearer.
That repetition is a feature. New users often interpret it as boring because they want to get to sculpting, explosions or photorealism. In production, however, the unglamorous habits are what make later work controllable.
Topology is a cost-management system
Topology is where many beginner series either become too abstract or teach a damaging shortcut. The practical definition is simple: topology is the arrangement of vertices, edges and faces that describes a mesh.
Its purpose depends on the asset.
For a still-life render of a bottle, topology mainly needs to support the silhouette, clean shading and any needed subdivision. For an animated face, edge flow around the mouth, eyes and jaw matters because those areas must deform. For a game asset, polygon budget and UV efficiency matter more sharply. For a sculpt intended only to become a static concept render, a dense mesh may be entirely reasonable.
So “all quads” is not a complete topology lesson. Quads are often helpful because subdivision and deformation tend to behave predictably with them. But triangles are not automatically wrong, and an N-gon is not a moral failure. The issue is whether that face layout causes shading artifacts, pinching, unpredictable subdivision or bad deformation in the context of the asset.
Beginner guidance consistently flags careless N-gons, poor edge flow and uncontrolled triangle use as common causes of technical trouble. [14] The useful lesson is not to fear these face types. It is to learn to inspect the result under smooth shading, subdivision and directional light.
A simple example is a hard-surface cube with a round hole cut into one side. A beginner may concentrate entirely on making the hole. A more useful question is what happens after smoothing. Do the surrounding edges hold their intended shape? Does the highlight travel cleanly over the surface? Is the geometry dense enough near the opening to support the curve, but not so dense everywhere that editing becomes tedious?
That is topology as a production decision. Every additional edge loop has a cost. It can improve control locally, but it adds complexity to later edits, UVs, modifiers and possible deformation.
Sculpting comes after basic mesh literacy for a reason
Sculpting can feel more immediate than polygon modelling, especially to someone coming from drawing or clay. Blender has capable sculpting tools, and Dynamic Topology can add detail where the brush needs it rather than requiring a uniformly dense base mesh. The Blender Manual describes adaptive sculpting as dynamically refining topology during the sculpting process. [19]
But Dynamic Topology is not a substitute for understanding meshes.
Common beginner failures include trying to sculpt an object that is not an editable mesh, working with too little mesh density for the brush to make a visible mark, and mixing Dynamic Topology with a Multiresolution workflow without understanding the consequences. [14][15] The symptoms are familiar: a brush appears to do nothing, detail becomes lumpy, or an otherwise clean base mesh turns into difficult geometry.
There are two broad paths here.
A multiresolution workflow starts with a well-organised low-resolution mesh, then adds subdivision levels for increasingly fine detail. It is useful when the base form and later subdivision structure matter, particularly for characters that may need clean retopology or controlled forms.
A Dynamic Topology workflow adds and changes topology as you sculpt. It is useful for exploratory forms, damaged surfaces, rocks, creatures and concept work where freedom matters more than preserving a carefully planned cage.
Neither workflow is universally better. The mistake is treating them as interchangeable. A tutorial sequence should teach basic modelling first so that, when you move into sculpting, you can identify whether you need more resolution, a different remesh approach, or a different asset strategy altogether.
For production character work, Blender sculpting may also be only one stage. ZBrush remains a specialist option for high-density sculpting. Nomad Sculpt can suit tablet-based sketching. Substance tools are typically a better fit for texture authoring than trying to paint every surface decision directly in a DCC. Those are not reasons to leave Blender immediately. They are reminders that “learning 3D” is bigger than learning one application.
Rendering is where earlier decisions become visible
Lighting and rendering belong later in a beginner series not because they are advanced luxuries, but because they reveal the quality of everything before them.
A flat grey model under one light can tell you whether the silhouette works. A glossy material under a large area light tells you whether your bevels are credible. A rough material under a high-contrast HDR environment can reveal stretched UVs, bad normal smoothing and over-sharp procedural texture scale.
Blender 5.0’s HDR support makes current colour and display workflows an important version-specific consideration. [16] But the core lesson does not change with the UI: lighting is not simply making a scene brighter. It establishes form, material response, contrast and visual hierarchy.
A beginner should therefore avoid treating render settings as a final export checklist. Samples, denoising and resolution affect render time and image quality, but they cannot repair an unconvincing material or a light placed without purpose. Render a small preview first. Ask whether the object reads. Then spend more computation only when the scene deserves it.
The same principle transfers directly to Marmoset Toolbag for presentation renders, Houdini for procedural scene building, or any renderer paired with Plasticity-generated CAD-style forms. The interface changes. The relationship between form, surface and light does not.
Choosing structure without mistaking it for certainty
A complete beginner series commonly contains roughly six to 15 hours of video, though completion time varies wildly because pausing, rebuilding and troubleshooting are part of learning. [2][3] A six-hour playlist may take a careful beginner far longer than six hours. There is no credible single figure for how many weekly hours people spend learning Blender, and there is no evidence for one curriculum that works best for everyone.
Free options include Blender Guru’s YouTube material, BlenderNation’s curated learning links and official Blender.org resources. [1][3][12] Coursera offers a project-based Blender learning roadmap, while Udemy hosts long-form courses such as Complete Blender 2026: From Beginner to Studio-Ready with AI. [4][6] Udemy courses are often discounted to under $20 and commonly include lifetime access, but sale prices change, so treat that as a typical offer rather than a fixed price. [6] Coursera pricing can also vary by location and subscription arrangement. [4]
The right choice is less about branding than about the project type and teaching style you can sustain. A house scene teaches scale, architectural modelling, materials and interior lighting. A stylised object teaches clean shapes, modifiers and presentation. A character exercise teaches anatomy, sculpting and deformation concerns. No single one covers the entire craft.
If English-language instruction is a barrier, community support can matter as much as the course itself. Regional groups including Blender Hoy for Spanish speakers, Blender Greece, Blender Malaysia and Blender Turkey offer places to ask version-specific questions and compare workflows. [18] There is not strong evidence that any particular regional community improves outcomes, but having somewhere to ask why a current Blender menu does not match a 2022 tutorial can remove a very practical obstacle.
Finally, do not treat recommended hardware as an entry fee. Blender’s published requirements and workstation guidance often point toward an 8-core CPU, 32 GB of RAM and a GPU with 8 GB of VRAM for a more comfortable experience, but that is above the minimum viable setup and out of reach for many beginners. [12][13] Start with what you have, keep scenes small, and understand that slow viewport performance changes the pace of practice, not your right to learn.
A structured tutorial series works when it gives every new skill a reason to exist. Model simple forms so you can understand topology. Learn topology so your subdivision and sculpting make sense. Learn UVs and materials so surfaces can carry believable variation. Learn lighting and rendering so you can see the consequences of every earlier decision. Once that chain is familiar, Blender stops being a large collection of panels and becomes what it should be: one practical tool in a wider 3D craft.
Frequently Asked Questions
What is the best order to learn Blender 5 as a beginner?
A common and respected learning sequence starts with interface basics, followed by basic modeling, organic modeling or sculpting, materials and texturing, UV unwrapping, lighting, rendering, animation, and finally procedural workflows like Geometry Nodes. This order reflects the production pipeline and ensures each stage builds on the previous one’s concepts and skills.
How do Blender 5.2 interface changes affect beginners?
Blender 5.0 introduced a major interface overhaul that significantly changed the beginner experience, making older tutorials less directly applicable. Blender 5.2 LTS focuses on performance and workflow refinements, so beginners using 5.2 should expect some differences in screen layout, menus, and shortcuts compared to earlier versions, requiring tutorials that map current UI to core 3D concepts.
Why is learning transforms important in Blender 5 modeling?
Transforms control an object’s position, rotation, and scale at the object level, separate from mesh edits. Understanding transforms is crucial because non-applied scales or rotations can affect modifiers, texture coordinates, and physics, leading to unexpected results. Early mastery of transforms helps maintain control over the model throughout the workflow.
How does topology affect sculpting and rendering in Blender 5?
Topology—the arrangement of vertices, edges, and faces—directly affects how a mesh deforms during animation and how it appears when subdivided or shaded. Poor topology can cause shading artifacts and deformation problems, especially in sculpting and character animation, making it essential to manage mesh structure properly for the asset’s intended use.
What are the key dependencies in a Blender 5 beginner tutorial series?
Key dependencies include understanding objects and their transforms before adding detail, learning materials and lighting only after grasping basic modeling, and knowing UV unwrapping before texturing. Each step depends on mastering the previous concepts to build a coherent workflow that supports troubleshooting and creative flexibility.
Sources
- Blender Guru
- Free Video: Blender Complete Beginner Tutorial Series from YouTube | Class Central
- Blender Complete Beginner Tutorial Series - BlenderNation
- Blender Learning Roadmap: From Beginner to Expertise (2026) | Coursera
- The 40 Most Popular Udemy Courses by Sales in 2024
- Complete Blender 2026: From Beginner to Studio-Ready with AI
- Blender Guru - Blender 3.0 tutorial for beginners
- Beginner Blender Tutorial (2026) – Blender.fi
- Beginner Blender Tutorial | BlendAtlas
- Best 3D Modeling Courses Online (2026): Blender-First Picks
- Best Blender Courses Online 2026
- Requirements — Blender
- Hardware Recommendations for Blender | Puget Systems
- Why Is My Sculpting Not Working In Blender – Common Problems And Fixes – The Crafts And Kitchen
- Blender 2.8 Why is Dyntopo Not Working? Top Fixes Explained
- Blender 5.0 Released with a UI Overhaul, Smarter Nodes, and HDR Support: Upgrade Guide
- Blender 5.2 LTS - 3D Architettura. Digital Architecture Magazine
- Blender Learning Guide
- Adaptive Sculpting — Blender Manual
Related Articles
Sculpting in Blender for Beginners
Learn sculpting in Blender for beginners with key brushes, workspace setup, and dynamic topology tips to start your 3D sculpting journey.
Master Blender Modeling: Contact Lens Case Tutorial with Christopher 3D
Learn Blender modeling tips from Christopher 3D's tutorial on creating a contact lens case for 3D printing. Master five primary tools like bevel and knife, alongside five secondary tools for precise mesh manipulation. Elevate your skills in subdivision surfaces and quad formation.

Mastering Anisotropic Reflections in Blender 4.3
Explore the world of anisotropic reflections in Blender 4.3 with Christopher 3D. Learn how to control bias and direction for realistic 3D renders.
Blender Architectural Visualization Workflow
Learn the Blender architectural visualization workflow: import CAD, model accurately, set scale, and create realistic materials and lighting for renders.