
How to Use Grease Pencil in Blender: A Practical Guide
Learn how to use Grease Pencil in Blender with tips on drawing, animation frames, brush settings, and onion skinning for effective 2D/3D workflows.
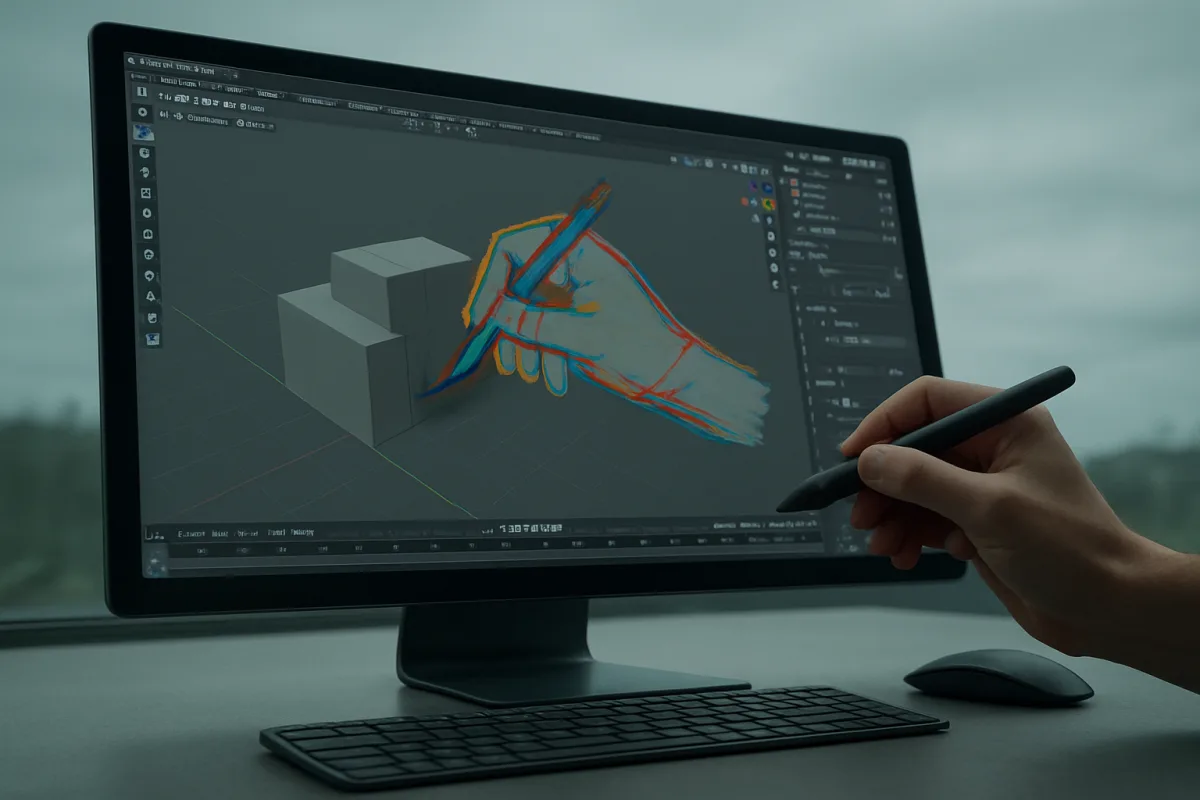
Check your Blender version before following a tutorial
Grease Pencil has changed enough between Blender 4.3, 5.0, and 5.2 LTS that older tutorials can be technically correct while still looking wrong on your screen. I would name the version in every production file note, especially if you are collaborating.
Blender 4.3, released in 2024, brought a major Grease Pencil rewrite. It introduced layer groups, a brush asset system, smaller files, and multithreaded processing, while also changing the way Draw tool radius units behave. [6]
Blender 5.0 added tools that matter once you begin refining animation rather than merely sketching: a Curve Data panel, a Pen tool, Bézier and Catmull-Rom interpolation, new corner types, and Grease Pencil motion blur rendering. [6]
This guide uses Blender 5.2 LTS, released in 2026. Its Grease Pencil tools include updated bundled brush assets, a curve-type setting in the Draw tool, a Delaunay fill solver, and additional material rendering modes including Dots and Squares. [4]
That matters because a tutorial may tell you to find an old brush menu, then you find an asset shelf instead. Do not assume you have misconfigured Blender. First check whether the instructor is using a pre-4.3 build.
Make a drawing object, not just a new file
Open Blender 5.2 LTS and begin from a normal scene. You can delete the default mesh objects if they distract you, but leaving the camera and light is useful if you expect to combine drawing with 3D later.
Press Shift+A, choose Grease Pencil, then choose Blank. This creates the object that stores your strokes, layers, materials, and animated drawing frames. You are not drawing directly onto the world in the way a bitmap paint program works.
With the Grease Pencil object selected, switch the mode selector from Object Mode to Draw Mode. Blender then exposes drawing tools, brush assets, material controls, layer controls, and the canvas behavior needed to place strokes. [4]
The first common stumbling block is drawing nothing because the object is not selected, the mode is still Object Mode, or the active layer is unavailable. Before troubleshooting brushes, check those three things in that order.
You will see a timeline at the bottom of the default workspace. Treat that timeline as part of the drawing surface. In 2D animation, a drawing on frame 1 and a drawing on frame 20 are separate pieces of artwork, even if they look similar.
Set timing before you make twenty drawings
Set the frame rate in Output Properties before serious animation begins. Frame rate determines how quickly timeline frames play back, so changing it after drawing can change the apparent timing of your work. [4]
There is no single correct frame rate supplied by the Grease Pencil documentation. Pick the rate required by the destination, then animate consistently at that rate rather than trying to repair timing during export.
Go to frame 1 and make your first drawing. Move the playhead to a later frame and draw again to create another animation drawing frame. This straightforward frame-by-frame workflow is the foundation before you reach for interpolation. [5]
If you need to explicitly insert a keyframe, use the I key in the relevant context and choose the appropriate keyframe type. Manual keyframe insertion is useful when you need Blender to hold, change, or record a property at a specific frame. [5]
For a held pose, leave the drawing visible across several timeline frames instead of redrawing it unnecessarily. For a new pose, create a new drawing frame at the point where the change should happen. That distinction keeps exposure timing readable.
A good early exercise is a ball moving across the frame in three or four poses. It reveals whether you understand layers, drawing frames, and playback timing before the subject matter becomes complicated enough to hide those basic problems.
Get a clean line without treating brush settings as rules
Choose a brush asset in Blender 5.2 LTS, then make a page of test strokes before beginning the actual shot. Brush choice controls the character of the mark, but stroke size, strength, and smoothing determine whether it behaves predictably in your hand. [4]
Increase radius when a stroke should read as a broad graphic shape, not merely because the line looks faint. Increase strength when you need more visible opacity or density. These controls solve different visual problems, and treating them as one setting causes muddy lines.
Use smoothing when your hand motion produces unwanted wobble, especially on long arcs and outlines. Too much smoothing can make a drawing feel delayed or overly mechanical, so set it by testing a curve, a corner, and a short detail line.
There is no documented best preset for smooth Grease Pencil strokes. Official documentation and community guidance describe the relevant settings, but the suitable balance depends on whether you are making loose thumbnails, clean cut-out animation, or sketchy linework. [4]
This is a habit, not a rule: separate rough construction lines from final lines on different Grease Pencil layers. It gives you somewhere to solve proportion and motion without repeatedly damaging a cleaner contour.
Layer groups, introduced with the Blender 4.3 Grease Pencil rewrite, help organize that structure on larger scenes. [6] A practical arrangement might be rough, clean line, fill, and effects, with names that explain the layer’s job rather than its color.
Use onion skinning to judge motion, not to trace every frame
Turn on Onion Skinning when you need to see neighboring drawings while working on the current frame. It helps reveal spacing, changing volume, and accidental pops that are easy to miss when viewing one isolated drawing. [4]
Onion skins are most useful for checking the path of a moving feature. Watch the nose of a character, the tip of a swinging arm, or the edge of a rolling object. Those landmarks make timing errors obvious quickly.
Do not let onion skins turn every frame into a rigid trace of the last one. Some drift is an animation problem, but some variation is simply the character of hand-drawn work. Decide which one you are looking at.
When you need Blender to generate changes between keyed states, Blender 5.0’s interpolation tools can use Bézier or Catmull-Rom support. [6] Use those tools after establishing clear key poses, not as a replacement for understanding the movement you want.
For a first 2D exercise, frame-by-frame drawing will teach more than automatic interpolation. Interpolation becomes valuable when a drawing or property genuinely needs a controlled transition, especially in a motion-graphics or hybrid 2D and 3D setup.
Do not invent a canvas resolution rule
New users often ask which canvas dimensions are best for Grease Pencil. Blender’s documentation does not establish an authoritative standard canvas size or resolution for Grease Pencil animation, so do not copy a number just because it appears in a tutorial. [4]
Instead, decide where the work will be rendered or viewed, then test the line thickness at that output. A line that feels substantial in a close viewport can disappear when the camera is farther away or the final image is reduced.
Blender’s canvas options are drawing aids, not a universal delivery-resolution system. Use a canvas plane when it helps you establish orientation and placement, but judge the result through the active camera when the work belongs in a rendered shot. [4]
This is particularly important in 3D scenes. A drawing may look centered in a front viewport yet sit at the wrong depth, face sideways, or fall outside the camera’s composition once you return to the actual render view.
Put Grease Pencil into a 3D scene carefully
Grease Pencil is useful when a shot needs a drawn annotation, a hand-made effect, or a flat animated character inside a modeled scene. It is not a replacement for every surface, and it will not automatically inherit all the behavior of a shaded mesh.
To attach a drawing to a moving object, parent the Grease Pencil object to that 3D model. Parenting gives the drawing the model’s transforms, which is generally more reliable than attempting to re-place the drawing by hand on every animated frame.
Before drawing, establish the canvas orientation that matches the intended plane of the shot. Misaligned strokes are a common failure point, because a line drawn from one view can appear edge-on or offset when viewed from the camera.
Stroke materials also need deliberate look development. Adjust them to suit the scene’s palette and lighting direction, but remember that Grease Pencil strokes do not automatically behave like physically shaded meshes with full light and shadow interaction.
If a line must feel embedded in a 3D shot, evaluate it in the final render engine and camera view. Blender 5.0 added Grease Pencil motion blur rendering, which can help fast animated strokes belong to a moving shot. [6]
Keep performance under control as drawings get denser
Grease Pencil can become heavy when scenes accumulate dense strokes, many animated frames, layered fills, and complex 3D context. Blender 4.3 improved Grease Pencil performance through multithreading, making better use of available CPU resources. [6]
That improvement does not make stroke density free. If playback degrades, first identify whether the problem is excessive detail, too many visible layers, or a scene that combines costly 3D geometry with costly drawn elements.
The sensible first optimization is often artistic: simplify marks that do not survive at camera distance. A clean silhouette and intentional line hierarchy generally carry more than thousands of tiny points hidden inside an already readable shape.
Blender’s published minimum requirements include 8 GB of RAM, a GPU with at least 2 GB of VRAM supporting OpenGL 4.3 or Vulkan 1.3, and SSD storage for larger files. Blender recommends 32 GB of RAM for more demanding work. [1]
Those are application requirements, not a promise that every Grease Pencil production will play smoothly on minimum hardware. Complex animated drawings can still need more memory, particularly when combined with high-detail 3D scenes and rendered output.
Finally, save versioned copies before upgrading a project. Grease Pencil’s 4.3 rewrite and later 5.0 and 5.2 LTS tool additions mean that a file can open successfully while its brush workflow, available controls, or tutorial instructions no longer match exactly.
Frequently Asked Questions
How do I create and animate drawings with Grease Pencil in Blender?
Start by creating a Grease Pencil object via Shift+A Grease Pencil Blank in Blender 5.2 LTS. Switch to Draw Mode to access drawing tools and make strokes on deliberate timeline frames. Animate by moving the playhead to different frames and drawing new frames; each drawing on a timeline frame acts as a separate animation frame. Use the I key to insert keyframes manually if needed.
What are the best brush settings for clean lines in Blender Grease Pencil?
There is no universal “best” brush setting for clean lines. Instead, adjust brush radius, strength, and smoothing based on your specific drawing needs. Increase radius for broader shapes, strength for opacity, and smoothing to reduce wobble, especially on long arcs, but avoid excessive smoothing to prevent delayed stroke response.
How do I set up and manage frames for Grease Pencil animation in Blender?
Set the frame rate in Output Properties before starting serious animation to ensure consistent timing. Draw your first frame at frame 1, then move the timeline playhead to later frames to create new drawings as animation frames. Use manual keyframe insertion (I key) when you need to hold or change properties precisely. For held poses, keep the drawing visible across multiple frames instead of redrawing.
How can I use onion skinning effectively with Blender Grease Pencil?
The article and research brief do not provide specific instructions or guidance on using onion skinning with Blender Grease Pencil.
What Blender version features are important for Grease Pencil workflows?
Blender 4.3 introduced a major rewrite with layer groups, a brush asset system, multithreading, and smaller file sizes. Blender 5.0 added tools like the Curve Data panel, Pen tool, Bézier and Catmull-Rom interpolation, and motion blur rendering. Blender 5.2 LTS includes updated brush assets, a curve-type setting in the Draw tool, a Delaunay fill solver, and new material rendering modes. Always check your Blender version before following tutorials, as features and interfaces differ significantly.
How we researched this
This article was assembled from 6 cited references.
Nothing here is based on hands-on testing. Where a figure or finding appears, it belongs to the source cited beside it, and the writing says so rather than implying otherwise. Every source is listed below so you can check it.
Sources
- Requirements — Blender
- Blender update adds a time-saving feature 3D artists dreamed of
- Blender Studio
- Settings - Blender 5.2 LTS Manual
- keyframes - Animation Frames - Blender Stack Exchange
- Blender 4.3: Grease Pencil - Blender Developer Documentation
Related Articles
Blender Rendering Settings for Animation: Best Practices
Learn the best Blender rendering settings for animation, including Cycles vs Eevee, samples, output formats, and hardware optimization tips.
Particle Systems in Blender
Learn how to use particle systems in Blender for grass, fur, and effects with hair and emitter particles, grooming, and density control.
Master Blender Modeling: Contact Lens Case Tutorial with Christopher 3D
Learn Blender modeling tips from Christopher 3D's tutorial on creating a contact lens case for 3D printing. Master five primary tools like bevel and knife, alongside five secondary tools for precise mesh manipulation. Elevate your skills in subdivision surfaces and quad formation.
Mastering Anisotropic Reflections in Blender 4.3
Explore the world of anisotropic reflections in Blender 4.3 with Christopher 3D. Learn how to control bias and direction for realistic 3D renders.