
Best Practices for Rendering Animations in Blender
Learn the best practices for rendering animations in Blender, including sample settings, adaptive sampling, denoising, and output formats.
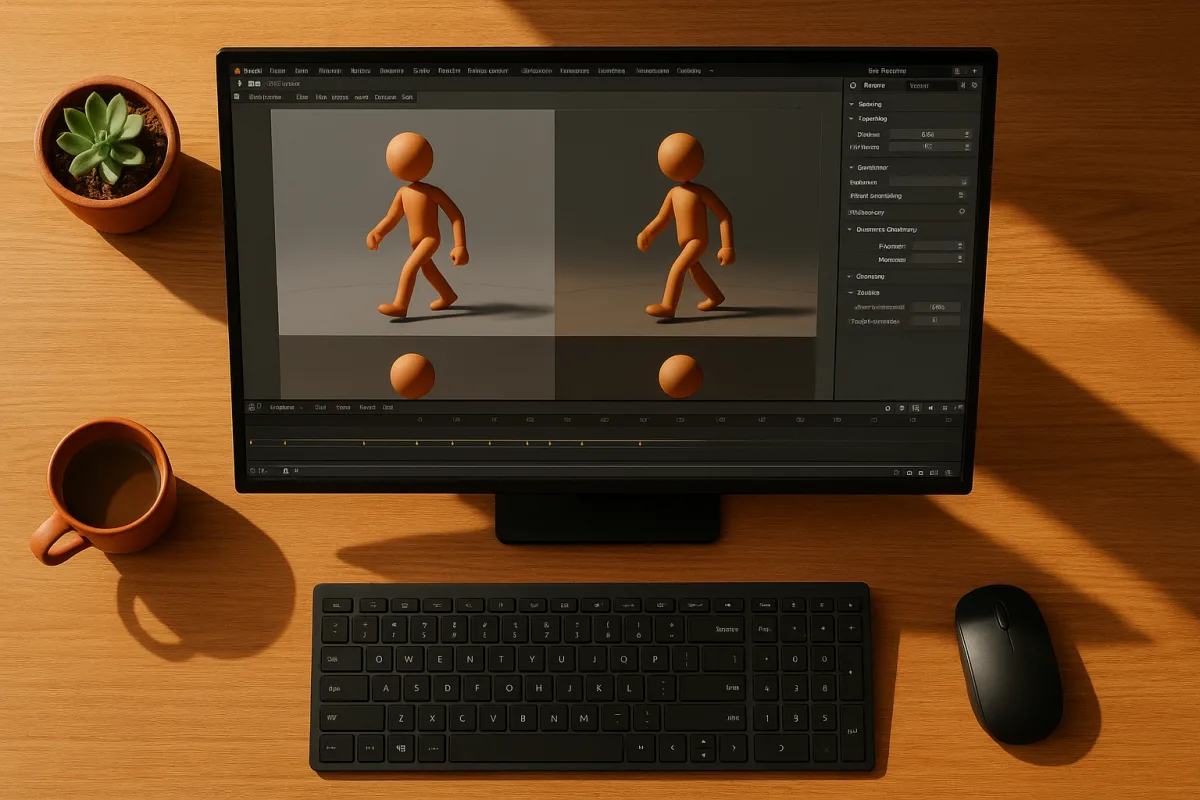
The setting that actually decides whether an animation holds together
In Blender 5.1, the render setting worth understanding properly is samples. It is easy to treat the number as a slider between “fast” and “good,” but that misses why an animation can look polished at frame 34 and fall apart at frame 35.
A sample is one attempt by Cycles to estimate how light reaches a pixel. Cycles traces paths from the camera into the scene, through surfaces and lights, then combines many noisy estimates into a final colour.
The render does not know the exact answer for a pixel after one path. It approximates that answer statistically. More samples mean more observations, which reduces random variation, but each additional improvement costs render time.
That cost does not fall in a neat straight line. Doubling samples from 64 to 128 gives the renderer twice the work, yet noise does not become half as visible in a simple, intuitive sense. Clean-up becomes progressively more expensive.
This is why there is no universal “best samples” number. Blender Studio’s production benchmark of 200 samples is useful precisely because it is a practical compromise, not a magic threshold. [4]
Other published guidance is wider. Bevelfish suggests 200 to 500 samples for animation, while RenderJuice argues that 64 to 128 can work when denoising is part of the pipeline. [5][6]
SuperRendersFarm recommends 256 to 512 samples, which may be appropriate for demanding scenes, but it also represents a substantial time commitment across hundreds or thousands of frames. [1] The disagreement is real, because scenes genuinely ask different things of the renderer.
Why one shot needs 64 samples and another needs 512
A broad, matte wall under a large soft light is cheap to solve. Most light paths are predictable, the colour changes gradually across the surface, and Cycles can reach a stable-looking result with comparatively few samples.
A glass perfume bottle beside a bright window is not cheap. Refraction, reflected highlights, transparent shadows and small intense light sources create rare but important paths. If Cycles misses those paths, the result appears as noise or isolated bright fireflies.
The difficult pixels are rarely spread evenly across the frame. They cluster around glossy edges, metallic reflections, caustic-looking highlights, volumetric light, hair, dense displacement and defocused areas. A clean background can disguise a noisy hero asset.
That is the practical meaning of a sample budget. You are not buying “quality” for the whole image. You are buying enough light-path information for the worst-behaved pixels in the shots your audience will actually notice.
Real-world scale affects this more than many animators expect. A scene built without plausible dimensions can produce lighting and depth behaviour that is harder to control, while poor lighting choices and unnecessary scene complexity are common causes of inefficient or poor renders. [14]
Small lights also deserve suspicion. A tiny emissive mesh may look like an appealing practical lamp in the viewport, but it can become a bright, noisy target for indirect rays. Enlarging the apparent source often produces softer, more stable lighting.
That is a lighting decision, not a render-settings trick. Raising samples can eventually overcome a difficult setup, but it charges every frame for a problem that may be better solved in the look-development pass.
Animation changes the standard from clean to stable
For a still, you can accept a little noise in a reflection if it reads as texture. In animation, random noise changes from frame to frame. The eye interprets that changing pattern as crawling, sparkling or flickering.
This is why a single rendered frame is a weak approval test. Render a short section with the camera moving, the character moving, and any reflective object crossing the frame. Those are the conditions that expose unstable sampling.
A static interior may look convincing at 64 samples with denoising. The same settings can fail when sunlight shifts across a polished floor, a character turns through depth of field, or a glass prop moves against a high-contrast background.
Do not increase samples blindly across an entire film because one shot flickers. That is a habit people develop under deadline pressure, not a rule. Find the shot, material, light or effect responsible, then decide whether more sampling is the sensible cost.
A useful starting point in Blender 5.1 is 128 to 200 samples in Cycles, adaptive sampling enabled, and denoising enabled. That sits within the broad 128 to 512 starting range reflected in Blender’s sampling guidance and industry recommendations. [13][1]
Then test the motion, not merely the render time. If the animation is stable, spending another 300 samples per frame may buy detail nobody sees. If it crawls, the answer may be samples, but it may also be lighting or material roughness.
Adaptive sampling is a better allocation of time
Uniform sampling assigns the same maximum effort to every pixel. That is simple, but inefficient. A flat blue wall and a complicated reflective watch face receive equal attention even though one settles quickly and the other does not.
Adaptive sampling changes that allocation. It lets Cycles stop working on pixels that appear sufficiently converged, while continuing longer on noisier areas. Blender’s documentation presents adaptive sampling and denoising as complementary ways to improve rendering efficiency. [13]
The important word is “appear.” Adaptive sampling uses a threshold to decide when variation is low enough. If the threshold is too permissive, difficult areas may stop early and retain visible noise, especially when the shot is in motion.
If the threshold is too strict, adaptive sampling approaches the cost of rendering everything to the maximum sample count. The efficient setting is not the lowest possible render time. It is the lowest time that remains visually stable at delivery size.
This is where animators need to think like look-dev artists. Approve settings under the final lighting, final camera lens, final motion blur and representative animation. A turntable under studio lighting tells you almost nothing about a dramatic sequence.
Denoising is not free quality
Denoising makes low-sample rendering practical because it identifies noise-like variation and reconstructs a cleaner image. iRender Render Farm estimates that AI denoising can cut render time by 50 to 70 percent while retaining useful visual quality. [8]
That is a compelling gain, but it is not an instruction to render every shot at the minimum. A denoiser cannot distinguish noise from meaningful detail with perfect certainty, particularly where texture, microgeometry and specular detail overlap.
Fine bump detail can soften. Hair can clump or disappear. A noisy metallic highlight can become waxy. In motion, a detail that appears acceptable in a still may pulse as the underlying sampling pattern changes between frames.
For Blender 5.1 workflows, OpenImageDenoise suits CPU rendering, while OptiX is the usual performance-oriented choice on supported NVIDIA GPUs. [1] The choice is fundamentally about available hardware and turnaround, not an artistic identity.
Blender’s denoising documentation also notes that the Accurate prefilter costs more processing time. [13] That trade-off matters when rendering a long sequence, because a modest per-frame penalty becomes substantial over a whole shot.
Use denoising as the finishing stage of a reasonably sampled render, not as a rescue operation for an under-sampled one. If the input is dominated by missing reflections, broken shadow detail or bright fireflies, reconstruction has too little reliable information.
Bounces and clamping change what samples must solve
Samples tell Cycles how often to estimate light. Bounces determine how far a light path is allowed to travel. These settings interact because deep indirect paths are expensive and can contribute noise long after their visual value has diminished.
SuperRendersFarm suggests diffuse bounces around four, rising to six or eight where needed, and transmission around 12, potentially 16 or higher for complex refractive scenes. [1] Glass-heavy shots may need those deeper paths, while ordinary opaque scenes often do not.
The right question is not whether a scene is physically capable of more bounces. It is whether the extra bounce changes the image enough to justify its render cost. A hidden interior reflection is not automatically worth a frame-time increase.
Clamping is another trade. Indirect-light clamping at 10 can suppress fireflies, while a value of zero preserves the physically accurate, unclamped result. [1] Clamping can therefore make a sequence cleaner faster, but it can also reduce legitimate extreme highlights.
I regard clamping as a production control, not a realism switch. If isolated fireflies are forcing a huge sample count, controlled clamping may be the more useful image. If bright indirect highlights are essential to the look, test before limiting them.
Choose the renderer before chasing numbers
Cycles is the appropriate choice when the animation depends on path-traced lighting, complex reflections, transmission or physically grounded indirect illumination. It gives samples their central importance because its image quality comes from repeated light-path estimation.
Eevee is a different proposition. CGVista characterises it as the real-time speed option, while Cycles targets high-quality realism. [3] If the required look works within Eevee’s approach, moving to Cycles simply because it sounds more serious is wasteful.
CGVista also describes Cycles X as substantially faster than older Cycles, with a claim of up to 50 percent faster performance while preserving quality. [3] The brief provides no like-for-like production benchmarks, so treat that as a directional claim, not a budget calculation.
Do not compare engines using only samples. Eevee and Cycles do not spend time solving the same image in the same way. Compare short, representative shots at the required delivery quality, then commit based on what the project needs.
Render for revision, not just first delivery
Sampling decisions affect compositing. Blender’s Render Layers system lets you organise scene elements through collections and enable only the passes required for the job. [13] That makes it possible to keep useful adjustment options without rendering every conceivable pass.
For a serious animation, EXR is preferable when compositing is planned because it preserves the data needed for grading and pass-based work. PNG is appropriate for final image delivery, while direct video rendering is best avoided. [1]
This matters because a small exposure adjustment in compositing can reveal noise that was hidden in the beauty render. If you intend to lift shadows, isolate reflections or alter a grade, test that treatment before locking the sample budget.
Hardware sets a hard boundary on these choices. Blender lists an eight-core CPU, 32 GB of RAM and a GPU with 8 GB of VRAM among its requirements guidance, but project complexity determines whether that capacity is genuinely sufficient. [11][10]
GPU rendering is generally faster when the scene fits supported GPU memory, while VRAM capacity directly limits how comfortably complex scenes can be handled. [10] A sample setting is meaningless if the scene cannot render reliably on the chosen device.
The working rule is simple: render enough samples to give the denoiser a trustworthy image, then prove the result in motion. The successful number is the lowest one that survives the actual shot, not the highest number somebody else used.
Frequently Asked Questions
What are the best practices for rendering animations in Blender?
Start with 128 to 200 samples using adaptive sampling and denoising, then increase samples only where tests reveal noise or flicker in animation. Judge render quality from moving sequences rather than single frames, as denoising and low samples can cause temporal instability. Also, address lighting and scene complexity before raising samples to avoid inefficient renders.
How many samples should I use for Blender animation rendering?
Sample counts vary depending on scene complexity. Blender Studio uses about 200 samples as a practical compromise, while other sources recommend ranges from 64 to 512 samples. Treat samples as a noise budget focused on difficult pixels, not a fixed quality setting.
How does adaptive sampling improve Blender animation renders?
Adaptive sampling helps allocate more samples to noisy or complex areas in each frame, improving efficiency by not oversampling simple regions. This approach reduces render time while maintaining image stability across animation frames.
Should I render animations as image sequences or video files in Blender?
It is recommended to render animations as image sequences, preferably in EXR format if compositing is involved. This approach provides greater flexibility and quality control compared to rendering directly to a video file.
What denoising options work best for Blender animation rendering?
Use OpenImageDenoise for CPU rendering and OptiX on supported NVIDIA GPUs to optimize denoising performance. However, inspect fine textures, hair, displacement, and motion carefully before trusting denoised results, as denoising can sometimes obscure important details.
How we researched this
This article was assembled from 14 cited references.
Nothing here is based on hands-on testing. Where a figure or finding appears, it belongs to the source cited beside it, and the writing says so rather than implying otherwise. Every source is listed below so you can check it.
Sources
- Blender Render Settings: Cycles & Eevee Guide (2026)
- How to Speed Up Blender Render Times
- Real-time Speed (Eevee) vs High-Quality Realism (Cycles): Complete Blender Renderer Comparison - CGVista Resources
- Blender's own studio renders at 200 samples
- Blender Rendering Settings for Animation: Best Practices
- Blender Renders Acting Up? Let's Fix That - Toxigon
- Optimize Render Settings in Blender - Blender Base Camp
- AI Denoising for Rendering: How OptiX, OIDN & NLM Cut Your Render Time by 70% | iRender Render Farm
- How AI Is Changing 3D Rendering Workflows in 2026 — 3DStuff
- 3D Animation & Blender Rendering Workstation Guide
- Requirements — Blender
- Lighting & Rendering Theory Cycles and EEVEE - Blender Fundamentals 4.5 LTS - Blender Studio
- Introduction - Blender 5.1 Manual
- Common Mistakes in Blender Video Production | 2026 Guide
Related Articles

Optimize Blender for Faster Rendering: Key Settings and Tips
Learn how to optimize Blender for faster rendering with GPU use, adaptive sampling, denoising, and bounce settings for efficient Cycles renders.
Blender Rendering Settings for Animation: Best Practices
Learn the best Blender rendering settings for animation, including Cycles vs Eevee, samples, output formats, and hardware optimization tips.
Best Lighting Techniques for Blender Rendering
Discover the best lighting techniques for Blender rendering using Cycles and Eevee to create realistic, well-shaped 3D models.
Blender Rendering Time Comparison: Engines Explained
Explore Blender rendering time comparisons across various engines like Cycles and Eevee to find the best fit for your projects.