
Blender Animation Storytelling Workflow
Learn Blender animation storytelling workflow using Grease Pencil, shot timing, camera moves, and scene building for clear narrative animation.
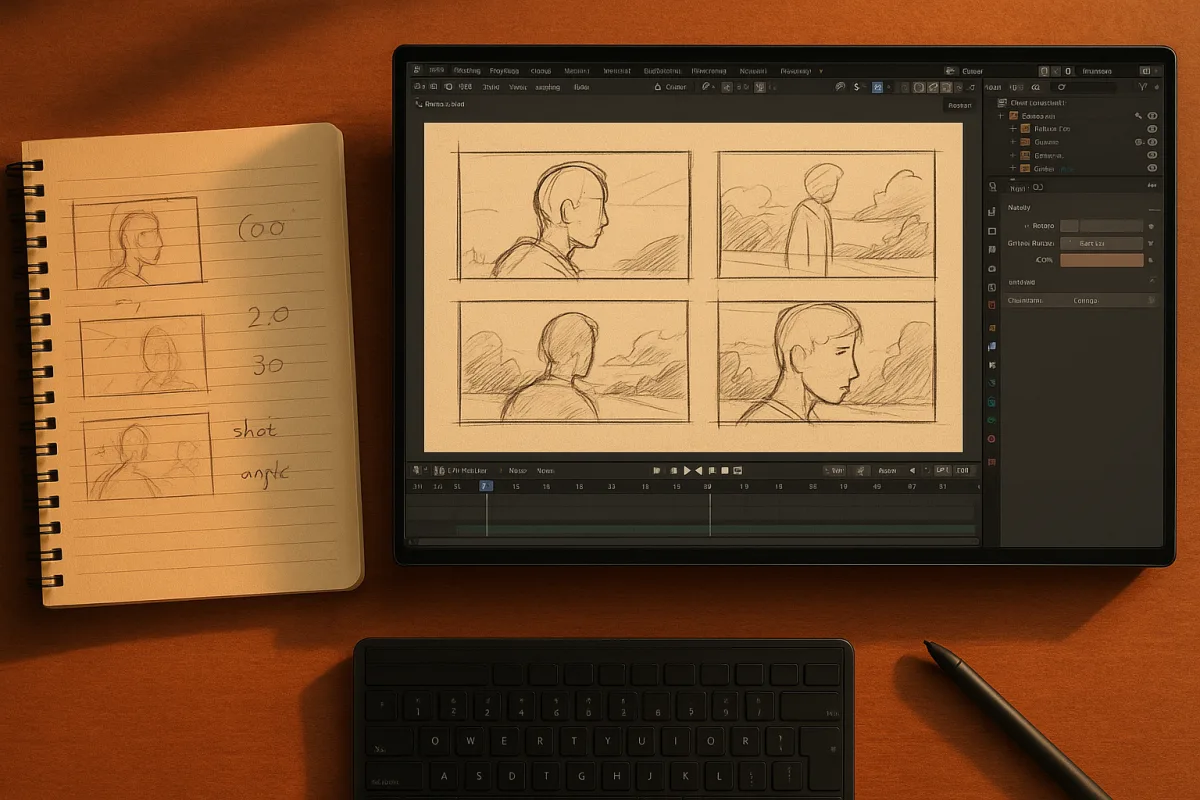
Solve the story before you build the scene
The first problem is usually not animation technique. It is discovering, halfway through modelling, that the scene has no readable change. Before opening a character rig, write the shot in terms of what the viewer should understand at its beginning and end.
For example, “a character enters a room” is an action, not a beat. “A character enters confidently, notices evidence of danger, then stops” contains a change of state. That change tells you where the camera, pose, lighting and cut need to land.
In Blender 5.0, I would begin with Grease Pencil because it keeps the planning inside the same 3D space where the final scene may live. Blender’s storyboarding workflow combines drawing, layout and editing rather than forcing an early handoff between separate applications. [7]
This is particularly useful when the location matters to the joke, reveal or emotional turn. A flat storyboard can establish composition, but a rough 3D blockout immediately exposes whether a doorway hides the character, a prop blocks the reveal, or the camera has nowhere believable to move.
Board the shot in three dimensions, not after modelling
Make a separate Grease Pencil layer for each narrative job: environment lines, character silhouettes, props, arrows for movement and notes for dialogue or sound. Layers and colours are not merely organisational niceties. They let you hide visual noise while judging the information the frame communicates. [1]
Use simple boxes, cylinders and planes for the world underneath. Do not wait for clean topology. At this stage, the useful question is whether the character reads clearly against the background, not whether the chair has a production-ready bevel.
Grease Pencil allows drawings directly over 3D models, so you can sketch a pose or a proposed camera framing over crude geometry. It also supports parenting strokes to 3D objects, which is useful when a note, motion path or drawn effect must stay attached to a moving prop. [1]
Onion skinning is where a storyboard becomes an animatic. Draw the key poses, then inspect the preceding and following drawings to see whether a handoff, head turn or reveal has enough separation to read. This is cheaper than solving unclear action with more dialogue later. [1]
BlenderNation describes artist Matias Mendiola’s “storymatic” approach, which merges storyboarding and animatics into one iterative process. [2] It is a useful label, but not a rule. The practical benefit is being able to alter shot timing while still deciding what the shot is.
Find the shot length before polishing motion
Put your rough boards on Blender 5.0’s timeline and establish the edit rhythm before animating curves. Timing changes emotional meaning. Guidance collected by Agent Skill and Animlog places a sharp surprise around 3 to 5 frames, while contemplation can need 18 frames or more. [3][4]
Those numbers are starting points, not universal prescriptions. A three-frame reaction only reads if the pose contrast is strong and the viewer already knows where to look. A long hold only builds tension if there is a question in the frame worth waiting on.
Use shot duration deliberately. Cuts under one second can create urgency, two to four second shots suit a more ordinary pace, and holds of five seconds or longer can support calmness or tension. [3] Test this in the edit before you spend time refining secondary action.
If a scene feels slow, do not automatically accelerate every character movement. Cut a redundant beat, shorten the anticipation, or change the framing so the important action is visible sooner. Pacing is the relationship between shots, while timing is the duration and spacing of motion within one shot.
Build only what the camera needs to prove
Once the animatic works, replace the blockout selectively. Model the silhouette, contact points and objects that carry story information first. A detective’s evidence board, a cracked cup or a locked door deserves more attention than unseen wall detail because the audience needs to recognise it.
This is also the point to establish real-world scale in Blender 5.0. Incorrect scale can complicate framing and simulation, and it makes a scene feel strangely weightless even when the individual models look convincing. [9] Use a character proxy or a known object as a consistent scale reference.
Apply object scale and rotation before relying on modifiers, rigs or simulation. Unapplied transforms are a documented source of unpredictable behaviour in Blender scenes. [10] It is mundane housekeeping, but it prevents a late-stage fix from changing a constraint, cloth behaviour or texture mapping unexpectedly.
Keep the scene light during layout. Overcomplicated scenes can become slow enough that you stop testing alternatives, which is the opposite of what storytelling needs. [9] Use instances, proxy geometry and simple materials until the camera and edit have earned the extra detail.
Give performances a readable structure
For a character shot, block the intention before the mechanics. Mark the pose before the decision, the pose at the decision, and the pose after it. This gives you anticipation, action and settling, rather than a technically moving rig with no clear thought behind it.
Reference footage matters here. 3D Art School identifies skipping reference and neglecting fundamentals such as timing and anticipation as common beginner errors. [5] Reference is not an instruction to copy every twitch. It is evidence for weight shifts, pauses, eye focus and the order in which a body commits.
In Blender 5.0, use the Graph Editor after the blocked poses communicate. The curves tell you whether a movement is rushing through its important moment or lingering without purpose. Blender’s interpolation controls, including easing, help create transitions rather than mechanically uniform motion. [8]
Use the NLA Editor when the performance needs reusable or overlapping layers, such as a walk cycle underneath a cautious glance and a hand gesture. Blender’s animation system supports blending and layering actions, which is more controllable than keying every motion into one long strip. [1]
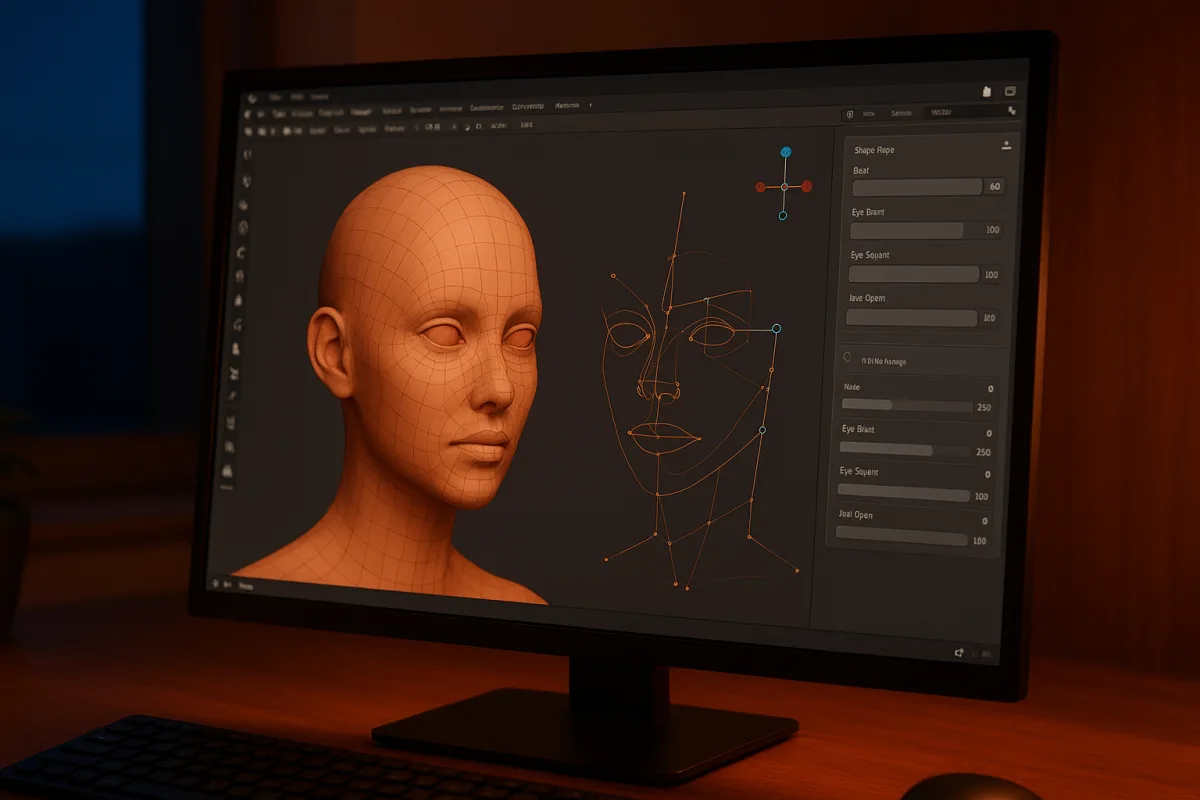
For facial and organic changes, shape keys are useful for controlled deformation. [1] Reserve them for expressions or local changes the story needs to show. A complex facial rig is not automatically more expressive if the camera is too wide to see the result.
Let the camera reveal, rather than decorate
Choose the camera position according to the viewer’s relationship with the subject. A high angle can make a character appear vulnerable, while a low angle can support a sense of power. The useful part is not the convention itself, but deciding whose perspective the shot serves.
Animate a camera only when the move reveals information, tracks a decision, or changes pressure on the character. Overusing camera movement is a documented beginner mistake because a moving frame can pull attention away from the action it is meant to clarify. [5]
A slow push-in works when the audience is meant to notice an internal shift. A fast move can support excitement, but it also shortens the time available to read staging. If the move does not change the story beat, lock the camera and spend those frames on performance.
Use depth of field sparingly and check it in motion. It can direct attention toward a face, hand or object, but an aggressively blurred foreground can hide the very clue your shot needs to establish. Focus pulling should follow narrative attention, not simply make the render look cinematic.
Light the subject, then light the emotion
Set a basic key, fill and backlight structure before adding practical lamps, glowing screens or coloured atmosphere. This separates the subject from the background and makes it easier to see whether the performance reads without relying on texture detail.
Then decide what the light says about the moment. Harder light creates clearer shadows and can isolate a character or object. Softer light reduces contrast and can make a scene feel safer, flatter or more observational. The choice should support the beat established in the storyboard.
Poor lighting is a common reason Blender productions look flat. [9] Before adding more lights, reduce the number of competing bright areas. If the viewer should notice a letter in a character’s hand, do not give equal contrast and saturation to every shelf behind them.
Check normals before committing to lighting decisions. Incorrect face normals can produce render errors and misleading shading, especially on thin surfaces or imported geometry. [10] A dark patch is not always a lighting problem, and adding another lamp can conceal the actual mesh issue.
Finish in the edit, then protect the render
Use Blender’s video editing workflow to judge the final rhythm with sound, dialogue and temporary effects. The storyboard and animatic workflow in the Blender 5.0 manual is designed around this ability to revise shots in context. [7] A good isolated shot can still fail at the cut.
For final rendering, use Blender’s current Cycles or Eevee setup appropriate to the project, but keep output decisions separate from look development. SuperRendersFarm recommends 256 to 512 samples as a working range, with denoising enabled and adjustment for scene complexity. [6]
Enable Persistent Data when it benefits your animation render, since it can reduce repeated scene-loading work across frames. [6] Test a representative difficult section first, particularly one with hair, transparency, volumetrics or fast motion. A clean still frame is not proof that the sequence will be stable.
Render to PNG or EXR image sequences instead of directly to a movie file. [6] If frame 842 fails, you re-render frame 842, not the whole scene. EXR is useful where you need broader compositing latitude, while PNG is a practical choice for many straightforward final-color deliveries.
When encoding for YouTube, match the source frame rate and use an MP4 with H.264 or H.265, Rec.709 colour and AAC audio at 48 kHz. For a 1080p 30 fps upload, the research brief recommends roughly 12 to 20 Mbps. Vimeo similarly supports MP4 H.264 or H.265 workflows, with constant frame rates from 23.98 to 60 fps.
Bring specialist assets into Blender without making Blender do everything
Blender is a strong storytelling hub, but it need not be the only modelling tool in the pipeline. For a character requiring dense anatomical sculpting, use ZBrush for the high-resolution work, then bring an animation-ready version into Blender for rigging, layout and shot work.
For painted surface storytelling, such as worn labels, mud, scratches or changing material states, Substance Painter is often the more focused texturing tool. A commonly described pipeline is ZBrush for sculpting, Blender for animation, and Substance Painter for texture work. [11]
The important production decision is to lock the camera-facing story needs before pushing high-frequency sculpt or texture detail. If the final shot never gets close enough to show a pore map or tiny engraving, that labour cannot improve the audience’s understanding of the scene.
Keep revisiting the Grease Pencil board as assets become final. It is a non-destructive planning layer, not something you discard after day one. [7] When a polished scene stops reading, the rough drawing often makes the missing silhouette, eyeline or cut point obvious.
Frequently Asked Questions
How do I use Blender's Grease Pencil for animation storytelling?
Start by creating a Grease Pencil storymatic in Blender 5.0 to sketch rough storyboards directly in 3D space. Use separate layers for environment lines, character silhouettes, props, and notes to organize narrative elements. Grease Pencil supports onion skinning to review key poses and timing, and allows parenting strokes to 3D objects for dynamic storyboards, enabling iterative planning before modeling.
What is the best workflow for storytelling animation in Blender?
Begin with a Grease Pencil storymatic to test screen direction, staging, and shot length before modeling. Board the shot in 3D using simple shapes and layered sketches, then establish shot timing on Blender’s timeline. After the animatic works, selectively replace blockouts with detailed models only where the camera needs story information, maintaining real-world scale for believable framing.
How can I plan shot timing and pacing in Blender animations?
Use Blender’s timeline to set shot length before refining animation curves. Timing affects emotional meaning: for example, a 3–5 frame reaction reads as surprise, while holds beyond 18 frames allow contemplation. Pacing relates to the rhythm between shots—cuts under one second create urgency, 2–4 seconds suit normal pace, and holds of five seconds or longer support calmness or tension. Adjust timing deliberately to support the narrative.
When should I use camera movement in Blender storytelling?
Use camera movement only when it changes what the audience knows or feels. A locked camera often provides clearer visual emphasis, performance, and tension. Avoid unnecessary camera moves that can distract from the story or confuse the viewer’s focus.
How do I build scenes efficiently for storytelling in Blender?
Model only the elements visible to the camera that carry story information, such as key props or set pieces relevant to the narrative. Start with simple blockouts to verify composition and visibility, then refine silhouettes and contact points. Establish real-world scale early to ensure believable framing and interactions.
How we researched this
This article was assembled from 11 cited references.
Nothing here is based on hands-on testing. Where a figure or finding appears, it belongs to the source cited beside it, and the writing says so rather than implying otherwise. Every source is listed below so you can check it.
Sources
- Story Artist — Blender
- Storyboarding with Grease Pencil - BlenderNation
- timing-principle-mastery - Agent Skill by dylantarre/animation-principles
- Timing · The 12 principles of animation — Animlog
- Common 3D Animation Mistakes Beginners Make and How to Avoid Them
- Blender Render Settings: Cycles & Eevee Guide (2026)
- Storyboarding - Blender 5.0 Manual
- Animations - Blender Developer Documentation
- Common Mistakes in Blender Video Production | 2026 Guide
- Common Mistakes Beginners Make in Blender
- workflow - How to integrate Zbrush with Blender for long run animation projects? - Blender Stack Exchange
Related Articles
How to Use Grease Pencil in Blender: A Practical Guide
Learn how to use Grease Pencil in Blender with tips on drawing, animation frames, brush settings, and onion skinning for effective 2D/3D workflows.
Using Blender for Education
Learn how to use Blender for education with tips on setup, hardware, and teaching modeling, lighting, and rendering effectively.
Blender Architectural Visualization Workflow
Learn the Blender architectural visualization workflow: import CAD, model accurately, set scale, and create realistic materials and lighting for renders.
Animate Facial Expressions in Blender: Topology and Workflow
Learn how to animate facial expressions in Blender with topology tips, shape keys, rigging, and lighting for realistic results.