
Blender Rendering Settings for Animation: Best Practices
Learn the best Blender rendering settings for animation, including Cycles vs Eevee, samples, output formats, and hardware optimization tips.
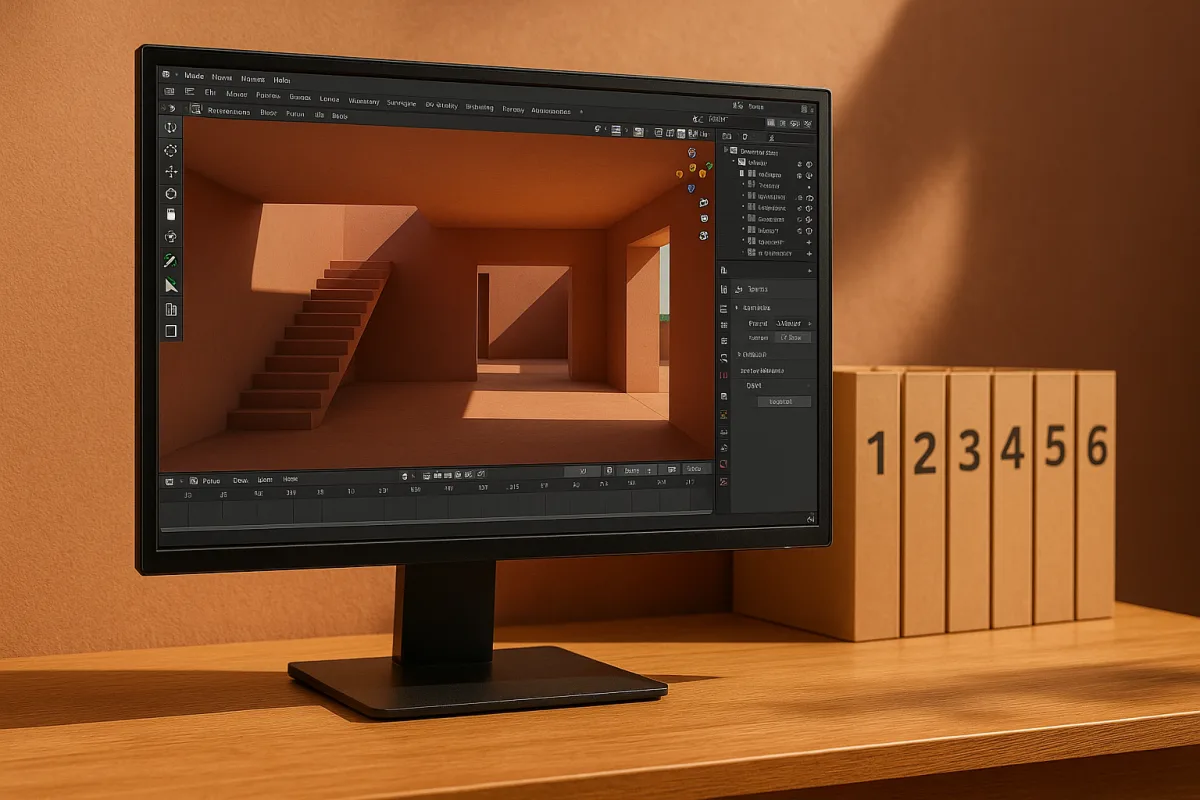
Start with the delivery requirement, not the render engine
Before touching Blender 4.5 LTS’s Render Properties, decide what the finished shot must be. Frame rate, resolution, colour pipeline, and whether the work needs photoreal lighting determine the sensible performance budget far more than a preset does. [1][3]
For cinema-style animation, 24 frames per second remains the usual starting point. Television work often uses 30 fps, while high-frame-rate gameplay or game capture can call for 60 fps. Those choices multiply directly into total frame count. [1][3]
A ten-second shot at 24 fps is 240 separate renders. At 60 fps, it becomes 600. That is why a render setting that seems acceptable for a single portfolio still can become a production problem in animation. [1][5]
Set resolution in Output Properties before look development gets too far along. Full HD, 1920 by 1080, remains a standard delivery size, while 2K and 4K bring more detail but proportionally raise the amount of image data and render work. [1][3]
Do not assume the final resolution is necessary during every review. A lower-resolution playblast or diagnostic render is useful for checking timing, camera motion, silhouette readability, and broad lighting, then reserve final resolution for approved shots. [1][5]
Pick Cycles or Eevee according to the shot’s job
In Blender 4.5 LTS, choose Cycles when the shot depends on photoreal material response, complex indirect illumination, reflected environments, or lighting that needs to hold up under close inspection. Cycles is the better fit for realism, but it costs render time. [3][9]
That cost matters more in animation than in still work. A computationally heavy Cycles setup can be impractical on a tight deadline or modest hardware, even when its individual frames look better than the faster alternative. [2][5]
Choose Eevee when speed is the primary constraint, particularly for previs, stylised animation, real-time presentation, and many game-cinematic workflows. Eevee can produce deliberate, attractive work, but its lighting behaviour is not a drop-in substitute for Cycles. [3][9]
Use Workbench or a minimally configured Eevee scene for the earliest passes. At that stage, the question is usually whether the character hits marks and the camera tells the story, not whether a brushed-metal highlight has physically accurate energy conservation. [1][9]
This is not a rule that every project must use one engine throughout. It is a practical division of labour: fast viewport-oriented tools for decisions about movement, then the engine that serves the approved look for final frames. The brief offers no firm guidance for hybrid handoff settings.
Make sure Blender is using the hardware you actually have
If you render in Cycles and have compatible graphics hardware, configure it in Blender 4.5 LTS through Edit, Preferences, System, then Cycles Render Devices. Select the appropriate supported GPU backend and enable the device Blender should use. [4][7]
Then return to Render Properties and set the Cycles Device to GPU Compute. Selecting a GPU in Preferences alone does not necessarily mean the scene is rendering on it, which is a common source of unexpectedly slow jobs. [4][7]
GPU rendering can substantially reduce Cycles render time, but do not treat GPU as a magic quality setting. It changes how quickly frames finish, while sampling, light paths, geometry, textures, and scene complexity still determine how much work Blender must do. [5][7]
If the scene exceeds available graphics memory or behaves unreliably, CPU rendering may remain the practical fallback. The research does not support one universal hardware recommendation, especially across newer GPU architectures and Apple Silicon systems. [7]
Tile guidance also depends on the device. Where manual tile sizing is available in the workflow, CPU rendering generally favours smaller tiles around 16 by 16 to 32 by 32, while GPUs commonly benefit from larger tiles up to 256 by 256. [2][8]
Treat those numbers as starting points, not a benchmark promise. The best tile behaviour depends on the actual processor, graphics card, scene, and Blender version, and the briefing found no definitive 2026 cross-hardware test data. [2][5]
Establish a sampling budget before rendering the sequence
In Blender 4.5 LTS Cycles, begin many final-animation shots in the 200 to 500 sample range. That is a workable quality-to-time range for many scenes, rather than a claim that every project becomes clean at 200 samples. [2][3][8]
A high-end short film may need as many as 1,000 samples per frame where difficult glossy reflections, dark interiors, depth of field, volumes, or subtle indirect lighting remain visibly noisy. Raise samples because the image needs them, not because a round number sounds professional. [3][8]
Start by rendering the most difficult frame, not frame one by default. Look for dimly lit areas, fine displacement, transparent objects, dense volumes, motion blur, bright specular highlights, and areas viewed through glass, because those commonly expose noise first. [5][10]
Then render a short frame range around that problem frame. A denoised still can appear convincing while moving noise, changing shadows, or denoiser artefacts flicker across an animation. Temporal stability is part of final quality, not an optional polish pass. [6][10]
Stopping at a low sample count just because the render is fast is one of the documented ways to create visibly noisy output. Conversely, blindly pushing samples without checking the result spends time after the image has already become acceptably clean. [6][10]
Cut unnecessary light transport before buying more samples
Open the Light Paths panel in Blender 4.5 LTS Render Properties and begin with 4 to 6 maximum bounces. For many animated scenes, that range cuts render time without a major visible loss compared with unconstrained bounce counts. [2][8]
Diffuse and glossy bounces around 1 to 2 are a useful starting limit when the shot does not rely on repeated inter-reflections. A white studio product shot, mirror-lined room, or glass-heavy scene may need more, so inspect the actual lighting result. [2][8]
The reason to limit bounces is straightforward. Every extra path gives Cycles more possible light transport to calculate, but not every path contributes enough visible information to justify its cost in every frame. [8][9]
Do not copy aggressive light-path limits from an unrelated scene. If a character walks through coloured bounce light, a shiny prop reflects the set, or transparent materials are central to the composition, restrictive values can remove the very behaviour the shot needs. [8][9]
Clamp settings deserve the same caution. Clamping can suppress fireflies and make rendering more manageable, but setting clamp values too low can darken or flatten highlights. There is no universal clamp number supported by the research brief. [6][10]
Add denoising carefully, then judge it in motion
Denoising is often the difference between a feasible animation schedule and an impossible one, especially in Cycles scenes with moderate sample counts. It should reduce remaining noise, not replace enough sampling that the underlying render contains too little usable image information. [3][8]
For denoising workflows that use auxiliary information, enable Albedo and Normal passes. Those passes give the denoiser scene information that helps it distinguish real edges and material changes from random noise. [3][8]
Check faces, thin geometry, displacement detail, hair-like elements, fine texture patterns, glossy reflections, and moving shadows in the rendered sequence. These are the places where overworked denoising can smear detail or produce temporal instability. [6][10]
If the animation flickers after denoising, the answer may be more samples, a less demanding scene setup, or a revised denoising configuration. The evidence does not support a single denoiser-strength setting that is safe for every kind of motion. [6][10]
Reuse what stays unchanged between frames
Enable Persistent Data in Blender 4.5 LTS when rendering an animation where the scene can benefit from cached data across frames. It can improve performance by avoiding repeated preparation of data that does not need rebuilding every frame. [2][5]
Persistent Data is particularly logical once modelling, materials, and lighting are locked. It is a production setting, not a substitute for fixing a scene that is overloaded with unnecessary subdivision, oversized textures, or needlessly complex light transport. [2][5]
Use it after a short test sequence, not as an unchecked checkbox on every file. Animation scenes can contain changing geometry, simulations, and other dependencies, so verify that the actual frame range renders correctly before sending hundreds of frames. [1][5]
Render frames first, encode video second
In Output Properties, set Blender 4.5 LTS to write an image sequence instead of rendering straight to a video container. PNG is a common reliable option, while OpenEXR suits workflows that need high-dynamic-range image data and more compositing flexibility. [1][5]
The practical reason is recovery. If Blender, the operating system, or power fails during a direct movie render, the video file may be corrupted or incomplete. With numbered still frames, completed frames remain usable and rendering can resume from the missing range. [1][5]
Choose the output folder deliberately and use a stable naming convention before launching the job. Animation rendering creates hundreds or thousands of files, so an unclear path or accidental overwrite is a production failure, not a cosmetic inconvenience. [1]
Encode the approved image sequence into the required delivery video only after every frame has been checked. The research brief does not support one universal compression setting because the correct codec and bitrate depend on the client, platform, and finishing workflow. [1][3]
Make the final test a production test
Before launching the full range, render a few consecutive frames at final resolution, final samples, final bounces, final denoising, and final output format. A single still cannot reveal whether the sequence holds together under motion. [1][6][10]
Check that the frame range, frame rate, camera, output path, and image format match the delivery plan. Also confirm that the active render engine is intentional, especially if the file has been used for fast Eevee previews and final Cycles rendering. [1][3]
Finally, calculate the schedule from the tested frame time, then leave room for rerenders. The brief provides no current hardware benchmarks that make an exact estimate defensible, but a measured test range is more useful than a sample-count recommendation taken on faith. [5]
Frequently Asked Questions
What are the best Blender rendering settings for animation?
For photoreal animated shorts in Blender 4.5 LTS, start with Cycles using GPU rendering, set samples between 200 and 500, and limit total light bounces to 4 to 6. Enable Persistent Data to improve performance across frames. Adjust resolution and frame rate based on delivery requirements, with 1920x1080 at 24 fps being a common standard.
How to choose between Cycles and Eevee for Blender animations?
Choose Cycles when photorealism, complex indirect lighting, and accurate reflections are essential, as it produces higher-quality results but requires more render time. Use Eevee for faster rendering needs such as previs, stylized animation, or game cinematics, understanding it cannot fully replicate Cycles’ lighting accuracy.
How many samples should I use for Blender animation rendering?
A sample range of 200 to 500 is generally recommended for balancing quality and render time in animations. Higher sample counts, up to 1000, may be necessary for film-quality noise-free frames, but this increases render times significantly.
Should I render animations as image sequences or video files in Blender?
It is best to render animations as numbered image sequences (PNG or OpenEXR) rather than directly to movie files. This approach prevents losing the entire render if interrupted and allows more control during post-production.
How to optimize Blender render settings for faster animation rendering?
Use GPU rendering with appropriate tile sizes (around 256x256 for GPU) and enable Persistent Data to cache data between frames. Limit light bounces to 4–6 and samples to the lowest acceptable number for your quality needs. Testing the hardest frames before full rendering helps avoid wasted time on problematic settings.
How we researched this
This article was assembled from 10 cited references.
Nothing here is based on hands-on testing. Where a figure or finding appears, it belongs to the source cited beside it, and the writing says so rather than implying otherwise. Every source is listed below so you can check it.
Sources
- Blender Basics for Animation: Rendering, Output Settings, and Delivering a Short Shot : Course Blender Basics for Animation: The First Week Roadmap | Cursa
- Optimize Render Settings in Blender - Blender Base Camp
- The Best Render Settings for Blender 3D - Vagon
- Why Blender Only Uses One GPU and How to Fix - iRender Farm
- How to Render Faster in Blender: 9 Practical Fixes | RenderJuice Blog
- 7 mistakes Blender users make when trying to render faster.. - Blendergrid
- GPU Rendering - Blender 4.5 LTS Manual
- Optimize Blender Cycles Render Settings - blender
- Lighting & Rendering Theory Cycles and EEVEE - Blender Fundamentals 4.5 LTS - Blender Studio
- 10 Blender 3D Render Mistakes and How to Fix Them!
Related Articles
Best Practices for Rendering Animations in Blender
Learn the best practices for rendering animations in Blender, including sample settings, adaptive sampling, denoising, and output formats.

Optimize Blender for Faster Rendering: Key Settings and Tips
Learn how to optimize Blender for faster rendering with GPU use, adaptive sampling, denoising, and bounce settings for efficient Cycles renders.
Best Lighting Techniques for Blender Rendering
Discover the best lighting techniques for Blender rendering using Cycles and Eevee to create realistic, well-shaped 3D models.
Blender Rendering Time Comparison: Engines Explained
Explore Blender rendering time comparisons across various engines like Cycles and Eevee to find the best fit for your projects.