
Complete Beginner Blender Project Workflow Explained
Learn the complete beginner Blender project workflow from modeling to rendering with the donut tutorial and course length tips.
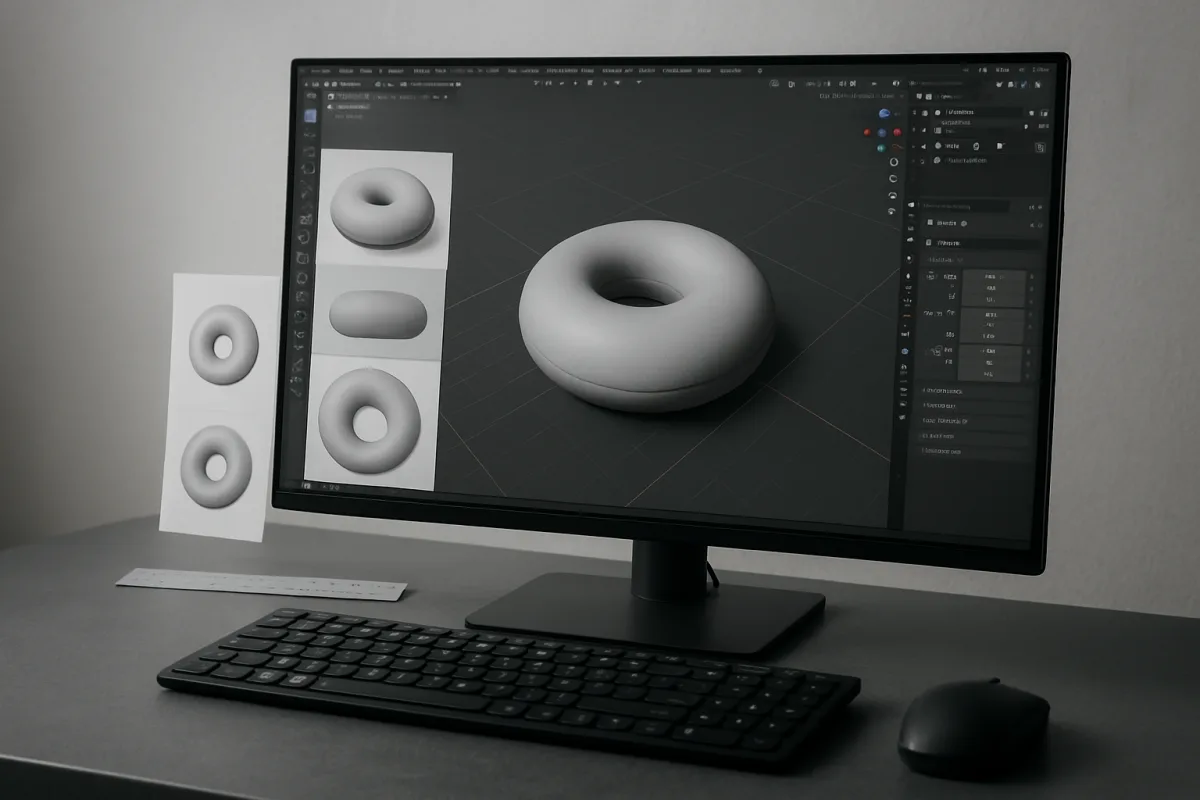
The default cube is the beginning of a project loop
The default cube is waiting in Blender’s viewport, but the important beginner skill is not deleting it, moving it, or memorizing a shortcut. It is learning how one object becomes a finished image.
That loop has stages: block out a form, refine it, give it materials, light it, render it, then decide what you would improve. A structured tutorial series keeps those stages connected.
Without that connection, Blender can feel like a cabinet of unrelated tools. You learn an extrude operation one day, a shader node the next, then face an empty scene without knowing what any tool is for.
We would begin with a project course, not a feature tour. A project gives every operation a consequence, such as seeing a stretched texture after changing an object’s dimensions or seeing a bevel catch a highlight.
Blender Guru’s Blender Beginner Tutorial Series, created by Andrew Price, has become the canonical entry project because it carries a beginner through a donut from basic navigation to modeling, materials, lighting, and rendering. [2]
The donut is a modest object, and that is its strength. Its shape is readable, its icing introduces overlapping forms, and its final render makes you confront light, roughness, color, and composition.
Blender Guru designs the series to be completed in a single day. [2] That timeframe does not mean you will remember every command afterward, but it gives you one complete pass through the production loop.
Completion is the number that matters early on. You need enough repetition to build familiarity, yet a project small enough that the final render arrives before frustration turns into another abandoned .blend file.
Why course length changes the result
A tutorial’s length is really a statement about scope. The same word, beginner, can describe a short orientation, a focused project, or a long program intended to build a broad production foundation.
Udemy’s Learn Blender In 3.5 Hours promises a compact beginner-friendly introduction. [7] It suits a reader who needs a first map of the interface and a quick sense of whether Blender fits their interests.
BlendAtlas’s beginner tutorial runs for more than 15 hours. [8] That amount of time can accommodate slower explanation and additional exercises, though it also asks you to protect more evenings from interruption.
Coursera’s Blender Learning Roadmap: From Beginner to Expertise, published for 2026, estimates about 120 hours over four weeks. [5] It treats Blender less as one software package and more as a sequence of production skills.
That roadmap progresses through modeling, texturing, lighting, animation, Geometry Nodes, and portfolio-building projects. [5] Its scale fits readers who want a planned curriculum, not a single object to finish on a weekend.
Longer is not automatically better for a first lesson. A 120-hour path can provide breadth, but a small completed model teaches a beginner the emotional rhythm of production: make, inspect, fix, and finish.
Ryan King Art’s Blender for Complete Beginners Tutorial Series is another free structured starting point, available through YouTube and cataloged by BlenderNation. [3] It gives new users an alternative route through foundational Blender skills.
Learn Blender 3D’s Free Beginner Modelling & Animation Course adds modeling and animation to the early curriculum. [4] Use it when moving objects and creating a simple shot interests you as much as making a still render.
Blended BORIS’s Best Blender Tutorials for Beginners in 2026 is a curated directory and 30-day learning roadmap, not one instructor-led series. [6] It helps you assemble a path from official resources and starter courses.
If you want a fixed sequence, follow one teacher through one project first. If you want a menu of options, use a curated roadmap after completing that first project, when you can recognize the gaps it fills.
The cost is time, not only the checkout price
Free access removes one barrier, but every tutorial charges you in attention and practice. A course that is technically free can become expensive if its pace causes you to quit halfway through.
Ryan King Art’s introductory series is free to watch, and Blender Studio’s updated Fundamentals training is also free. [3][15] These are the right price for building a first routine before purchasing a larger course.
Paid Udemy Blender courses are commonly listed around $12.99, while some premium offerings reach $109.99. [7][19] Those figures cover course access, not a computer upgrade, add-on purchases, paid textures, or a subscription to another application.
Do not buy a premium course to solve a problem of project size. If you have not completed a donut, mug, lamp, or chess piece, a larger curriculum may provide more material than you can yet use.
We would spend nothing on training until you have completed a free structured project. Then pay for a course only if its organization solves a specific gap, such as character sculpting, animation, or an asset-production pipeline.
Blender itself needs to run reliably enough that learning is not interrupted by crashes or slow viewport feedback. Blender’s 5.2 LTS installation documentation organizes minimum and recommended requirements for Windows, macOS, and Linux. [17]
Check those operating-system-specific requirements before committing to a long course, particularly if your machine is older or relies on integrated graphics. The available material identifies the official requirements but does not reproduce their component figures here. [17]
For the application version, use Blender 5.2 LTS as your learning baseline. It prioritizes stability and long-term support, while Blender 5.3 is identified as the latest stable release and Blender 5.4 alpha is expected in May 2027. [16][17]
A tutorial recorded in another version can still teach durable concepts, including transforms, mesh editing, UVs, materials, and lighting. When a button has moved, search the current Blender 5.2 LTS interface before assuming the instruction is wrong.
What the donut teaches that beginners often skip
Scale is the first quiet problem. If you make a mug enormous, tiny procedural details, bevel widths, camera clipping, physics settings, and texture density can all behave in ways that no longer make visual sense. [10][18]
Set units and keep a rough real-world scale in mind from the start. This is a habit, not a rule that every stylized prop must obey, but consistent scale keeps later decisions predictable. [11][18]
Apply transformations when the object needs its displayed scale, rotation, or dimensions to become its working state. Forgetting to apply transforms can create confusing results in modifiers, shading, and downstream operations. [12][18]
Topology is another early cost. It describes the arrangement of vertices, edges, and faces that make a surface, and it affects how the model shades, subdivides, deforms, and accepts later edits.
A donut can tolerate rough topology in places because it does not need to bend at an elbow or smile. A character face, animated limb, or hard-surface product with tight highlights demands far more deliberate edge flow.
Do not turn topology into a reason to never finish. Early models need clean enough geometry for the intended result, while animation-ready production topology becomes a rule when the asset must deform reliably.
Reference images keep modeling from becoming guesswork. Beginners often model from memory, then discover that a cup, chair, or mechanical part looks plausible only until it is compared with the proportions of a real object. [11][12]
Use reference for simple objects too. A desk lamp teaches proportion, a mug teaches thickness and curved transitions, and a chess piece teaches radial forms and silhouette, all without the workload of a complete environment.
Overreliance on menus can slow you down, while trying to memorize every hotkey can be equally distracting. [10][12] Learn the commands you repeat constantly, then let a project reveal which shortcuts are actually worth retaining.
The repeated warnings are clear: beginners overcomplicate early models, neglect topology, fail to apply transformations, skip references, rely too heavily on menus, and leave projects incomplete. [10][12][18] No published evidence here separates those mistakes by region or learner background.
Build a ladder, not a pile of tutorials
After the donut, make a simple object from your own reference without following every click. A mug, desk lamp, or chess piece is large enough to require decisions and small enough to finish. [5][14]
That second project exposes what the first tutorial hid through instruction. You will need to select an approach, manage proportions, choose a material response, place a light, and solve errors without an instructor naming them first.
Keep the ladder narrow. One modeled object can become an exercise in UVs, texturing, studio lighting, camera framing, and a final render, which is far more coherent than beginning five unrelated tutorial playlists.
Portfolio work can grow through incremental projects, the same structure used by Coursera’s roadmap. [5] Each completed asset should add one new demand, such as an animation, a more complex material, or procedural variation.
Geometry Nodes belongs later in that sequence if you need repeated forms, scattering, or controllable variation. It is part of the broader Blender learning path, but it will make more sense after you understand the objects it generates. [5]
Add other applications when the task earns them
Blender can carry a beginner through the whole first loop, which is why we would keep it as the starting tool. Switching applications too early introduces file formats, export settings, and new interfaces before you have a reason to manage them.
Cross-software awareness is still growing in beginner education. Coursera’s 2026 roadmap includes pipeline awareness beyond a single application, while some courses remain focused solely on Blender fundamentals. [5]
Udemy’s Full Asset Creation Workflow course explicitly covers ZBrush, Substance Painter, and Blender. [19] Its premise reflects a common production division: sculpt complex surface forms, paint detailed textures, then assemble, shade, light, and render assets.
Choose that kind of workflow after a Blender-only project has made its limits visible. ZBrush becomes compelling when a form needs dense sculpted detail, while Substance Painter fits deliberate texture painting across UV-mapped surfaces.
Houdini belongs in the conversation when procedural systems, simulation, or large-scale variation become the central task. BlenderFORGE also points to ongoing integration between Blender, other 3D tools, and AI-assisted workflows. [1]
Those tools expand the pipeline, but they do not replace the beginner loop. You still need to understand form, scale, topology, surface response, light direction, and what the final camera sees before a multi-application workflow pays off.
Frequently Asked Questions
What is the best first project workflow for Blender beginners?
Beginners should start with one small finished asset to learn the full production loop. Blender Guru’s donut project is recommended because it guides users through all stages from modeling to rendering in a connected way, helping learners see the purpose of each tool and operation.
How does the Blender donut tutorial teach the full 3D workflow?
The donut tutorial covers the entire process: blocking out the form, refining the model, applying materials, setting up lighting, rendering, and evaluating the result. Its modest shape and layered details like icing introduce key concepts while producing a complete, satisfying final image in a single day.
Which Blender beginner course length suits different learning goals?
Short courses around 3.5 hours provide a quick interface overview and help decide if Blender fits your interests. Medium-length tutorials of 15+ hours allow for slower explanations and exercises. Extensive programs of about 120 hours offer a broad foundation across multiple production skills and portfolio projects for those seeking a comprehensive curriculum.
Why is completing a small project important for Blender beginners?
Completing a small project helps beginners experience the emotional rhythm of production: making, inspecting, fixing, and finishing. It builds familiarity through repetition and avoids frustration that can arise from unfinished work, making learning more effective and motivating.
When should beginners add other tools like ZBrush or Substance Painter?
Other tools should be introduced only when a project creates a real need for them, not simply because professionals use them. Beginners benefit most from mastering Blender’s core workflow before expanding into additional software like ZBrush or Substance Painter.
How we researched this
This article was assembled from 19 cited references.
Nothing here is based on hands-on testing. Where a figure or finding appears, it belongs to the source cited beside it, and the writing says so rather than implying otherwise. Every source is listed below so you can check it.
Sources
- BlenderFORGE: Framework for Optimizing Reactive 3D-Graphics Editing Ability of MLLMs
- Blender Beginner Tutorial Series, Blender Guru
- Blender for Complete Beginners Tutorial Series - BlenderNation
- Learn Blender 3D - Free Beginner Modelling & Animation Course
- Blender Learning Roadmap: From Beginner to Expertise (2026) | Coursera
- Best Blender Tutorials for Beginners in 2026: Free Starter Series, Official Resources, a 30-Day Learning Roadmap, Tutorial Checks and Who Owns What You Make | Blended BORIS | Digital Art IP
- Learn Blender In 3.5 Hours - Beginner Friendly
- Beginner Blender Tutorial | BlendAtlas
- ArtStation - Blender Complete Beginner Tutorial Series | Tutorials
- 15 Essential Blender Tips and Tricks for Beginners in 2026 - Toxigon
- How to Get Started with 3D Modeling in Blender for Beginners
- 6 Mistakes Keeping Blender Beginners Stuck (And How to Fix Them)
- Getting Started With Blender: A Beginner's Guide - TechYorker
- Blender for Beginners: The Order to Learn It In
- Updated Fundamentals Training, Blog, Blender Studio
- Index - Blender Developer Documentation
- Installing Blender - Blender 5.2 LTS Manual
- Common Mistakes Beginners Make in Blender
- Full Asset Creation Workflow (Zbrush,Painter 3D,Blender)
Related Articles
Blender 5 Beginner Tutorial Series: Learn 3D Modeling Basics
Explore a Blender 5 beginner tutorial series that teaches 3D modeling, topology, lighting, and rendering with a focus on workflow dependencies.
3D Modeling Software Comparison for Hard Surface Modeling
Compare Blender and Plasticity for hard surface 3D modeling, exploring workflows, topology, and rendering capabilities in one detailed guide.

Blender Ergonomics for Beginners: Safe Setup and Breaks
Learn Blender ergonomics for beginners with tips on posture, breaks, and workspace setup to work safely and comfortably.
Blender Project Setup for Animation: Best Practices
Learn how to set up a Blender project for animation with proper folder structure, naming, frame rate, and collaboration tips.