
Bake Normal and Displacement Maps from High Poly Sculpts
Learn how to bake normal and displacement maps from high poly sculpts with software-agnostic tips for topology, cages, UVs, and texture resolution.
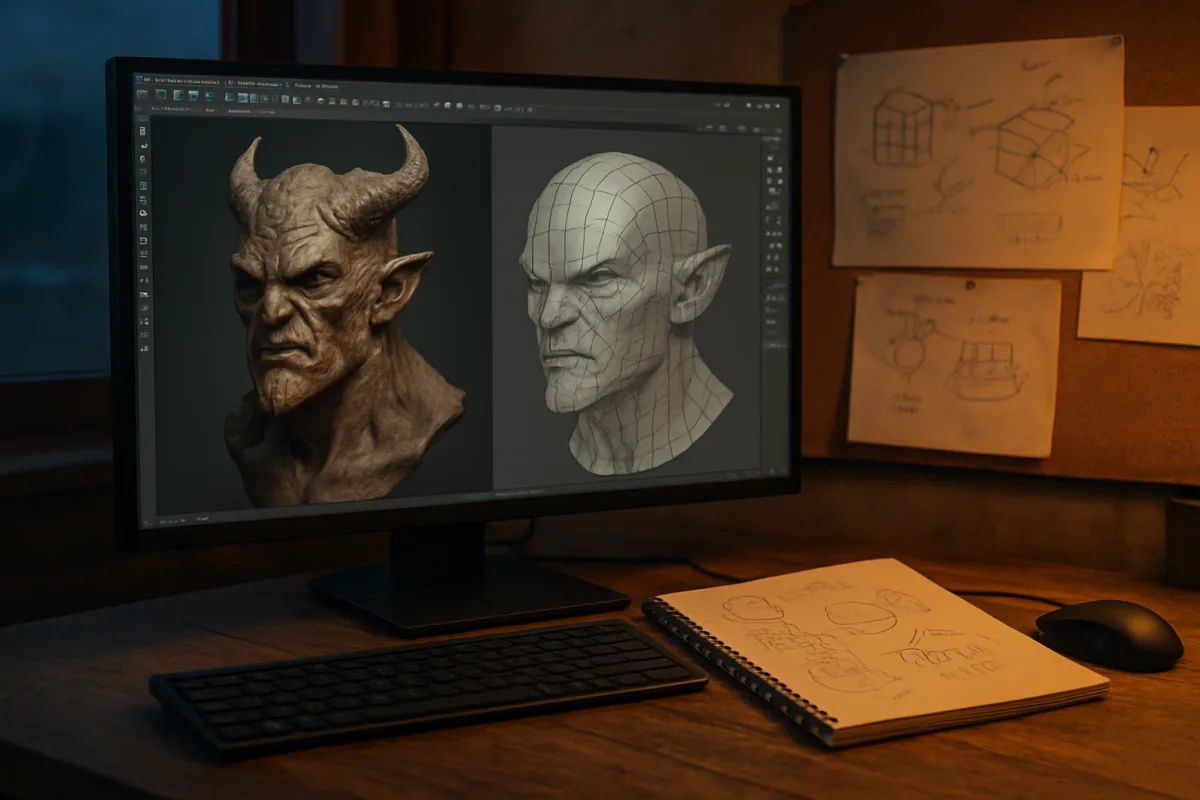
Separate the detail that needs a normal map
The sculpt has reached the point where pores, chipped paint, panel seams, and tool marks look right under a close light. Freeze the visible detail before you retopologize, because the bake transfers the high-poly surface information onto the efficient mesh you will ship. [9]
A normal map carries surface-direction detail for the low-poly model’s shading. It gives the impression of raised and recessed form without adding the equivalent geometric density to the game mesh. [2] For most real-time assets, this is the map we would prioritize first.
Displacement maps belong to a different budget. They are commonly used at 1024 to 8192 pixels for hero assets, where the target renderer and mesh density can resolve the added surface variation. Normal maps commonly range from 512 to 4096 pixels. [13]
Do not ask a normal map to preserve a silhouette. A deep gouge across an asset’s edge, large undercut, or form that must alter the outline needs geometry, displacement in an appropriate rendering path, or both. The high poly remains the source of truth.
Set the destination before reducing the sculpt
A game-ready prop for Unreal Engine or Unity needs compressed textures, restrained map sizes, and a simplified bake plan that protects frame time. Real-time rendering trades some visual complexity for immediate feedback and performance. [4][5]
An offline asset has room for larger textures, complex baking setups, and displacement maps that reward close framing. Offline rendering prioritizes image quality over the response time expected from an interactive engine. [4][7]
We would make two versions only when the asset genuinely needs them: a real-time low poly with normal maps, then a denser offline mesh and displacement set for close renders. One oversized hero bake pushed onto every prop wastes memory and slows iteration.
Texture size follows screen importance, not pride in the sculpt. Start within the 512 to 4096-pixel normal-map range, then inspect the asset at its intended camera distance. Reserve 4K maps for surfaces where the player or viewer can actually read the detail. [13]
Build the low poly around the bake
Retopology comes before baking. The low-poly mesh needs edge flow that supports the object’s silhouette, deformation if it will animate, and the intended shading breaks, while the high poly supplies fine surface detail. [9]
Keep the two meshes aligned in the same position and orientation. Applied transforms are part of a reliable Blender, version not specified, bake setup, alongside correct UVs and materials. A rotated or scaled source can turn a clean sculpt into a projection error. [15]
Triangulate before baking when your target pipeline will triangulate the asset anyway. This can reduce processing overhead and prevents a later triangulation pattern from changing how the normal map is interpreted. [3]
Avoid casual hard-edge splits. A hard edge creates a normal discontinuity, and that discontinuity needs to agree with the UV layout and the bake. Unplanned splits can produce visible shading seams even when the high-poly sculpt itself is smooth. [3][10]
This is a rule for the delivered mesh, not a preference for tidy wireframes. If the game engine receives triangles, test the triangulated version. If the asset will deform, validate its shading after the deformation topology is complete.
Unwrap seams where the projection can survive them
Place UV seams with the final shading in mind. Misaligned seams are a common source of visible bake errors, especially where a hard edge, UV split, and high-contrast sculpt feature meet. [10][11]
Give UV islands enough clean space and avoid distorted, overlapping layout where the target requires unique texture data. Poor UVs can create gradients, seam artifacts, and inconsistent detail density that no change to bake samples will cure. [11]
Put seams on hidden or naturally broken areas when the object permits it: underneath a handle, inside a panel join, or along a manufactured edge. A seam through a smooth, uninterrupted highlight will be easier to spot than one that follows the object’s construction.
Apply the same discipline to naming and material assignment. In Blender, version not specified, the low-poly active object and the selected high-poly source must be clearly identified before you run Selected to Active. Incorrect selection order is a frequent baking failure. [8][15]
Build a cage that contains the sculpt
The cage is the projection shell from which rays search for the high-poly surface. It must fully enclose the high-poly mesh, including protruding bolts, chipped edges, and recessed details that sit close to neighboring forms. [16]
Smooth the cage before you judge the result. A smoother cage reduces projection artifacts, while a cage that cuts through the high poly can miss detail or capture the wrong surface. [16]
There is no published universal cage extrusion or ray-distance number to copy into every asset. Thickness depends on the distance between the low poly and its sculpt, the scale of the object, and nearby parts that could be hit by a ray. [16]
Start with a cage that clears the source everywhere, bake a small test region, then reduce or expand it based on what you see. A ray that reaches a neighboring strap, finger, or mechanical panel leaves a recognizable fragment of that unrelated detail on the target.
Use separate bake groups or isolate parts when close components project onto one another. A pistol slide and frame, layered clothing, armor plates, and kitbashed machinery often need controlled source-target relationships, not one cage attempting to cover every surface at once.
Bake the normal map in Blender
Blender, version not specified, supports direct render baking. Set up aligned high- and low-poly meshes, ensure the low poly has its UVs and target material ready, select the high-poly source, then make the low-poly destination the active object. [15]
Enable Selected to Active and choose the required bake type and normal-map space. Those settings tell the application to project the selected high-poly detail onto the active low-poly mesh, instead of baking the low poly onto itself. [8][15]
For a real-time asset, use the normal-space convention required by the engine and keep that convention consistent through texturing and export. A map baked under one convention can display incorrect lighting if the target expects another.
Check color-space handling before you save or import the map. Wrong color-space settings are among the standard causes of bad bakes, along with poor UVs, inadequate cages, wrong ray distances, and incorrect selection order. [10][11]
Open the baked map and inspect the model under a moving light. Look first at curved highlights, hard edges, UV seams, and tight intersections. Flat color in the image editor can conceal a gradient or projection problem that becomes obvious on the model.
Send ZBrush work to a baker when needed
ZBrush, version not specified, is a sculpting and preparation tool in this workflow, not the complete baking destination assumed by some artists. Retopology and UV mapping precede the bake, which is commonly handled in an external application through a transfer workflow such as GoZ. [18]
We would reach for Blender, version not specified, when you need a direct, integrated high-to-low bake and already have the low poly, UVs, and materials prepared. Its Selected to Active workflow keeps projection and map output in the same scene. [15]
Marmoset Toolbag, version not specified by the cited documentation, is another dedicated option when cage control is central to the asset. Its documentation defines the cage as the enclosing projection mesh and emphasizes its role in controlling ray casting. [16]
Nomad Sculpt, version not specified, can participate in a baking workflow, but published material does not establish that its map quality is better or worse than ZBrush, version not specified, or other sculpting tools. Choose the sculpting application for the work it lets you create, then validate the bake in your target pipeline. [12]
Plasticity, version not specified, has no documented baking workflow or map-quality comparison in the available material. Do not base a production choice on assumed baking performance. Export its modeled surfaces and test them in the application that will perform the actual bake.
Use displacement only where the render can pay for it
Displacement maps can preserve substantial sculpt detail, but they demand an asset and renderer prepared to resolve that detail. A high-resolution displacement map on an under-tessellated mesh will not deliver the surface result the sculpt implies. [2][13]
For hero offline work, begin displacement testing in the 1024 to 8192-pixel range reported for those assets. [13] Check the result at final framing, because an 8K map on a background object adds storage, baking time, and scene cost without a visible return.
Normal and displacement maps can work together. Let the displacement carry the form the renderer can actually subdivide or tessellate, while the normal map supports smaller shading detail. The split depends on the final asset’s geometry budget and viewing distance.
Do not substitute a displacement map for clean low-poly construction. UV seams, projection errors, and mismatched transforms still appear in displacement workflows. The map transfers detail, but it inherits the destination mesh and UV decisions you made earlier.
Diagnose artifacts before raising samples
A black patch, missing feature, or detail from the opposite side of the mesh points first to projection setup. Inspect the cage and ray distance before increasing resolution, because extra pixels only make a wrong projection sharper. [10][16]
A hard line along a UV border points toward seam placement, hard-edge handling, or mismatched normal discontinuities. Recheck the low poly’s splits and UVs, then rebake. Poor UVs and misaligned seams are named causes of normal-map errors. [10][11]
A model that looks inverted or oddly lit after import may have a normal-space or color-space problem. Confirm the bake type, space, and texture interpretation in the target application before rebuilding geometry that may already be correct. [10][15]
Skewed details on long, narrow, or sharply curved areas need targeted correction. Adobe Substance 3D Painter, version not specified by the cited documentation, documents skew correction for projection distortion, but correcting the low-poly shape, UV layout, or cage remains the earlier fix. [17]
Budget the bake and save test iterations
Bake time rises with texture resolution and polygon count. Multiple CPU cores, sufficient RAM, and a powerful GPU can improve the process, but no single timing figure applies across applications, hardware, maps, and scene complexity. [14]
Reports range from seconds for 4K bakes on an Apple M1 Pro to minutes for GPU-accelerated work in Marmoset Toolbag, version not specified. Treat timing estimates as local measurements from your own scene, not a purchase guide or production promise. [14]
Bake a small region or reduced-resolution version first. It exposes cage leaks, selection mistakes, seams, and shading discontinuities before you commit to high-resolution maps whose processing time increases with the pixel count. [11][14]
Save the high poly, final triangulated low poly, cage, UV layout, and bake settings together. The map only remains reproducible if you can return to the exact geometry and projection setup that produced it.
Frequently Asked Questions
How do I bake normal and displacement maps from a high poly sculpt?
First, ensure your low-poly mesh has finished topology, UVs, and applied transforms, as the bake records these details. In Blender, use the "Selected to Active" bake mode with properly aligned high- and low-poly meshes. In ZBrush, retopology and UV mapping come first, but baking is typically performed in an external application after export. Build a cage that fully encloses the high-poly mesh, smooth it, and adjust ray distances by inspection to avoid artifacts.
What is the difference between baking normal maps and displacement maps?
Normal maps capture surface direction details to simulate raised and recessed forms on a low-poly mesh without adding geometry, making them suitable for most real-time assets. Displacement maps store actual height information to modify geometry during rendering and require higher resolution textures and denser meshes, typically reserved for hero assets or offline rendering. Normal maps usually range from 512 to 4096 pixels, while displacement maps can be 1024 to 8192 pixels.
How do I set up a cage for baking normal and displacement maps?
The cage mesh should fully contain the high-poly source and be smooth to reduce projection errors. Since no universal numeric setting fits every asset, cage extrusion and ray distances must be adjusted by visual inspection for each project. A well-built cage helps rays project correctly from the low-poly to the high-poly mesh, minimizing artifacts in the baked maps.
When should I use normal maps versus displacement maps in 3D assets?
Use normal maps for most real-time assets where performance and memory are limited, as they provide surface detail without increasing polygon count. Reserve displacement maps for hero assets or offline render paths that can handle larger textures and denser geometry, especially when silhouette changes or deep surface variations are necessary. Avoid using normal maps to preserve outlines or deep undercuts, as they cannot alter the mesh silhouette.
How do I prepare low poly topology and UVs before baking maps?
Complete retopology to support the object's silhouette, deformation needs, and shading breaks before baking. Keep the low- and high-poly meshes aligned with applied transforms to avoid projection errors. UV seams should be placed thoughtfully to minimize visible bake errors, avoiding misaligned seams where hard edges or high-contrast details occur. Also, triangulate the mesh if the target pipeline requires it, and avoid casual hard-edge splits that cause shading discontinuities.
How we researched this
This article was assembled from 18 cited references.
Nothing here is based on hands-on testing. Where a figure or finding appears, it belongs to the source cited beside it, and the writing says so rather than implying otherwise. Every source is listed below so you can check it.
Sources
- CuRast: Cuda-Based Software Rasterization for Billions of Triangles
- Difference Between Normal Maps and Displacement Maps
- General Tips for Baking Maps - Blender Master Class [Book]
- Real-Time vs Offline Rendering: Speed, Quality and Cost Compared for 3D Artists - Pixel Pastry Studios
- Unreal Engine Rendering, Real-Time Viz Guide
- Animation Texturing in Production Pipelines: A 2026 Guide
- Real-Time versus Offline Rendering | RTV for Architecture, Planning & Urban Design, Studio Matrx Academy | Studio Matrx
- How to Bake Normal Maps in Blender for Game Assets
- High-Poly to Low-Poly: How Normal Map Baking Works in Game Production
- Normal Map Baking, Common Errors and How to Fix Them, Trumble Resources
- Why Baking in Blender Fails (And How to Fix It for Good), 3DSkillUp
- How to bake maps in Nomad Sculpt | Creative Bloq
- Baking normal and displacement maps - SculptForge User Guide
- 3D Texture Baking Time by Resolution | 1001Ferramentas
- Render Baking, Blender Manual
- Cage Mesh - Marmoset Toolbag Documentation
- Skew correction | Adobe Substance 3D Painter
- ZBrush
Related Articles
How to Bake Textures in Blender: A Practical Guide
Learn how to bake textures in Blender with tips on UVs, resolution, and Cycles baking for game-ready assets and efficient workflows.
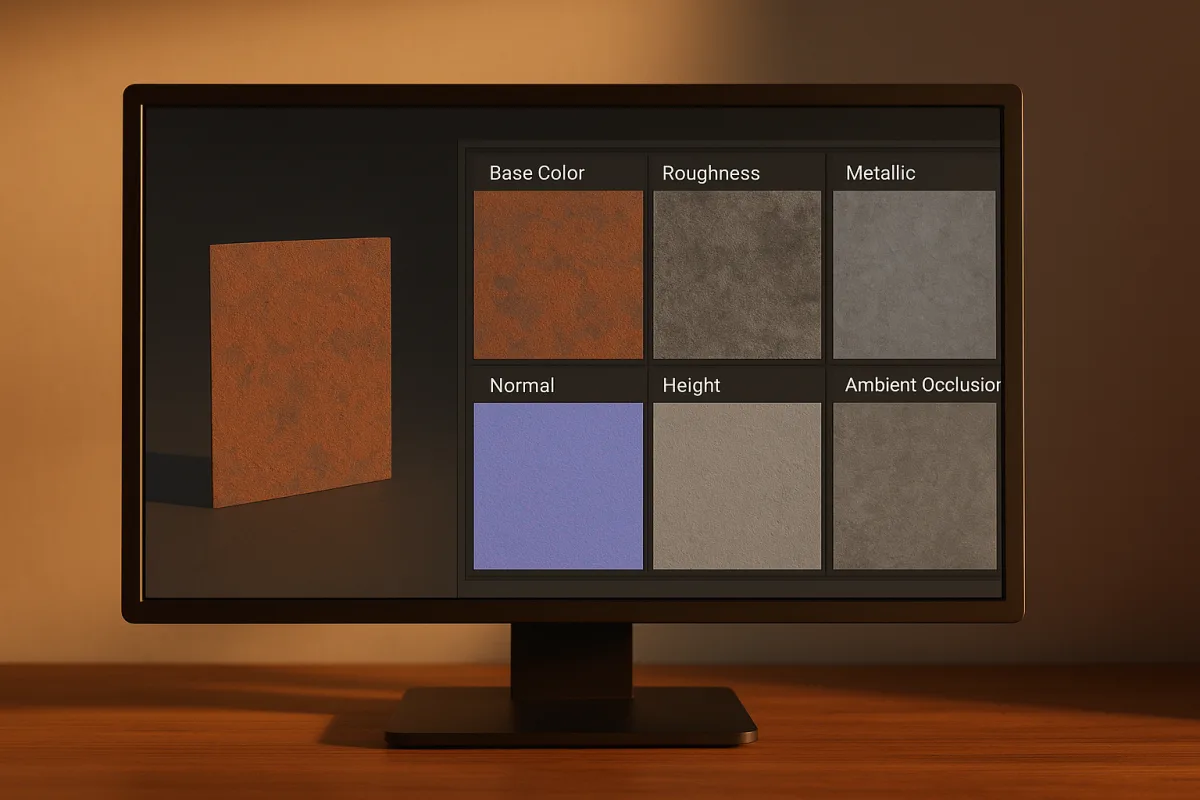
Create PBR Materials from Scratch: A Practical Guide
Learn how to create PBR materials from scratch with correct texture maps, workflows, and software tips for realistic 3D rendering.
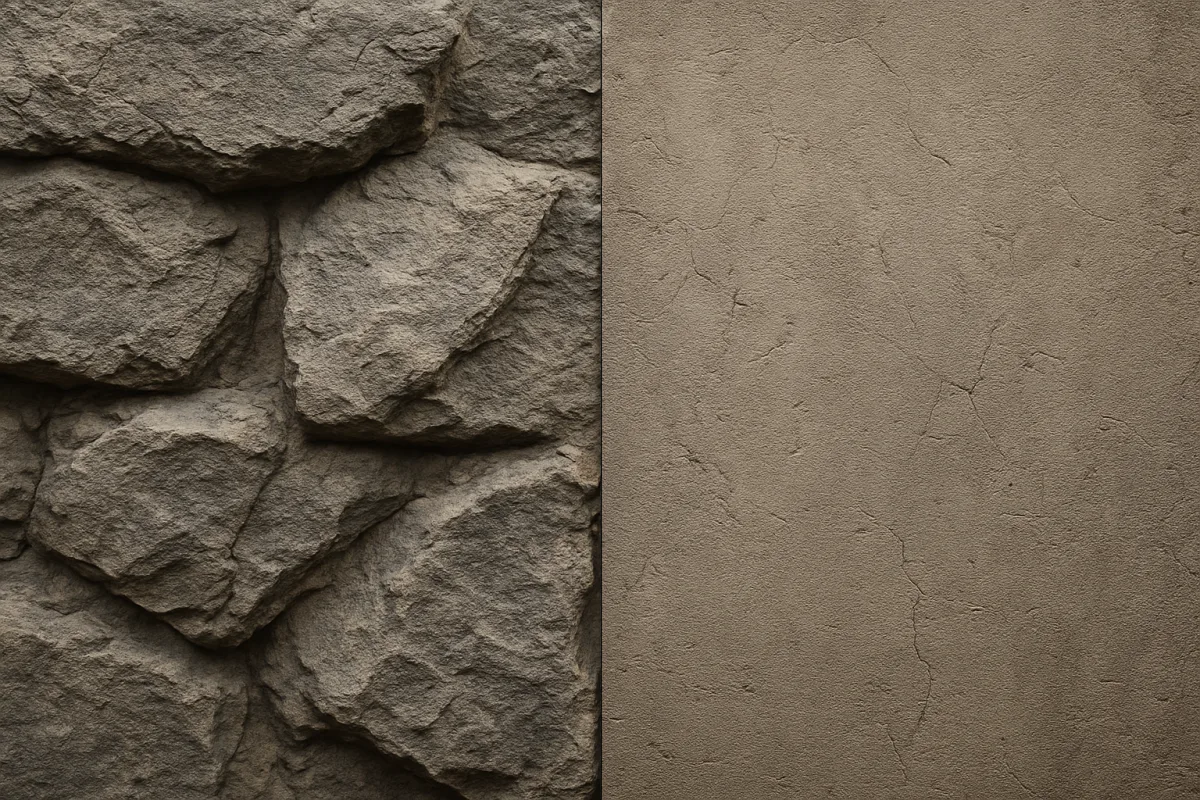
Difference Between Normal Maps and Displacement Maps
Learn the difference between normal maps and displacement maps and when to use each for 3D modeling and rendering.
Color Grading Setup in Cinema 4D Renders: A Practical Guide
Learn how to set up color grading in Cinema 4D renders using linear workflow, ACEScg, and OpenEXR for predictable, high-quality results.