
Color Grading Setup in Cinema 4D Renders: A Practical Guide
Learn how to set up color grading in Cinema 4D renders using linear workflow, ACEScg, and OpenEXR for predictable, high-quality results.
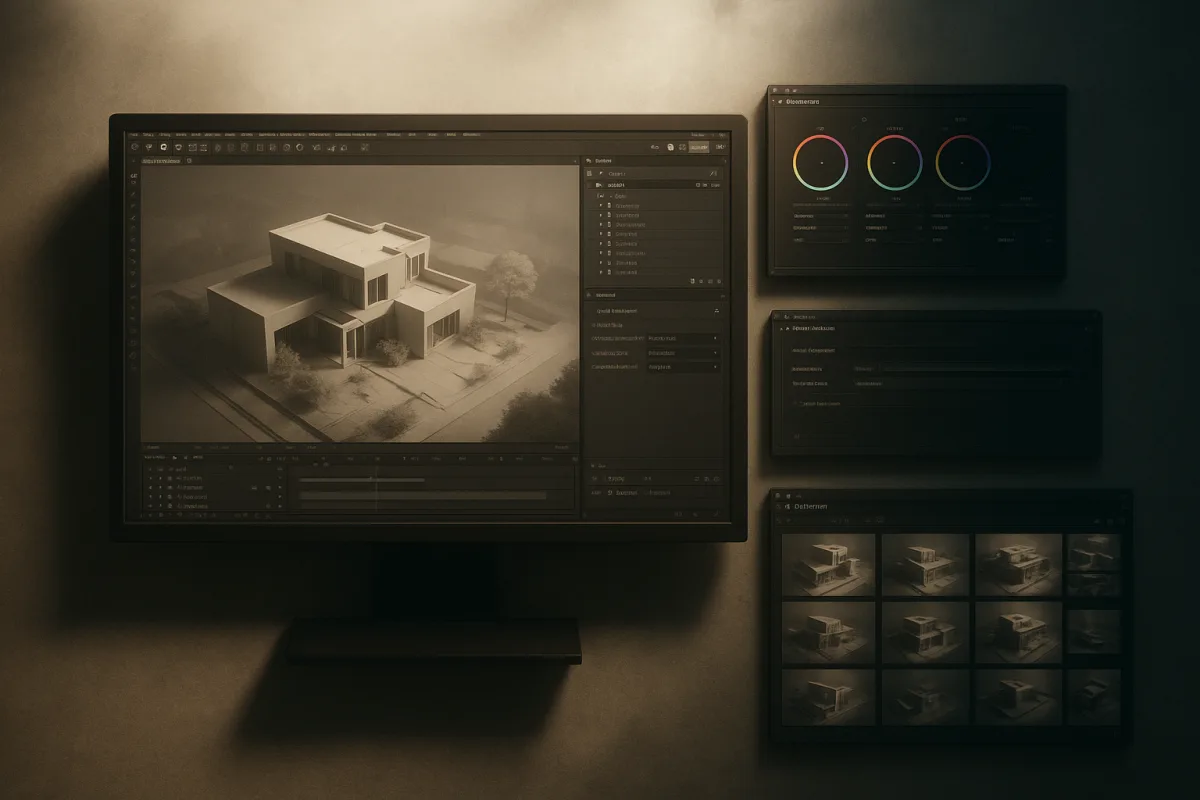
Set the scene to a grading-friendly color pipeline
The first image out of Cinema 4D R2026 may look flatter or less contrasty than the display-rendered result you expected. That is often the view transform doing its job, not evidence that the render lacks color.
Start with a linear workflow in Cinema 4D R2026. Linear color management keeps lighting calculations physically coherent, so a bright light contributes light rather than producing a prematurely compressed display color. [1]
For work that will receive a deliberate final look, we would use ACEScg as the working color space. Cinema 4D R2026 supports OCIO, OpenColorIO, color management, which provides a structured way to keep scene, display, and output transforms predictable. [8][9]
ACEScg gives you a scene-referred space for the render data, while the display transform maps that data to what you see on a monitor. Keep those roles separate. Do not bake a dramatic display look into texture colors or light intensities.
Set the View Transform to ACES 1.0 SDR-Video when preparing standard dynamic-range output. This supplies tone mapping for monitor viewing while retaining the high-range scene information in a suitable render output. [9]
A linear or ACEScg setup is a rule for a managed pipeline, not a creative style. The warm shadows, crushed blacks, faded highlights, or cool product sheen belong in lighting and grading decisions after the underlying transform is stable.
Build the grade into the lighting plan
A clean gray product on a light gray floor can lose its silhouette before any color correction starts. In Cinema 4D R2026, match the floor and background brightness carefully, because their relationship controls edge separation and the available contrast in the finished image. [3]
Build a readable key, fill, and separation light before reaching for a contrast curve. Three-point lighting gives you identifiable jobs for the lights, and those jobs make it easier to see whether a later grade is improving the image or hiding a lighting problem. [3]
Keep the key light responsible for form. Let fill determine how much shadow information survives, and use a rim or back light only where the subject needs separation from its background. A grade can shift those balances, but it cannot restore shape that never reached the camera.
Volumetric lighting and bright atmospheric effects need the same restraint. They can create depth and a strong look, but they also occupy the highlight range and can make a later grade feel hazy or clipped if the scene is already crowded with bright values. [3]
We would correct light direction, material roughness, and background value in Cinema 4D R2026 before grading. Use the grade to unify the shot and direct attention, not to compensate for a floor that is brighter than the object or a specular highlight that has no intended shape.
Classify textures before correcting their color
A render can go wrong long before the grading stage if an input texture is interpreted in the wrong color space. Color textures and data textures do different jobs, so they should not receive the same gamma treatment. [1][4]
Base color maps carry painted color and need color-managed interpretation. Roughness, metallic, bump, normal, displacement, and mask maps carry numerical data, so altering them through an inappropriate gamma conversion changes the material response instead of its appearance.
Check texture classification as you bring assets into Cinema 4D R2026, especially if they arrive from Substance 3D Painter, version unspecified, or another texturing application. A roughness map that is treated as display color can alter highlight width, then tempt you to “fix” the result with grading.
This is also why a saturated material should be repaired at the material level before a global grade. Pulling down saturation globally can calm the object, but it also changes skin tones, background paint, emissive accents, and any other shot element sharing that color range.
Keep texture color handling, scene working space, view transform, and exported image consistent. Inconsistent color spaces are a recurring cause of images that look acceptable in one part of the pipeline and unexpectedly shift in another. [4][9]
Export a master that holds the render data
For a shot that needs real finishing latitude, render a 32-bit float OpenEXR master from Cinema 4D R2026. A 32-bit EXR can retain scene-referred image information that would be lost or constrained in a display-oriented delivery file. [9]
Use ACEScg for that master when the project is built around ACEScg, then apply the intended display transform in the finishing path. This keeps the render data and the final viewing appearance separate, which is the foundation of reversible grading. [9]
Do not judge the EXR by opening it in software that has no matching color-management configuration. An unmanaged viewer can make a correctly rendered scene-referred image appear washed out, dark, or strangely saturated because it is guessing how to display the values.
Render a conventional deliverable only after the grade is approved. The master is where you protect options, while the delivery image is where you commit to a specific display result, such as an SDR video transform.
Cinema 4D R2026 supports LUTs, but its documentation does not clearly establish every compatible LUT format or resolution limit. Avoid building a pipeline around a LUT import specification you have not verified in your own configured installation. [9]
A LUT can establish a recurring look, but it should sit after disciplined color management, not replace it. If the scene, textures, and display transform disagree, applying a LUT can make the mismatch attractive while leaving it unresolved.
Render AOVs for the corrections you expect
A beauty pass is enough for a final image with minor balancing work. Once you expect separate control over diffuse color, specular reflections, or other lighting contributions, render AOVs from Cinema 4D R2026 alongside the beauty image. [2]
Use 32-bit float EXR output for those passes. Beauty, diffuse, specular, and related AOVs give you components that can be adjusted in compositing without asking the renderer to make a new image for every small look-development change. [2]
A specular pass is where you can soften an overly assertive reflection or guide attention toward a polished edge. A diffuse pass gives separate influence over the broad material color and light falloff that describe the object’s volume.
Treat multipass work as targeted correction, not permission to relight the shot carelessly in post. Large AOV adjustments can expose compositing seams or break the relationship between reflections, shadows, and the main beauty render.
Name and organize the passes consistently before the project reaches compositing. A grade becomes fragile when the artist has to guess whether a pass represents diffuse direct light, a full diffuse contribution, or a combined render element.
Move the image into the finishing tool without changing its meaning
Adobe After Effects, with the version unspecified here, can work with Cinema 4D through Cineware, making it a natural destination for motion-graphics projects that need compositing and image finishing in the same broader workflow. [2]
Bring the EXR and its color-management assumptions with it. If After Effects, version unspecified, interprets the source differently from Cinema 4D R2026, the grade starts from a changed image, and matching the render view becomes harder than it needs to be.
For a grading-led finishing process, Blackmagic Design DaVinci Resolve, with the version unspecified here, is another supported external option in the Cinema 4D ecosystem. [9] Use it when the final look needs dedicated grading controls and the project’s color management is clearly documented.
Redshift, OctaneRender, and Arnold also integrate with Cinema 4D workflows and have their own rendering and color-management considerations. Maxon lists Redshift, OTOY OctaneRender, and Autodesk Arnold among the third-party renderers and tools relevant to Cinema 4D color-managed work. [9]
FilmConvert Nitrate and Red Giant Magic Bullet Looks are additional look-development tools listed for this ecosystem. We would not pick a plugin first, because we found no published feature or quality ranking among native tools and these additions [9].
Check current pricing, license terms, and system requirements directly with each vendor before committing a project to a plugin or renderer. Those details vary over time, and no fixed price or hardware requirement applies across this group.
Grade in an order that preserves the image
Start the grade by matching exposure and overall contrast, then check neutral areas for unwanted color casts. This gives you an image with a stable tonal foundation before you introduce the palette decisions that define the final look.
Next, shape the color relationships already present in the render. Warm a key light, cool a fill region, mute a background, or concentrate saturation in a product accent, but keep checking whether the change still supports material identity and focal hierarchy.
Leave aggressive highlight rolloff, deep shadow crushing, and strong tinting until late. Those moves can establish a compelling look, yet they are harder to judge if exposure, white balance, and display interpretation are still moving underneath them.
Compare the corrected beauty against the AOVs when an adjustment produces an odd result. If a metallic surface turns muddy, inspect the specular contribution before adding more contrast or saturation to the full image.
A grade should preserve the visual evidence of the material. Painted matte surfaces, brushed metal, glossy plastic, translucent elements, and emissive details need different highlight and saturation behavior, even when the final shot has a single unifying color mood.
Calibrate the monitor and control the viewing environment
A blue-biased monitor can lead you to add warmth that does not exist in the render. An overly bright display can lead you to darken the grade until it becomes too heavy on a normal screen. Monitor calibration is part of color judgment. [4][5]
Calibrate the monitor before approving neutral grays, shadow density, saturation limits, or a brand-critical product color. Also account for ambient light in the room, because the viewing environment changes how your eyes perceive both screen brightness and color balance. [4][5]
Do not alternate casually between an uncalibrated laptop display, a bright office monitor, and a controlled grading monitor while making final corrections. You will adapt to each display, then risk chasing perceived errors that belong to the viewing conditions. [5]
Check the final image through the display transform intended for delivery. Scene-referred EXR data, a Cinema 4D R2026 viewport, and an SDR output file are related views of the project, but they are not interchangeable images.
Keep the workstation from becoming the bottleneck
A 32-bit EXR sequence with multiple AOVs demands more storage and memory than a simple compressed image output. Fast SSD storage helps with large project files and image sequences, while sufficient RAM supports Cinema 4D and finishing applications working on those assets. [6]
For Cinema 4D R2026 rendering, high clock-speed CPUs are a priority, and GPU performance is particularly important for Redshift rendering. Puget Systems also recommends at least 16 GB to 24 GB of RAM for Cinema 4D workloads, alongside fast storage. [6]
Renderboxes likewise emphasizes GPU capability for Redshift-focused Cinema 4D systems. [7] If your grade depends on repeated high-resolution previews, prioritize the renderer and storage path that let you evaluate changes without constantly reducing resolution or disabling passes.
Do not promise a fixed turnaround for grading or EXR rendering. Render duration and finishing responsiveness vary with scene complexity, output resolution, AOV count, renderer, GPU, CPU, available memory, and the speed of the storage holding the image sequence.
Frequently Asked Questions
How do I set up color grading in Cinema 4D renders?
Begin by establishing a linear workflow and choosing ACEScg as the working color space before lighting or texturing. Render your scene using 32-bit float OpenEXR files with AOVs to allow isolated adjustments in grading. Ensure your lighting setup is clean and balanced, as grading should enhance the image rather than fix lighting problems.
What is the best color pipeline for Cinema 4D grading?
A linear workflow combined with ACEScg color space is recommended for predictable and physically coherent color behavior. Use OpenColorIO (OCIO) color management to keep scene, display, and output transforms consistent. Set the View Transform to ACES 1.0 SDR-Video for standard dynamic-range output.
How to use ACEScg color space in Cinema 4D?
Set ACEScg as the scene-referred working color space to preserve high dynamic range data during rendering. Keep the scene data separate from the display transform, which maps the render to your monitor's view. Avoid baking display looks into textures or light intensities to maintain flexibility in grading.
Why should I render OpenEXR files for grading in Cinema 4D?
OpenEXR files with 32-bit float depth preserve the full range of color and lighting information, allowing for extensive post-production adjustments without quality loss. Including multiple AOVs (like diffuse, specular, and reflections) enables targeted corrections in grading without re-rendering the entire scene.
How to maintain consistent color spaces in Cinema 4D workflows?
Calibrate your display and ensure all elements, textures, Cinema 4D scene settings, render outputs, and finishing software, use matching color spaces and transforms. Classify textures correctly by distinguishing color textures from data textures to avoid incorrect gamma conversions that can distort material appearance.
How we researched this
This article was assembled from 9 cited references.
Nothing here is based on hands-on testing. Where a figure or finding appears, it belongs to the source cited beside it, and the writing says so rather than implying otherwise. Every source is listed below so you can check it.
Sources
- Cinema 4D Tip: Cinema 4D: Linear Workflow and Color Management
- Cinema 4D and After Effects Workflow for Motion Graphics | Docklands Media
- Lighting in Cinema 4D: Designing the floor and lighting
- Color Grading Mastery: Science to Creative Art | BlockReel
- Monitor Setup and Calibration for Grading
- Hardware Recommendations for Cinema 4D | Puget Systems
- Cinema 4D Workstations | Redshift Rendering | Renderboxes
- OpenColorIO Manual (OCIO) : Cinema 4D C++ SDK
- Cinema 4D R2026 Color Management, Knowledge Base
Related Articles
Manage Large Scenes Efficiently in Cinema 4D
Learn how to manage large scenes efficiently in Cinema 4D with tips on optimization, instances, LOD, and viewport performance.
Create PBR Materials from Scratch: A Practical Guide
Learn how to create PBR materials from scratch with correct texture maps, workflows, and software tips for realistic 3D rendering.
Fix Lighting Issues in Blender
Learn how to fix lighting issues in Blender by balancing exposure, HDRI, and light falloff for better renders in Cycles and Eevee.
Blender Product Visualization Workflow for Realistic Renders
Learn a practical Blender product visualization workflow with lighting, rendering, and camera tips for photorealistic product renders.