
Blender Safety Tips for Beginners
Learn essential Blender safety tips for beginners on ergonomics, data backup, hardware care, and digital security to work safely and efficiently.
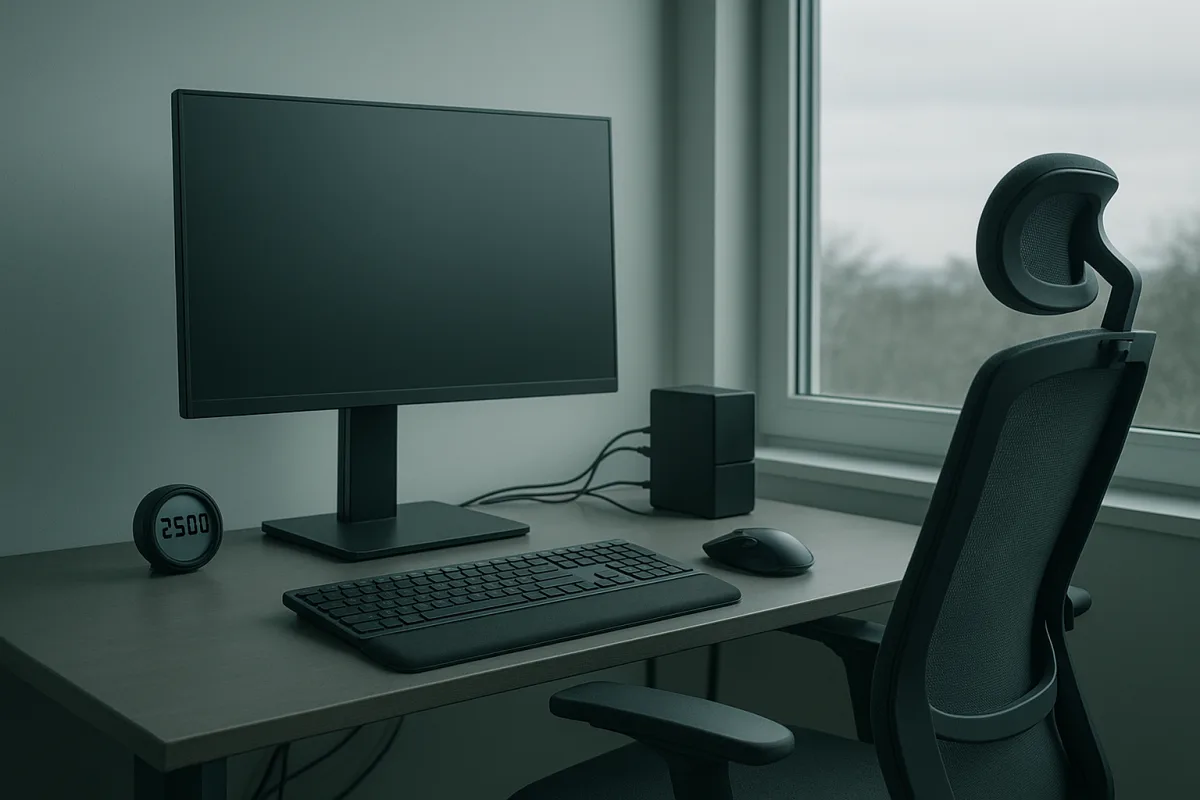
Safety in Blender is mostly about maintaining margin
When beginners ask about Blender safety, they often expect advice about a particular shortcut, render setting, or add-on. The more useful concept is margin: leaving enough room for your body, computer, files and security to absorb a mistake.
That is not unique to 3D work. The research does not identify an ergonomic injury risk exclusive to Blender, sculpting, UV work or lighting. Blender is still computer work, but it encourages long, focused sessions and heavy renders that make ordinary risks easier to ignore.
I am writing here with Blender 5.2 LTS in mind, since that is the version named by Blender’s current recovery documentation. The principles apply to other versions and to ZBrush, Substance 3D Painter, Houdini or any DCC, but menus and bundled features move.
Margin is different from perfection. You do not need an expensive studio chair, enterprise storage server, water-cooled workstation and a forensic security process before making your first model. You do need a setup that fails gently rather than expensively.
Start with the body, not the render settings
A new Blender user can lose track of time while retopologising a sculpt, painting masks, adjusting a shader, or trying to solve a lighting problem. Those tasks demand attention, but they do not require your shoulders to rise toward your ears.
Missouri S&T’s workstation guidance describes the baseline: sit upright with back and neck aligned, shoulders relaxed, elbows close to the body, forearms roughly parallel to the floor, and wrists straight. The monitor’s top should sit at or slightly below eye level. [1]
That posture matters because the mouse and keyboard are not occasional inputs in 3D. A modeller may alternate thousands of small actions between orbiting, selecting, transforming, marking seams and typing values. A wrist bent upward or sideways turns that repetition into sustained loading.
Arrange the desk so the keyboard and mouse are close enough that you do not reach for them. Your chair should support the lower back, both feet should rest flat, and knees should sit around 90 degrees. [1] These are not aesthetic rules for a tidy desk.
They reduce the work your muscles do merely to hold you in place. If you are leaning forward to see a dense node graph, reaching for a mouse parked beyond the keyboard, or perching with feet dangling, your body is spending energy before the actual creative work starts.
A 3D mouse, vertical mouse or ergonomic keyboard can help some people reduce repetitive strain. That does not make one a required Blender purchase, and I would not claim to have used every device or add-on marketed to artists. [1]
The useful distinction is between a tool that changes a painful movement pattern and a tool purchased because it looks like professional kit. A 3D mouse may suit someone who navigates scenes all day, but it cannot compensate for an unsupported back or skipped breaks.
Use time as a safety control
The practical number to understand is 20 minutes. It is short enough to interrupt before fatigue becomes obvious, and it gives you a repeatable checkpoint instead of relying on willpower after an engrossing modelling session.
The familiar 20-20-20 rule means that every 20 minutes, you look at something about 20 feet away for 20 seconds. It is intended to interrupt sustained near-focus work and may help with digital eye strain. [8]
For Blender artists, that can be as simple as looking through a window, down a hallway, or across the room after finishing a small task. Do it before starting another edge loop, material pass, or render test, not only when your eyes already ache.
UCLA Health recommends micro-breaks of 30 seconds to one minute every 20 minutes for eye rest and light stretching. [9] That can mean opening and closing your hands, rolling your shoulders, standing briefly, or walking to refill water.
A slightly longer break matters too. Guidance from Sphere10 recommends two to five minutes away from the workstation every 60 to 90 minutes, allowing you to stand and relieve muscle fatigue. [10] Treat that as part of production, not time stolen from it.
There are also simple eye-rest habits: deliberately blink 15 to 20 times, shift focus between near and distant objects, or close your eyes briefly. Screen brightness, text size and room lighting should be comfortable enough that you are not squinting through a four-hour material session.
The point is not to perform an elaborate wellness ritual every twenty minutes. It is to break the fixed posture and fixed viewing distance that accumulate while using any 3D package. A timer or reminder is helpful because concentration is exactly what makes breaks easy to miss.
Rendering safely means watching heat and capacity
A viewport that slows down is irritating. A workstation that becomes unstable during a render can cost an evening’s work, especially if the scene has not been saved recently. Heat and memory pressure are where Blender’s technical safety becomes tangible.
The available temperature guidance is general computer guidance, not Blender-specific hardware certification. For a CPU, darkFlash describes roughly 30°C to 45°C at idle, 40°C to 60°C during light work, and 60°C to 85°C under heavy load such as rendering. [2]
That source places a CPU maximum safe limit around 95°C to 105°C, depending on the processor. [2] The important reading is not that every CPU should share one exact target, but that a sustained render is expected to run hotter than simple viewport work.
GPU guidance in the research brief is similarly general: 30°C to 50°C at idle, 45°C to 60°C in light use, and 60°C to 85°C under heavy load. The stated maximum safe range is 90°C to 95°C. Monitor your specific hardware rather than guessing.
If temperatures climb unexpectedly, the safe response is to stop treating it as a Blender problem alone. Check fan operation, dust, airflow, room temperature and whether the machine is placed in a confined cabinet. Effective cooling and temperature monitoring are preventative maintenance, not enthusiast decoration. [2]
Do not try to solve a slow render by immediately multiplying samples, texture resolution, subdivision or undo history. Blender crash guidance identifies insufficient memory, outdated GPU drivers, excessively demanding render settings and heavy undo usage as common causes of instability. [5][6][12]
Multisample anti-aliasing can also use more memory and slow display performance. [12] The craft lesson is to work at the resolution needed for the decision in front of you, then raise quality deliberately for final output. A clean viewport is more useful than a heroic crash.
Unapplied transforms can also create avoidable trouble, particularly when modifiers, physics, texture scale or export are involved. [6] Applying transforms is not an automatic rule for every object, but understanding object scale before building a modifier stack is safer than hoping defaults behave as intended.
Keep graphics drivers current, and be cautious with old or conflicting add-ons. Third-party extensions can become incompatible as Blender changes, while broken links and unsupported materials can contribute to damaged or difficult scene files. [7][12]
A saved file is not necessarily a safe file
Blender’s Auto Save is valuable, but it is a recovery layer, not a complete preservation strategy. Blender’s documentation describes Auto Save as running every two minutes by default, and Save Versions can retain earlier saved states. [12]
Those features help after a crash, an accidental close, or an edit you regret. They do not protect you if the drive fails, a sync service overwrites the wrong file, ransomware affects the workstation, or you discover weeks later that yesterday’s file is already damaged.
Use a predictable project structure. Blender Studio’s published approach separates local/, shared/, and svn/ areas, which expresses a useful idea even for a solo beginner: keep personal working data, shared assets and controlled project history distinct. [13]
For a personal project, that might mean one project folder with separate blend, textures, references, renders and exports folders. The exact names are a habit, not a rule. What matters is being able to find dependencies and backups without improvising.
Save incremental files when making a meaningful change. chair_001.blend, chair_002.blend and chair_003.blend are not glamorous, but they make it possible to return to a known-good state after deleting geometry, breaking a rig, or changing materials beyond recognition.
For larger collaborative work, version control systems such as SVN, Git LFS and Perforce are designed to manage large binary files more realistically than plain Git alone. [3] Which one suits a team depends on its pipeline, budget, hosting and tolerance for administration.
External backups still matter alongside version control. Maintain both manual and automated copies outside the active working location, as backup guidance recommends. [4] A backup on the same drive as the live .blend file is convenient, but it does not protect against that drive disappearing.
Before installing an unfamiliar add-on, make a backup and test it in a sample project first. That small buffer lets you discover conflicts or unwanted changes without placing your only production file at risk.
Treat .blend files as executable-adjacent downloads
A .blend file is not always just a passive model. Blender can contain embedded Python scripts, and Kaspersky has documented malicious activity hidden in Blender model files. [14] That changes how you should treat assets from strangers.
Do not open an unknown .blend file simply because it contains a useful kitbash asset, material library or rig. Download from reputable sources, inspect what you can, and keep Blender current. Tenable reports vulnerabilities affecting releases earlier than Blender 2.83.19, 2.93.8 and 3.1. [11]
For Blender 5.2 LTS users, the practical point is to use a maintained stable release rather than an abandoned old install. Security problems are not necessarily visible as a broken viewport or crash, so waiting for obvious symptoms is not a meaningful defence.
Install add-ons from recognised channels such as Blender’s official repositories, Blender Market or Gumroad, and verify that any required dependencies come from trustworthy sources. Review whether an extension needs internet or file-system access before enabling it.
Blender’s normal add-on workflow is through Preferences, then Add-ons, then Install, followed by enabling the extension. The clicks are simple, but the decision before them is the important part: know who published it, what it accesses, and whether it is maintained.
BlendGuard is a third-party extension listed as compatible with Blender 4.2 LTS and later that aims to detect malicious scripts. [15] It may be useful as an additional check, but it should not become permission to trust every downloaded asset blindly.
The beginner habit worth keeping is modest: pause before opening, installing, rendering or overwriting. Those few seconds create margin. In 3D work, that margin protects your body, your machine, your project history and, eventually, the time you are paid to spend making images.
Frequently Asked Questions
How can beginners set up an ergonomic Blender workstation?
Beginners should sit upright with their back and neck aligned, shoulders relaxed, elbows close to the body, forearms parallel to the floor, and wrists straight. The monitor’s top should be at or slightly below eye level. The chair should support the lower back, both feet should rest flat on the floor, and knees should be at about 90 degrees. Keyboard and mouse should be close enough to avoid reaching.
What are the best practices to avoid repetitive strain injuries in Blender?
Maintain proper posture and arrange your workstation to minimize muscle strain. Take regular breaks every 20 minutes to rest your eyes and stretch, following the 20-20-20 rule: look at something 20 feet away for 20 seconds. Use micro-breaks of 30 seconds to one minute for light stretching and movement, and take longer breaks of two to five minutes every 60 to 90 minutes to stand and relieve muscle fatigue. Ergonomic tools like 3D mice or ergonomic keyboards may help reduce strain but do not replace good posture and breaks.
How often should I take breaks when working in Blender?
You should take a short break every 20 minutes, looking away from the screen for 20 seconds and performing light stretches or movements for 30 to 60 seconds. Additionally, stand and move away from your workstation for two to five minutes every 60 to 90 minutes to reduce muscle fatigue.
What are safe temperature ranges for rendering in Blender?
For CPUs under heavy load such as rendering, safe temperatures are generally between 60°C and 85°C, with a maximum safe limit around 95°C to 105°C. For GPUs, safe heavy load temperatures are also between 60°C and 85°C, with maximum limits near 90°C to 95°C. Regularly monitoring temperatures and ensuring effective cooling is recommended.
How do I protect my Blender projects from data loss?
Use Blender’s Auto Save and Save Versions features to keep backups during work sessions. Maintain copies of your files outside the working drive and implement version control systems such as SVN, Git LFS, or Perforce for important projects. Organize files using a consistent folder structure and keep both manual and automated external backups to prevent data loss.
How we researched this
This article was assembled from 15 cited references.
Nothing here is based on hands-on testing. Where a figure or finding appears, it belongs to the source cited beside it, and the writing says so rather than implying otherwise. Every source is listed below so you can check it.
Sources
- Ergonomic Workstation Guide – Environmental Health and Safety | Missouri S&T
- CPU Running Too Hot? Safe Temps, Warning Signs, and Smarter Cooling Solutions (2026 Guide) - Hardware Tips - darkFlash USA
- Game Development Version Control Best Practices: A Beginner's Guide - Tech Buzz Online
- What Is Blender File Type? A Deep Dive For Beginners - Kitchendemy
- 11 Ways to Fix Blender Crashing When Rendering
- Getting Started With Blender: A Beginner's Guide - TechYorker
- How to Stop Blender from Crashing While Rendering in 2025 | Blender Cloud Rendering
- 20-20-20 Rule: Does It Help Prevent Digital Eyestrain?
- Rest Breaks - Safety | UCLA Health
- Taking Breaks
- GLSA-202403-02 : Blender: Multiple Vulnerabilities<!-- --> | Tenable®
- Recovering Data - Blender 5.2 LTS Manual
- Folder Structure Overview | Blender Studio
- A stealer hiding in Blender 3D models | Kaspersky official blog
- BlendGuard Version History — Blender Extensions
Related Articles
Blender Ergonomics for Beginners: Safe Setup and Breaks
Learn Blender ergonomics for beginners with tips on posture, breaks, and workspace setup to work safely and comfortably.
Using Blender for Education
Learn how to use Blender for education with tips on setup, hardware, and teaching modeling, lighting, and rendering effectively.
Sculpting Software for Beginners: Blender vs Nomad Sculpt
Learn how to choose the right sculpting software for beginners by comparing Blender and Nomad Sculpt features, ease of use, and workflow fit.
Best Computer Specs for Blender: CPU, GPU, RAM & Storage
Discover the best computer specs for Blender in 2026, including CPU, GPU, RAM, and storage recommendations for optimal 3D modeling and rendering.