
Blender Architectural Visualization Workflow
Learn the Blender architectural visualization workflow: import CAD, model accurately, set scale, and create realistic materials and lighting for renders.
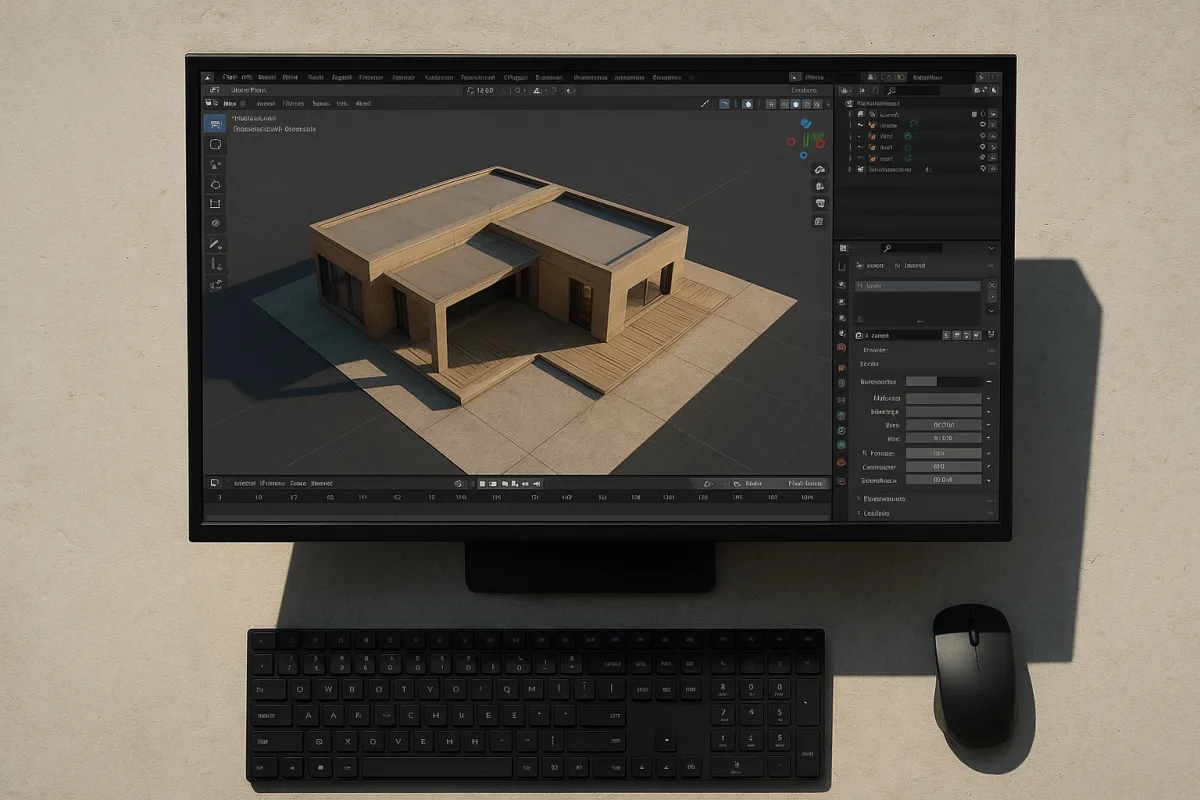
Begin with the brief, not the Blender file
Architects usually arrive with plans, elevations, CAD exports, an IFC model, or a mixture of all four. The first job is not making a pretty image. It is deciding what must be accurate, what can be implied, and what the camera will never see.
Ask for the intended views, project location, material schedule, drawing revision, north direction and client deliverable. A planning image needs legible massing and context. A sales render needs believable surfaces, furniture, weathering and a carefully directed eye.
That distinction controls the modelling budget. It is perfectly reasonable to model a façade system accurately for a close exterior view, then represent distant apartments as simplified blocks with convincing window treatment. That is not cheating, it is directing effort toward the image.
For this guide, I am working in Blender 4.5 LTS. Blender is free under the GPL and can be used commercially without revenue or seat limits, which makes it unusually accessible for small practices and freelance visualizers. [18][19]
Clean imported drawings before you add detail
Imported CAD is useful reference geometry, not automatically usable render geometry. Files commonly arrive with wildly distant origins, inconsistent units, duplicate lines, excessive layers, missing textures, corrupted elements or a level of detail that makes no sense for the target image. [16][17]
Check orientation immediately. CAD and BIM applications may use different up axes, while Blender uses Z as up. Confirm that floor levels, wall heights and door openings are correct before you build anything on top of the import.
Scale is equally important because Blender’s lights, bevel widths, displacement and PBR texture mapping all depend on scene scale. If a one-metre wall imports as one millimetre, every later shading and lighting decision becomes harder to judge.
Use a known dimension from the drawing, such as a standard door height or a labelled grid span, and measure it in Blender. Blender’s MeasureIt add-on is useful for checking distances in the viewport while you establish a reliable working scale. [4]
Do not preserve every CAD spline just because it exists. Strip out construction annotations, hidden service layers, duplicate blocks and microscopic fixings that have no visible effect. Keep a clean reference collection, then build render-ready geometry in separate collections.
If the project is delivered as IFC, Bonsai, previously known as BlenderBIM, can support an OpenBIM workflow inside Blender. Its use is established in some European and Asian studios, but adoption is not universal, so verify what an architect actually needs delivered back. [2][4]
Choose the modelling method by the architectural problem
For ordinary walls, openings, stairs and room components, Blender’s Archipack and Archimesh add-ons can speed up the repetitive work. They are sensible for standard residential and commercial elements, where dimensions change frequently and the forms remain conventional. [4]
They are not a substitute for judgement. A bespoke folded roof, a perforated screen with a non-repeating logic, or a façade driven by data is often better handled with Geometry Nodes, conventional mesh modelling, or an external procedural tool such as Houdini.
Geometry Nodes is particularly useful when one design decision must propagate across many parts. Think façade fins, paving modules, balcony screens, planting distribution or repeated mullions. Make the controlling dimensions explicit so late architectural revisions do not mean rebuilding every instance.
Bool Tool is helpful when subtractive modelling genuinely matches construction logic, such as cutting openings through a clean wall volume. The add-on speeds boolean operations, but the resulting mesh still needs inspection before it becomes a close-up hero asset. [3]
A boolean is a method, not a topology strategy. Keep cutter objects organised, apply operations only when necessary, and inspect corners where several cuts intersect. Badly managed booleans tend to reveal themselves later as shading artifacts, broken bevels or unreliable UVs.
For objects seen close to camera, model the edges that catch light. A mathematically sharp plaster corner or steel handrail usually renders as computer graphics because real construction has radii, seams, joints and tolerances, even when they are subtle.
Build topology for shading, not for wireframe beauty
Architectural visualization has a different topology priority from character work. Most walls can be simple, clean planes. What matters is stable normals, sensible smoothing, enough support for bevels, and topology that survives the modifiers you actually plan to use.
Add bevels where materials need highlights to read. A tiny bevel on painted timber, powder-coated aluminium, concrete edges and cabinetry often does more for realism than doubling texture resolution. Its width must match the real-world scale you established earlier.
Use weighted normals or carefully managed custom normals when large hard-surface surfaces shade unevenly. The goal is not a fashionable modifier stack. The goal is broad planes that render cleanly, with edge highlights that describe the object’s construction.
Save dense geometry for silhouettes, close details and displacement where the camera can resolve it. As a starting guide, simple props may fall around 500 to 2,000 polygons, complex props around 2,000 to 10,000, and detailed environments can reach 200,000 polygons. [12]
Those figures are not limits. A still rendered in Cycles can tolerate much more than a phone-based AR asset. Test the scene in its actual delivery environment instead of treating any polygon number as an industry rule.
Decide what the final output can afford
A marketing still and an interactive model are separate production problems. For stills, spend geometry where it improves silhouette, reflections, shadow breakup or close surface detail. For a walkthrough, prioritise instancing, texture efficiency and predictable viewport performance.
File size becomes a real constraint once models leave your workstation. STL files can range from roughly 100 KB to 50 MB depending on complexity, and files above 50 MB may noticeably degrade performance in some workflows. [5]
Mobile AR is stricter again. Polyvia3D’s testing cites an 8 MB limit on an iPhone 12 and a 65,000-triangle limit on a Pixel 6a for practical AR delivery targets. Those are platform-specific guideposts, not universal export rules. [6]
Create separate scene variants if necessary. Your high-resolution hero render should not be compromised by the limits of a web configurator, and your lightweight interactive model should not carry unseen interior joinery, ultra-dense vegetation or 8K textures.
Make materials describe construction and location
PBR maps are not magic realism. They work when the base colour, roughness, normal and displacement information describe the actual material, at an appropriate scale, under plausible lighting. High-resolution maps without correct scale merely produce high-resolution wrongness. [1][14]
Start with the material schedule. Is the façade brick, lime render, fibre cement, weathered timber or polished stone? Then ask how that material is made, installed, exposed to rain, touched by people and altered by age.
A tileable brick or stone wall needs believable module dimensions, mortar depth and variation, not just a repeating colour image. Practical tileable workflows use maps and controlled variation to avoid visible repetition, especially across large architectural surfaces. [13]
Imperfections should follow use and exposure. Rain streaks belong below ledges and drainage paths. Wear gathers near handles, thresholds and circulation routes. Sun bleaching and dust accumulation depend on orientation, climate and local construction rather than a generic grunge overlay.
This is where regional architecture matters. A Mediterranean stucco façade, wet-climate timber cladding and dense urban brickwork should not inherit the same roughness, dirt masks or daylight assumptions. The material is part of the building’s place, not a library thumbnail.
Substance 3D is a paid, licensing-based option for detailed texture authoring, while Blender remains free. Pricing and terms can change, so check the official vendor information before budgeting a team pipeline rather than relying on a fixed online price. [18]
Light the proposal before chasing photorealism
Lighting should first answer the architectural question. Are you showing daylight penetration, a warm evening arrival, the relationship between interior and landscape, or the scale of a public room? Pick the story before adding lamps.
Begin with an HDRI or a deliberately built sun-and-sky setup for environmental light. Then use IES profiles where the specified luminaires require a real distribution pattern. HDRI lighting, global illumination and ambient occlusion work best as a balanced system. [8][9]
Do not overlight the scene. Excess fill light removes the very shadow gradients that describe recesses, material depth and room volume. If every corner is equally visible, the render often feels less believable, not more.
Three-point lighting remains a useful teaching framework: key establishes the dominant direction, fill controls contrast, and rim separates forms from the background. It is a habit, not a rule, and architecture often needs daylight-led lighting rather than a studio arrangement. [10]
Render tests early at the intended camera angle. A lighting setup that looks convincing in a perspective viewport may blow out glazing, flatten plaster, or turn a carefully modelled façade into a silhouette once exposure and composition are finalised.
Set expectations around production time and revisions
A single interior rendering commonly takes two to five business days, while a single exterior may take three to seven. A full marketing set is often estimated at two to three weeks, and walkthrough animation at two to six weeks. [7]
These are scheduling ranges, not guarantees. A clean model, decisive material schedule and fixed camera list can make work move quickly. Late design changes, undefined landscaping, new furniture selections and shifting client feedback can expand any estimate.
Reserve time for the unglamorous passes: checking drawings against the model, fixing imported geometry, matching named materials, testing glazing, reducing fireflies, denoising without losing detail, and preparing crops for presentation boards or social formats.
The strongest Blender architectural workflow is therefore not a list of add-ons. It is a sequence of checks: verify data, establish scale, model what the camera needs, shade according to construction, light for the design argument, then optimise for the actual deliverable.
Frequently Asked Questions
How do I prepare CAD files for architectural visualization in Blender?
Start by cleaning imported CAD files to remove duplicate lines, hidden layers, annotations, and unnecessary details. Verify orientation and scale immediately, as Blender uses Z as the up axis, which may differ from CAD or BIM files. Use a known dimension from the drawing to check scale accuracy, and keep a clean reference collection separate from render-ready geometry.
What is the best workflow for modeling architecture in Blender?
Begin with verified CAD or BIM geometry, ensuring correct units and coordinates before adding details. Use Blender 4.5 LTS as the main scene-building and rendering tool, but apply specialist software like Geometry Nodes, Houdini, or Bonsai when the architectural problem requires procedural or OpenBIM workflows. Choose modeling methods based on the project: Archipack and Archimesh for standard elements, and Geometry Nodes or external tools for bespoke or complex forms.
How do I maintain correct scale and units when importing architectural models into Blender?
Check the imported model’s scale by measuring a known dimension such as a door height or grid span using Blender’s MeasureIt add-on. Confirm the orientation and axis alignment, since CAD and BIM files may use different up axes than Blender. Correct any discrepancies early to ensure lighting, bevel widths, and texture mapping behave as expected.
Which Blender add-ons help speed up architectural modeling?
Archipack and Archimesh provide parametric tools for common architectural elements like walls, openings, and stairs, making them suitable for standard residential and commercial projects. For IFC-based OpenBIM workflows, BlenderBIM (Bonsai) supports integration inside Blender. Geometry Nodes is valuable for procedural modeling and propagating design decisions across multiple parts.
How do I set up materials and lighting for realistic architectural renders in Blender?
Build materials using physically plausible PBR maps that reflect real construction logic and include measured imperfections. Use HDRI lighting for daylight and specify IES fittings appropriately to simulate real-world light behavior. Achieving photorealism requires balancing multiple lighting techniques and tailoring materials and lighting to the project’s architectural style and context.
How we researched this
This article was assembled from 22 cited references.
Nothing here is based on hands-on testing. Where a figure or finding appears, it belongs to the source cited beside it, and the writing says so rather than implying otherwise. Every source is listed below so you can check it.
Sources
- Architectural Visualization with Blender: Free Assets and PBR Materials Guide | illustrarch
- Architectural Modeling, Visualization & Rendering in Blender: A Simple Guide - Vagon
- Blender Add-ons: Bool Tool for architecture • Blender 3D Architect
- Add-ons for architectural visualization with Blender | Blender Render farm
- Why is My STL File So Large or Small? Complete Size Guide | STL Editor
- AR 3D Models: 47 Tested — Real FPS Numbers, Not Theory | Polyvia3D
- How Long Does an Architectural Rendering Take?
- Lighting and Texturing in Architectural Rendering: Best Practices for Realism - Architectural 3D Rendering
- Blender Render Setup Tutorial: Photorealistic Guide | CGAxis
- How to use key, fill and rim lighting in 3D art
- Mastering Architectural Rendering Techniques: A Professional…
- 3D Architectural Visualization: Complete Guide & Best Practices
- Tileable Stone & Brick Walls in Blender: Practical Guide — 3DSkillUp
- PBR Materials for Architectural Rendering Explained
- 4 pitfalls when importing an AI-generated GLB into Blender | Sculptly
- How to Import 3D Models to Blender: Step-by-Step Guide
- How to Prepare Architectural Plans / CAD Files for 3D Visualization | Space Visual Blog | Space Visual
- Is Blender Free? Commercial Use, Pricing & License Explained
- Blender's GPL licence carries no revenue or seat limit | Previs Office
- Marmoset Toolbag Pricing in 2026: 5 Plans Compared
- Terms and Conditions | Marmoset Toolbag
- Architectural rendering styles: When to use each and what they require to produce
Related Articles
Blender Add-Ons for Architectural Modeling: Tools & Workflow
Explore Blender add-ons for architectural modeling, managing design intent, BIM support, and data exchange for efficient workflows.
Octane vs V-Ray Architectural Rendering: Which to Choose?
Compare Octane and V-Ray for architectural rendering to find the best fit for your hardware, workflow, and project needs.
Blender vs 3ds Max for Architectural Visualization in 2026
Compare Blender vs 3ds Max for architectural visualization to find the best fit for modeling, rendering, CAD/BIM workflows, and studio pipelines.
Create Realistic Environment in Blender: Step-by-Step Guide
Learn how to create a realistic environment in Blender with tips on terrain, texturing, lighting, and scale for believable 3D scenes.