
Optimize Blender for Large Scenes
Learn how to optimize Blender for large scenes with viewport, texture, and asset management tips to improve performance and reduce memory use.
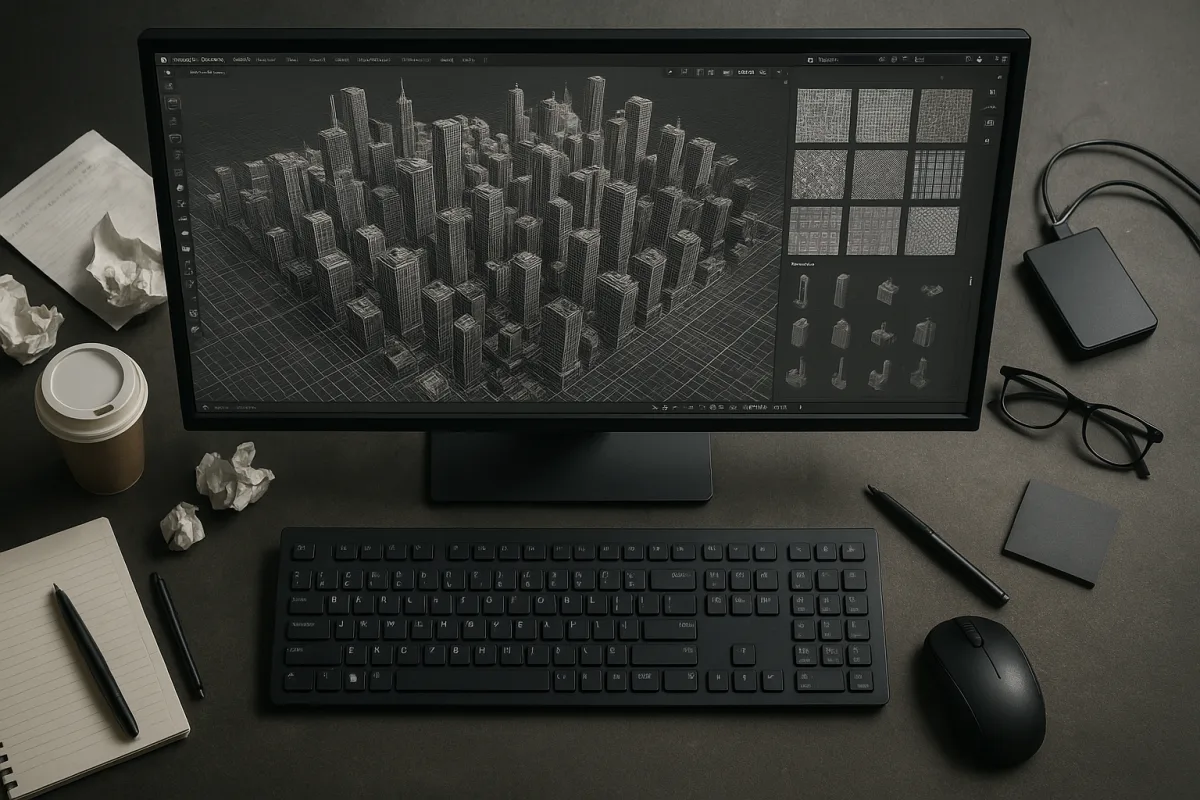
When the file first starts feeling heavy
In Blender 5.2 LTS, the first slowdown is usually not render time. It is orbiting, selecting, moving a camera, or waiting for a modifier stack to settle. That distinction matters because a slow viewport and a slow final render do not always have the same cause.
Do not begin by counting polygons and searching for a universal “safe” number. Blender has no fixed polygon or texture limit because the result depends on mesh structure, modifiers, materials, image data, viewport mode, system RAM, and, especially, GPU VRAM. [5]
Start with what Blender is drawing while you work. In the 3D Viewport, switch dense environment collections to Bounding Box display when you are arranging cameras, blockouts, or major assets. Wireframe display is useful when you need to see placement without asking the GPU to shade every surface. [8]
This is not a rule that every object should stay boxed while you model. A character, hero prop, or architectural detail needs proper shaded inspection. The practical habit is to reserve full material preview and rendered view for the assets and shots currently under review.
Turn off overlays you are not using. Relationship lines, extra object outlines, statistics, face orientation, floor grids, and similar helpers are individually modest, but a crowded large scene has enough visual and GPU work already. Blender’s viewport documentation specifically supports reducing overlays for responsiveness. [8]
Set sensible clipping distances too. An enormous far clip range makes Blender consider more of the scene than a close product shot needs, while an overly large near range can create awkward precision problems. Keep the visible depth appropriate to the shot or task. [8]
Lower viewport anti-aliasing before you lower final image quality. Aliasing in an interactive layout view is generally cheaper to tolerate than lag while positioning a camera. The same applies to limiting viewport texture size, which reduces memory pressure without changing the source texture files. [8]
When materials and textures fill the GPU
A scene can look deceptively lightweight in solid mode, then collapse in Material Preview or Cycles because the geometry was not the limiting factor. Large UDIM sets, multiple 4K or 8K maps, and maps connected to materials no longer visible in the shot can consume VRAM quickly. [5][11]
First, identify which textures actually contribute to the frame. Reduce resolutions for distant objects and disable maps that do not affect the intended result. A roughness map on a foreground hero asset may matter, while a normal map on a background wall occupying fifty pixels probably does not.
This is where texture optimization is look development, not merely technical housekeeping. Resolution should follow screen coverage and visual importance. A texture that reads at a camera distance does not become better because its source image is larger than the render can resolve.
Cycles 5.2 LTS includes texture caching that loads only the image tiles needed for rendering, reducing GPU memory use in texture-heavy scenes. [11] It helps, but it is not permission to keep every map at maximum resolution or to load a whole asset library into one scene.
VRAM capacity makes a direct difference here. The research behind large-scene guidance notes that an NVIDIA RTX 3090 with 24 GB VRAM can hold substantially more scene data than an RTX 3080 with 10 GB, even though neither card creates a universal scene limit. [5]
If Blender begins falling back from GPU rendering, stuttering while changing materials, or failing to fit a render in memory, simplify textures before chasing samples. Tile size can also balance speed and memory use, but it is a secondary adjustment after the scene fits comfortably. [5]
When repeated assets turn into duplicated data
Large scenes often become heavy because every chair, tree, bolt, book, or window was copied as an independent object with independent mesh and material data. The Outliner may look organized, but the file is still carrying repeated information it does not need.
In Blender 5.2 LTS, use Collections as working sets rather than as decorative folders. Collections let you control visibility and selection for logical groups, such as exterior vegetation, interior dressing, background buildings, or one lighting pass. [9]
That visibility control is a performance tool. Hide the full exterior while dressing an interior, hide scatter systems while shaping a foreground prop, and disable background collections during camera work. The goal is not to permanently remove content, but to stop evaluating irrelevant content.
For assets shared among files, use linked libraries rather than appending full copies whenever the project structure allows it. Linked data references an external source, helping reduce duplicate file data and allowing updates to propagate to scenes that use the asset. [10]
Local changes still need care. Blender’s linked-data workflow supports local edits without changing the source asset through proxy-style or override workflows, which is useful when a scene needs a shot-specific adjustment but the library asset must remain stable. [10]
Blender 3.0 also introduced asset indexing, improved file handling, and Zstandard compression features aimed at handling asset libraries and files more efficiently. [10] Those improvements do not replace scene discipline, but they make a library-based workflow more practical than manually hunting through folders.
When geometry is the bottleneck
High polygon counts are not automatically bad. A close-up sculpted creature, a displacement-ready terrain tile, or a scanned object may need dense geometry. The mistake is carrying that density into every duplicate, background object, and viewport task without deciding what the camera can see.
Use Levels of Detail, often shortened to LOD, for objects that appear at several distances. Keep a high-detail version for close work, a reduced version for middle distance, and a far version that preserves silhouette rather than tiny surface information. [4]
Blender’s Decimate modifier is appropriate when a mesh has more geometric detail than the shot can reveal. It is especially useful for distant scan data, dense environment assets, and supporting objects, but it should not be treated as a blind percentage slider. [4]
Inspect the result in the actual camera, under the actual lighting. Decimation can damage silhouette, hard-surface edges, UV behavior, and shading. For an object that needs close-ups, a purpose-built lower-resolution retopology is often the better answer than aggressively collapsing the original mesh.
Apply transforms before relying on modifiers or simulations. Unapplied scale, rotation, or location can lead to awkward modifier behavior and simulation problems, which in turn encourages artists to add unnecessary fixes or subdivisions. [6]
Subdivision deserves the same discipline. A Subdivision Surface modifier is not free just because it is non-destructive. Keep viewport levels lower than render levels where possible, and do not subdivide surfaces whose silhouette and shading already hold up at the intended distance. [6]
GPU subdivision can accelerate modifier evaluation, but Blender’s support is hardware-dependent. In particular, the research brief notes that GPU subdivision is not supported on Qualcomm GPUs under Windows, so this is a feature to verify on the target workstation, not a universal fix. [8]
When Geometry Nodes becomes the scene’s hidden cost
Geometry Nodes can place and vary thousands of instances efficiently, but a deeply nested node tree can still become expensive. The usual warning sign is a scene that looks simple in the Outliner but pauses whenever a control object moves or a parameter changes.
In Blender 5.2 LTS, simplify node networks before increasing hardware demands. Avoid repeatedly realizing instances unless the next operation truly requires real geometry, and avoid calculations that run across more points or instances than the final image needs. [12]
Cull earlier in the graph where possible. If only objects inside a camera-facing area need detailed scattering, do not generate and process a full landscape’s worth of high-detail instances before deleting most of them at the end. Blender’s Geometry Nodes performance guidance favors simpler evaluation paths. [12]
Instances are generally the right choice for repeated foliage, rocks, debris, and modular construction. Realize them only for operations that require unique topology, such as certain deformations, booleans, or export requirements. This is a workflow habit, not an absolute rule. [12]
When the render is slow after the viewport is fixed
Once interactive work is stable, choose the renderer based on the shot. Eevee and Cycles solve different problems, and trying to force one into every job is usually less efficient than using the appropriate tool.
In Blender 4.2 LTS, Eevee gained screen-space ray tracing for all BSDFs, improving its ability to handle reflections and related real-time look-development tasks. [8] For large scenes where fast iteration matters more than fully path-traced accuracy, that can make Eevee the sensible starting point.
Blender 4.5 LTS also improved Eevee with shadow terminator bias and a reverse-Z depth approach, features that improve quality and depth handling in demanding scenes. [8] They improve the engine, but they do not eliminate the need for sensible geometry, texture, and visibility management.
Cycles is often the better choice for final shots that need physically based global illumination, complex transmission, or dependable light transport. Cycles X introduced light tree sampling for scenes with many lights, reducing noise in those setups, though it may increase the cost of each sample. [8]
That trade-off is worth understanding. A lower-noise result per sample can be faster overall, but not every scene benefits identically. Test representative frames with the real light rig, rather than assuming a setting that helps a light-filled interior will help a simple studio render.
For CPU rendering, Blender’s Intel Embree integration, present since Blender 2.90, improves CPU ray tracing performance. For supported NVIDIA GPUs, OptiX support can accelerate GPU rendering. [8] On macOS, Blender’s Metal backend, introduced in Blender 3.5, improved performance on compatible Apple hardware. [8]
Do not assign the same render sample count to every shot by reflex. Use denoising, separate render layers when parts of the image need different treatment, and reserve high sampling budgets for the passes or frames where noise is actually visible. [6]
When hardware, drivers, and Blender version are the limiting factor
Blender.org’s October 2026 recommendations specify an 8-core CPU, 32 GB of RAM, and a GPU with at least 8 GB of VRAM. [1] That is a reasonable floor for moderate production work, not a specification for dense worlds, high-resolution scans, or large texture libraries.
For very complex scenes, Blender’s developer hardware guidance points toward higher-end hardware such as a 16-core AMD Ryzen 9 9950X3D and an NVIDIA RTX 4090-class GPU. [1] More memory and VRAM buy capacity, while faster CPUs and GPUs improve evaluation and render throughput.
Storage does not make a heavy mesh cheaper to draw, but it affects the time spent loading files, opening textures, and accessing cached data. Puget Systems’ Blender hardware guidance confirms that SSD storage improves data access speed. [2]
Run current GPU drivers, especially on NVIDIA and AMD hardware. Blender 5.2 LTS is specified for Windows 11, macOS 13 Ventura or newer, and Linux systems using glibc 2.28 or newer for optimal support. [1] Older systems may function, but the brief does not support assuming equivalent performance.
Finally, do not plan today’s workflow around unreleased gains. Blender 5.3, scheduled for November 10, 2026, is expected to integrate NVIDIA DLSS 4.5 Ray Reconstruction for AI-upscaled real-time viewport rendering. [3] That may improve interactive work on compatible NVIDIA hardware, but it is upcoming rather than a current Blender 5.2 LTS solution.
Frequently Asked Questions
How can I optimize Blender viewport for large scenes?
Start by reducing what Blender must draw in the viewport. Use Bounding Box or Wireframe display modes for heavy collections, lower viewport anti-aliasing, and keep clipping distances tight to limit the visible depth. Also, turn off unused overlays like relationship lines and grids to reduce GPU load and improve responsiveness. Reserve full material preview or rendered view only for assets currently under review.
What are the best practices to reduce VRAM usage in Blender?
Treat VRAM as the immediate limit by reducing texture sizes and disabling unused texture maps. Focus on textures that actually contribute to the frame, lowering resolution for distant objects and avoiding unnecessarily large source images. Using Cycles 5.2 LTS texture caching helps by loading only needed image tiles, but it does not replace the need for texture optimization.
How do linked libraries improve Blender performance in big projects?
Linked libraries allow repeated assets to be referenced rather than duplicated, reducing file size and memory use. They enable control through Collections and allow updates to propagate automatically across scenes. This approach prevents unnecessary data duplication and keeps working files lighter and more manageable.
How to manage textures efficiently in large Blender scenes?
Identify textures that impact the current frame and reduce their resolution according to screen coverage and visual importance. Disable maps that do not affect the intended result, especially for background or distant objects. Use Cycles texture caching to load only necessary image tiles, but always prioritize simplifying textures before adjusting render samples or hardware.
What hardware upgrades help Blender handle large scenes better?
More RAM and VRAM improve handling of very large scenes, with Blender’s baseline at 32 GB RAM and 8 GB VRAM suitable for moderate work. Higher-end CPUs with more cores and GPUs with larger VRAM, such as an NVIDIA RTX 3090 or RTX 4090, provide better capacity for complex scenes. SSDs also improve data access speed, aiding performance.
How we researched this
This article was assembled from 13 cited references.
Nothing here is based on hands-on testing. Where a figure or finding appears, it belongs to the source cited beside it, and the writing says so rather than implying otherwise. Every source is listed below so you can check it.
Sources
- Requirements — Blender
- Hardware Recommendations for Blender | Puget Systems
- Nvidia's game-changing DLSS is finally coming to Blender
- Decimation & LOD | Blender for Visual Investigation
- Blender VRAM limits and large scenes - Farpy
- Ten Blender Mistakes That Are Ruining Your Three Dimensional Models - Developers Heaven
- How to keep Blender from choking on your massive - Toxigon
- 3D Viewport - Blender 5.3 Manual
- Collections - Blender 5.1 Manual
- Asset Indexing - Blender Developer Documentation
- Cycles Texture Cache — Blender Developers Blog
- Geometry Nodes Performance - Blender 5.2 LTS Manual
- Blender Viewport Optimization for High-Poly Scenes - blender
Related Articles

Optimize Blender for Faster Rendering: Key Settings and Tips
Learn how to optimize Blender for faster rendering with GPU use, adaptive sampling, denoising, and bounce settings for efficient Cycles renders.
Create Game Asset in Blender: Modeling, Topology, and Export
Learn how to create game assets in Blender with tips on modeling, topology, optimization, and exporting for game engines.
Blender Rendering Settings for Animation: Best Practices
Learn the best Blender rendering settings for animation, including Cycles vs Eevee, samples, output formats, and hardware optimization tips.
Best Computer Specs for Blender: CPU, GPU, RAM & Storage
Discover the best computer specs for Blender in 2026, including CPU, GPU, RAM, and storage recommendations for optimal 3D modeling and rendering.