
Best Practices for Rigging in Blender
Learn best practices for rigging in Blender, including weight painting, topology, and normalization for smooth character deformation.
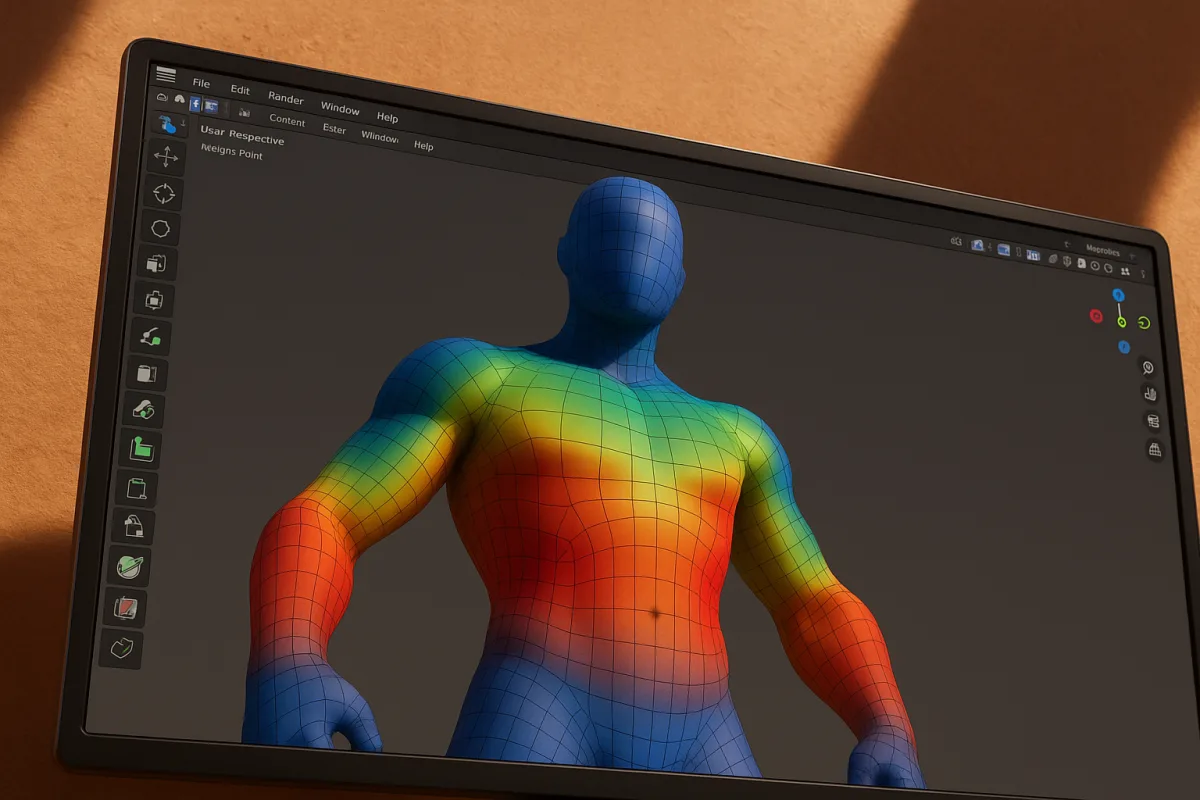
Weight painting is where a rig becomes movement
For character animators, the most important rigging practice is not adding another control shape or constraint. It is understanding skin weights: the numerical relationship between a mesh vertex and the bones that are allowed to move it.
I am working in Blender 5.2 LTS terminology here, because menus and tool names move between releases. The underlying principle is older than Blender, though: a skeleton does not deform a character by itself. The weights decide how the surface follows it.
A bone is only a transform until the mesh is bound. Once an armature modifier connects mesh and skeleton, each vertex can belong to one or more vertex groups, usually named after deform bones. Those group values are the skin weights.
If a wrist bone has a weight of 1.0 on a vertex, that vertex follows the wrist entirely. If the wrist and forearm each carry 0.5, Blender blends their movement. That blend is what makes skin bend instead of breaking apart.
This is why a character can have bones placed perfectly at anatomical joints and still animate badly. Bone placement establishes the pivot and direction of movement. Weight painting establishes how far the influence reaches, how quickly it fades, and which forms remain attached.
Think in zones, not in isolated vertices
A useful way to paint is to divide every articulation into three zones. There is a stable area that should travel almost completely with one bone, a transition area that blends two or more bones, and a protected area that should barely react.
Consider an elbow. The middle of the forearm should belong overwhelmingly to the forearm bone, while the middle of the upper arm should belong overwhelmingly to the upper-arm bone. Those are stable regions, not places for a soft gradient.
The fold at the elbow is the transition region. It needs a controlled blend between upper arm and forearm, with the precise balance determined by the character’s proportions, clothing, musculature, and intended range of motion.
The protected region is often overlooked. A bicep volume, sleeve seam, hard-surface elbow pad, or nearby torso form may need to resist the pull of a bone even though it is physically close to the joint.
That last point explains a common animation complaint: a hand control moves correctly, but part of the thigh, belt, coat, or opposite arm comes along for the ride. The problem is rarely animation. It is usually an unintended low-value influence.
Automatic weights are valuable because they establish a starting map quickly, especially for a clean, conventional humanoid. Blender rigging guidance from UhiyamaLab recommends beginning with automatic weights, then posing and manually correcting the resulting deformation.[2]
That order matters. Automatic weighting solves proximity, not intent. It cannot know that a leather glove should behave differently from a loose sleeve, that a shoulder pad should be partly mechanical, or that a stylised character needs deliberately rubbery deformation.
Why normalization matters
A vertex can receive weights from several bones, but the total needs to be managed. In ordinary character skinning, the useful target is a total of 1.0 across all deforming vertex groups affecting that vertex.
Blender 5.2 LTS provides Auto Normalize in Weight Paint settings for this reason. With it enabled, changing one group’s value automatically compensates through the other relevant groups, maintaining a total weight of 1.0.[17]
Without normalization, painting can become misleading. You may add forearm influence near an elbow, see the colour you wanted, and accidentally leave the upper arm fully weighted too. The vertex then carries more influence than the intended blend.
The visible result can be a character that feels too strongly attached to multiple parts at once. Depending on the transforms, joints may appear to swell, drag, or behave as if the skin is caught between bones rather than supported by them.
Auto Normalize is not a magic quality switch. It keeps the arithmetic coherent. It does not decide whether the pelvis should influence the lower abdomen, whether the clavicle should help the upper arm, or how much a knee needs to preserve volume.
That distinction is important for animators asking for better movement. Normalization prevents one category of technical error. It cannot replace the artistic judgement that decides which forms should compress, stretch, slide, or remain rigid during a pose.
Topology decides whether a clean weight map is possible
Weight painting is not separate from modelling. A weighted mesh bends along its edges, so topology is the material the rigger is actually shaping. If edge flow does not support a bend, careful painting can only mitigate the problem.
Blender Base Camp’s topology guidance recommends quad-based topology and edge loops aligned with joints and muscle flow, while avoiding n-gons in areas expected to deform.[1] That is not an arbitrary clean-mesh rule, it is a deformation requirement.
At an elbow, loops arranged roughly around the arm give the rigger several rings of vertices across which to distribute the bend. The transition can be narrow for a tight sleeve or broader for flesh, depending on the desired look.
A long triangle, an n-gon, or a sparse patch directly across a joint removes that control. The rigger cannot create a smooth transition when there are too few vertices to carry it, or when the edges pull in conflicting directions.
More geometry is not automatically the answer. Adding random subdivisions gives more vertices but not better deformation structure. A dense mesh with loops running poorly across a shoulder can be harder to weight than a lighter mesh with deliberate edge flow.
For facial work, this relationship becomes even clearer. BevelFish describes a practical facial-animation range of roughly 2,500 to 10,000 polygons, while warning that counts above 15,000 to 20,000 can affect performance.[10]
Those are guidelines, not universal limits. The useful lesson is that facial density must be placed where expressions need gradients, around lips, eyelids, brows, and nasolabial movement, rather than spent uniformly on surfaces that do not change.
The shoulder exposes weak weights quickly
The shoulder is where many otherwise decent rigs reveal their weakness. An arm does not simply rotate from one ball joint. The clavicle, scapular region, upper arm, chest, and deltoid area all contribute to the silhouette.
A simplistic automatic-weight result often makes the arm raise while the shoulder stays planted, or makes too much upper torso follow the arm. Neither failure is fixed by pushing one weight value around without first deciding the intended motion.
For a game-ready character, the compromise may be simple: clavicle influence supports the upper shoulder, upper-arm influence controls most of the sleeve, and corrective shapes handle the pose that skinning alone cannot sell. For a cartoony character, broader blends may be intentional.
The key is to pose the arm beyond the comfortable resting range. Raise it, bring it forward, twist it, and test combinations. A mesh that survives a single ninety-degree lift can still collapse when the animator adds rotation.
UhiyamaLab’s character-rigging workflow stresses iterative posing and correction rather than assuming the first bind is finished.[2] This is a habit worth adopting, not because every rig needs endless revision, but because deformation errors are visible only under motion.
Keep weight problems separate from rig problems
Not every bad bend is a painting problem. Before repainting, check whether the mesh transforms were applied before binding, whether the rest pose is sensible, and whether bones actually sit at the intended joint locations.
Game-rigging guidance from GamineAI identifies unapplied mesh transforms, inconsistent bone roll, non-manifold geometry, and weak manual weight refinement among common sources of unreliable rigs.[6] These faults can resemble each other once the character starts moving.
If an elbow twists unpredictably while rotating, examine bone roll and local axes before repainting. Blender’s bone-roll tools provide several recalculation alignments because there is no universal “correct” roll angle for every anatomy or rig design.
If the elbow simply bends with an ugly crease but rotates predictably, inspect topology and weights first. If the whole arm moves in the wrong direction or the control produces an unexpected transform, that is more likely hierarchy, constraint, or orientation work.
This separation saves time. Animators should describe the symptom precisely: “the wrist twist drags the sleeve seam” points toward weights, while “the wrist control rotates on an unusable axis” points toward the control rig.
Paint for the poses animation actually needs
The rest pose is for building, not for judging. A clean T-pose weight map can look almost flawless because the mesh has not yet been asked to compress, fold, or distribute twist along a limb.
Make a short test action containing the poses the character must survive. For a biped, that usually includes a deep elbow bend, knee bend, arm raise, wrist twist, leg lift, torso twist, and an asymmetrical balance pose.
Do not test only extremes in isolation. A knee may look acceptable when bent, then fail when the hip rotates and the foot plants. Characters move through combined transforms, and weights are blended under those combined transforms too.
For each failed pose, identify the responsible zone. If the collapse is local to the joint, adjust the transition. If a distant region moves, remove stray influence. If the silhouette lacks volume everywhere, consider whether skinning alone is the wrong tool.
Corrective shape keys are often the better answer for a pose-specific volume problem. They are not evidence that the weights failed. They let the rig retain simple, understandable weights while supplying a sculpted correction where linear blending reaches its limits.
Use tools to support judgement, not replace it
Blender 5.2 LTS lets weight painters change brush size, strength, and weight interactively, which is useful because joint regions need different levels of control.[17] Broad, low-strength passes establish a transition, while smaller edits isolate leaks and sharp boundaries.
The Smooth Weights add-on from Brave Rabbit is designed to help smooth weight distributions, according to its documentation.[4] I have not used it myself, so I would treat it as a workflow aid to evaluate, not a substitute for inspecting poses.
Smoothing is especially useful after automatic weights create noisy islands of influence. But smoothness is not automatically correctness. A hard armour plate, boot sole, belt buckle, or stylised eyelid may require a sharp boundary rather than a pleasing gradient.
Rigify can generate a capable starting structure from a meta-rig, but Blender’s Rigify documentation is clear that generated rigs still need customization and refinement.[12] The same principle applies to weights: generated is not the same as animation-ready.
Blender remains a practical place to do this work because it combines mesh editing, armatures, painting, corrective shapes, and animation playback in one scene. Houdini is stronger for deeply procedural, node-based rig systems, but brings a more technical workflow.[9]
For most character animators, the improvement comes from returning to the simple question behind every painted vertex: when this character moves, which bone should own this piece of surface, and where should that ownership change?
Frequently Asked Questions
What are the best practices for rigging characters in Blender?
Best practices include modeling with quad-based topology and edge loops aligned to joints and muscle flow, avoiding n-gons in deforming areas. Start weight painting with automatic weights, then manually refine them by testing extreme poses early. Use consistent bone naming conventions and place bones anatomically, with the root bone at the pelvis or center of mass. Iteratively pose and correct deformations for better results.
How do I properly weight paint in Blender for smooth deformation?
Begin with automatic weights as a starting point, then manually adjust weights focusing on stable, transition, and protected zones around joints. Enable Auto Normalize to keep total vertex weights at 1.0, ensuring coherent blending. Test weights with extreme but plausible poses to identify and fix pinching or collapsing before finalizing.
Why is topology important for rigging in Blender?
Topology directly affects how cleanly a mesh deforms with a rig. Quad-based topology with edge loops following joint and muscle flow provides predictable areas for weight distribution, enabling smoother bends and reducing deformation artifacts. Poor topology, such as n-gons or misaligned loops, limits the effectiveness of weight painting and can cause visible mesh issues during animation.
How does Auto Normalize affect weight painting in Blender?
Auto Normalize ensures that the sum of all bone weights on each vertex remains exactly 1.0. When you paint weights on one bone, Blender automatically adjusts the others to maintain this total, preventing misleading weight values and unintended multiple strong influences. This maintains arithmetic coherence but does not replace the need for artistic judgment in assigning weights.
How can I avoid common rigging issues in Blender like pinching or collapsing joints?
Avoid these issues by testing weights with extreme but plausible poses early in the rigging process, not just neutral poses. Use clear zones in weight painting—stable, transition, and protected—to control how vertices respond to bone movement. Also, enable Auto Normalize to keep weights balanced, and ensure your mesh topology supports deformation with proper edge loops and quads aligned to joints.
How we researched this
This article was assembled from 19 cited references.
Nothing here is based on hands-on testing. Where a figure or finding appears, it belongs to the source cited beside it, and the writing says so rather than implying otherwise. Every source is listed below so you can check it.
Sources
- Topology for Blender Rigging: Best Practices - Blender Base Camp
- [Blender] Character Rigging Basics - Animating with Bones and Weight Painting | UhiyamaLab
- Skeletal Rigging for Humanoid Characters in Blender: A…
- https://www.braverabbit.com/tools/smooth-weights-blender/documentation/?utm_source=openai
- Blender 2.8 Rigging Automatic Weights Not Working? Fix It Fast
- GamineAI - Build & Ship AI-Assisted Games, Fast
- What Is 3D Rigging? Complete Game Dev Guide | MCO – MoCap Online
- Best Blender Animation Add-ons (2026) | Project LEUC
- Blender vs Houdini (2026): Pros, Cons & Pricing
- Animate Facial Expressions in Blender: Topology and Workflow
- How To Rig 3D Models Generated From Images
- Rigify — Blender Manual
- terminology - What does abbreviations like DEF, MCH, CTRL, WGT stands for in rigging? - Blender Stack Exchange
- Blender-to-Vulkan Workflow :: Vulkan Documentation Project
- Blender Limit Rotation Constraint Explained - blender
- Blender : IK/FK (2) : 関節の回転角度の制約を設定する – Mr.Blender.Tch
- Brush Settings - Blender 5.2 LTS Manual
- ZBrush
- Animation & Rigging - Blender Developer Documentation
Related Articles
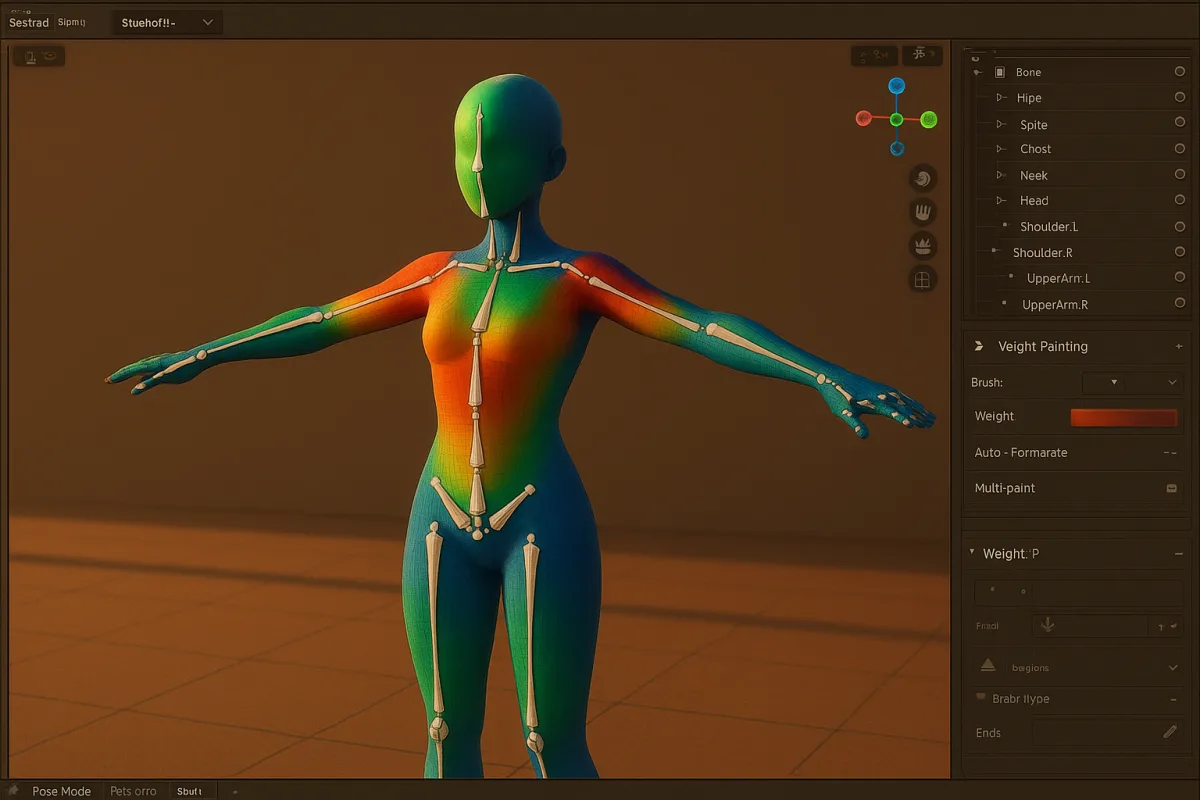
Create a Character Rig in Blender: Step-by-Step Guide
Learn how to create a character rig in Blender with bone placement, weight painting, and testing for smooth animation.
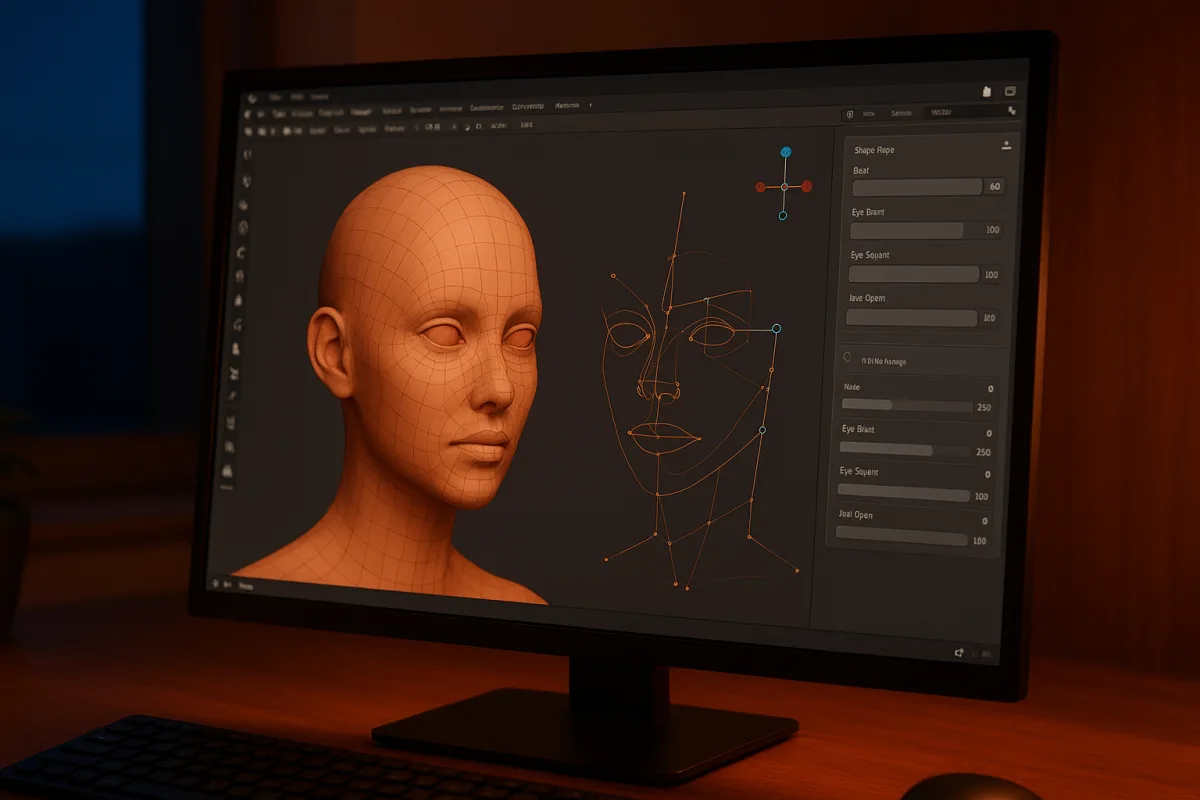
Animate Facial Expressions in Blender: Topology and Workflow
Learn how to animate facial expressions in Blender with topology tips, shape keys, rigging, and lighting for realistic results.
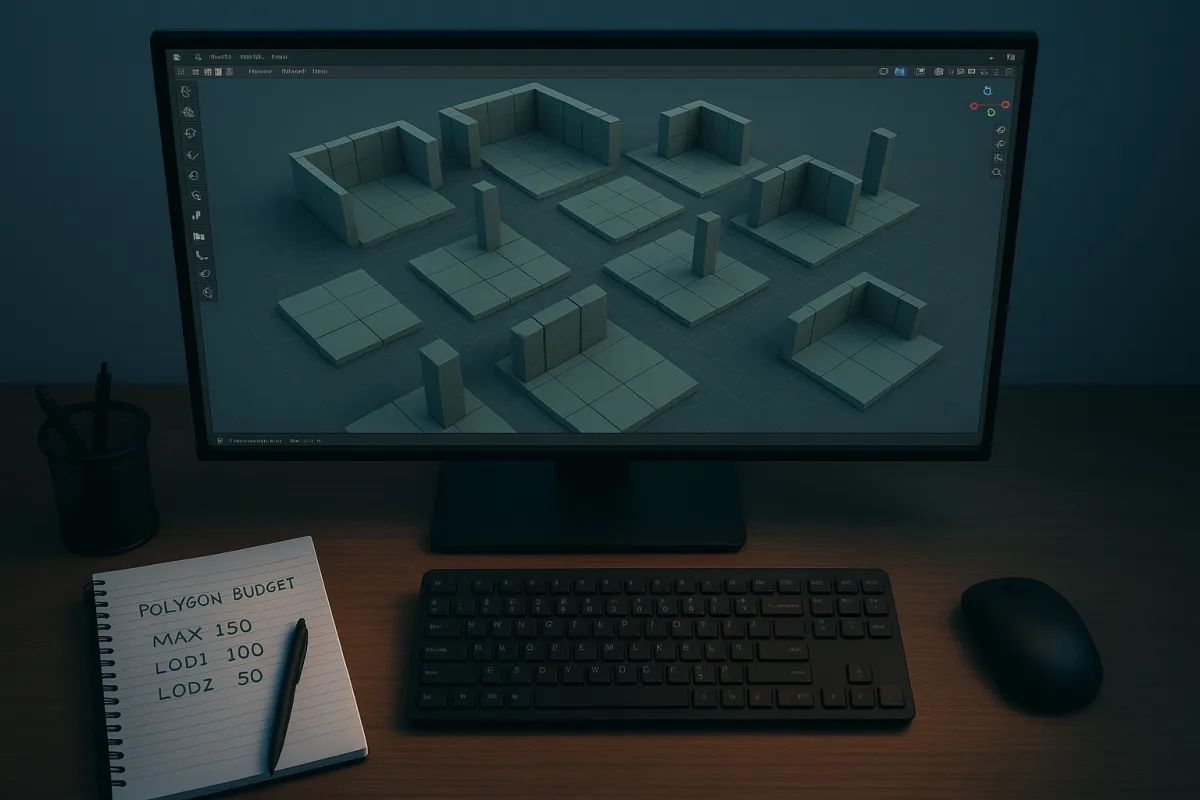
Best Practices for Creating 3D Environments in Blender
Learn best practices for creating modular, efficient 3D environments in Blender with topology, LOD, and Geometry Nodes tips.
Blender Add-Ons for Architectural Modeling: Tools & Workflow
Explore Blender add-ons for architectural modeling, managing design intent, BIM support, and data exchange for efficient workflows.