
Best Practices for Shaders in Blender
Learn best practices for shaders in Blender, including roughness control, metallic setup, and correct texture data handling for realistic materials.
Roughness is the control you keep returning to
You have imported a texture set, plugged Base Color into Blender’s Principled BSDF, and the object still reads as flat plastic. Before adding more nodes, inspect roughness. It often decides whether the viewer reads painted steel, glazed ceramic, skin, rubber, or dusty wood. [5]
In Blender’s Principled BSDF, roughness controls the spread of reflected light. At 0, reflections approach a mirror. At 1, reflected highlights become broad and diffuse, so the surface appears increasingly matte. [8]
That sounds like a single slider, but it describes the microscopic state of a surface. A polished metal panel has relatively aligned surface features, producing tight reflections. Abrasion, oxidation, pores, scratches, and deposited dust disrupt those reflections and widen the highlight.
This is why a model with accurate Base Color can still look wrong. Color tells you what light the surface absorbs. Roughness tells you how the remaining reflected light is distributed across the surface, which is often where the material’s history becomes visible.
We would begin every Blender material by getting its broad roughness range right under a simple studio light. Do that before painting tiny scratches, adding procedural noise, or building complicated node groups. Fine detail cannot rescue the wrong large-scale highlight.
What roughness does inside the shader
The Principled BSDF is Blender’s primary physically based rendering shader for realistic materials in Cycles and Eevee. Its inputs include Base Color, Metallic, Roughness, IOR, Normal, Transmission, Emission, Clearcoat, and Clearcoat Roughness. [1]
Physically based rendering separates a material’s broad optical behavior into controls that can be reasoned about. Metallic establishes whether the surface behaves like metal or a non-metal. Roughness then shapes the reflected highlight for either category. [4]
For a non-metal, also called a dielectric, the Principled BSDF’s default specular setting of 0.5 corresponds to roughly 4 percent reflectance. The visible strength of that reflection still changes with the angle between the camera, surface, and light. [8]
That angle dependence follows the behavior of light at a boundary between materials, often described through Snell’s law. A surface can look subdued facing the camera and sharply reflective near its edge, even with no change to its roughness value. [8]
Diffuse light changes too. Lambert’s law describes the broad diffuse response, while the Oren-Nayar model accounts for how roughness affects diffuse reflection. Your roughness setting therefore influences more than a bright specular streak on a dark object. [8]
A single material value is only a starting point because lighting exposes different parts of the response. A wide softbox reveals gradual roughness shifts well. A small hard light makes scratches and tight polished highlights easier to see.
Start with material families, then describe condition
Use a clean binary decision for Metallic. Set it to 1 for metal and 0 for non-metal surfaces. Intermediate metallic values are generally avoided because they do not describe the usual physical behavior of either material family. [4]
For polished metals, a roughness range of 0 to 0.1 is a useful starting point. Brushed or oxidized metal commonly falls around 0.3 to 0.6, where reflections remain identifiable but break up across the surface. [13]
Metal also needs believable reflectance. Reported metal specular reflectance ranges from 70 to 100 percent, depending on the metal and its surface state. Do not let a gray Base Color stand in for a reflective metal response. [13]
For plastics, keep the specular setting at 0.5 and move roughness according to finish. Glossy plastics commonly begin around 0.1 to 0.3, while matte plastic often begins around 0.3 to 0.6. [5]
Skin needs a far softer and less uniform response. A starting specular value of about 4 percent and roughness of 0.5 to 0.8 can establish the broad surface behavior, with variation across oilier and drier areas. [5]
These figures are starting positions, not rules that override observation. A molded black plastic tool, a worn polypropylene chair, and a freshly clear-coated automotive part may all be non-metals, yet their highlights ask for very different roughness distributions.
Think in layers of condition. The base roughness establishes what the material is when clean and intact. A second, lower-frequency layer can represent handling, oxidation, grime, or broad manufacturing variation. Fine detail comes later.
Why a roughness map needs the right data treatment
A roughness texture is not a color image, even if it looks like a grayscale photograph in the Image Editor. Its dark and light values are instructions to the shader, usually mapping lower values to smoother regions and higher values to rougher ones. [11]
In Blender, set Roughness, Metallic, Normal, Ambient Occlusion, Height, Opacity, and ORM textures to Non-Color. This prevents Blender from applying color interpretation to values that must remain numerically faithful. [11]
Base Color and Emission maps are different. They belong in sRGB because they contain color information intended for display-oriented color encoding. Mixing these assignments is a common reason imported PBR materials appear too glossy, too dull, or strangely contrasty. [11]
The same discipline applies when you export maps from Substance Painter or another texturing application. Connect Albedo or Base Color, Normal, Roughness, and Metallic maps to their matching Principled BSDF inputs, with Base Color in sRGB and the data maps in Non-Color. [12]
If you use Adobe’s Substance 3D add-on for Blender, .sbsar materials can be imported and managed in Blender while material changes remain synchronized. That reduces manual exporting, but it does not remove the need to verify each map’s intended shader input. [12]
We would avoid using random grayscale noise as a complete roughness solution. Noise can break an unnaturally perfect surface, but a material reads best when the pattern has a reason: brushing direction, fingerprints, water streaks, paint wear, or manufacturing flow.
Roughness cannot create physical relief
Roughness changes light distribution across the surface. It does not alter the silhouette, create a raised seam, or cast a real self-shadow from a deep crack. For those jobs, choose among normal maps, bump maps, and displacement maps. [6]
A normal map encodes changed surface directions in RGB values. In Blender, load it as Non-Color data and pass it through a Normal Map node before connecting it to the Principled BSDF Normal input. [14]
Normal maps are strong for fine baked detail, such as seams, stamped lettering, pores, and small damage. They make the shader respond as if its local surface direction changes, without requiring the mesh density that modeled versions would demand. [14]
A bump map uses grayscale information through Blender’s Bump node. It is suited to subtle relief, but artifacts can appear when the texture implies a form that differs significantly from the actual geometry. [6]
Displacement changes the mesh itself, so it is the right choice when detail must alter the silhouette or hold up close to camera. It needs sufficient subdivision, or adaptive subdivision in Cycles, and high-bit-depth 16- or 32-bit textures are recommended. [6]
The efficient stack is usually displacement for large form, normal or bump for fine relief, and roughness for the optical condition of both. A chipped painted surface needs all three when viewed close: broken edge shape, small fracture texture, and changing polish. [6]
Displacement has a cost. It increases memory use and can increase polygon count and render time, so use it sparingly on distant assets. Adaptive subdivision can concentrate detail where it is needed rather than subdividing every part equally. [6]
Light is the test bench for roughness
Do not finalize roughness in an unlit viewport or under an unrelated HDRI. Put the asset in lighting that contains both broad and narrow reflections, then rotate the object or light until you can inspect the highlight’s width and breakup.
Cycles is a physically accurate path tracer, while Eevee is a real-time rasterizer using screen-space ray tracing. Their treatment of specular reflection and roughness can differ, so an adjustment that works in one engine needs checking in the engine you will render. [8]
Make those checks iterative. Change a broad roughness value, render, and compare the material’s highlight behavior against your intended surface condition. Then introduce controlled variation, rather than continuously piling on nodes while the foundation remains unresolved.
For translucent materials, roughness works alongside subsurface scattering, not in place of it. In Blender 4.0 and later, Principled BSDF Subsurface Weight is set to 1.0 for a fully enabled subsurface contribution; scene scale and lighting strongly affect the visible result. [7]
Skin starting values include an SSS radius of 1.0, 0.2, 0.1 for red, green, and blue, a scale near 0.005 meters, and anisotropy of 0.8. Those settings describe light traveling through the surface, while roughness still shapes its outer reflection. [7]
Keep the shader proportionate to the shot
A complex node tree can make a material harder to inspect and reduce GPU throughput. Each extra procedural layer, texture lookup, displacement operation, and volumetric effect carries a rendering cost, even when its contribution is barely visible in frame. [9]
Bake textures and lighting for static objects when that fits the project. Baking can replace repeated shader evaluation with image data, which is often easier to manage for assets that will not need live material changes. [9]
Volumetrics are particularly expensive. If the image only needs a controlled atmospheric effect, compositing passes can be an alternative to rendering a dense volumetric shader throughout the scene. [9]
More GPUs do not automatically solve a shader-heavy scene, because GPU memory is not additive across devices. Each GPU must accommodate the scene data it needs, which makes memory-heavy geometry and textures an important constraint. [10]
Blender 5.1 adds a Raycast node that can create procedural decals and dynamic painting inside Blender. It can help place labels, stains, or localized wear without manually preparing separate texture placements, especially when the detail needs to follow changing geometry. [3]
Use that capability for meaningful surface events, then let roughness carry their physical consequence. A decal label may have a glossier laminate than surrounding paint. A procedural mud mark may be rougher than the polished metal beneath it.
Frequently Asked Questions
How do I properly use roughness maps in Blender shaders?
Roughness maps should be loaded as Non-Color data to ensure Blender interprets their values correctly. They control how broad or sharp the reflected highlights appear on a surface, influencing whether it looks polished, matte, or worn. It is best to evaluate roughness under the lighting and render engine you plan to use, as Eevee and Cycles can display roughness differently.
What is the role of metallic and roughness in Blender's Principled BSDF?
Metallic determines whether the surface behaves like a metal (set to 1) or a non-metal (set to 0), while roughness controls the spread of reflected light on the surface. Roughness values near 0 produce mirror-like reflections, and values near 1 create broad, diffuse highlights. Together, these inputs define the material’s optical behavior and how light interacts with it.
Why should I set textures as Non-Color data in Blender shaders?
Textures such as Roughness, Metallic, Normal, Height, and Ambient Occlusion must be set as Non-Color data because they represent data values, not colors. If these textures are incorrectly interpreted as color data, their values will be misread, leading to inaccurate shading and material appearance.
How does lighting affect shader roughness perception in Blender?
Lighting strongly influences how roughness is perceived. A wide softbox light reveals gradual shifts in roughness, while a small hard light highlights scratches and polished details more clearly. Different render engines like Eevee and Cycles can also display roughness variations differently, so it is important to judge roughness under the intended lighting and rendering conditions.
What are the best starting values for metal and non-metal materials in Blender?
For metals, set metallic to 1 and use roughness values from 0 to 0.1 for polished surfaces, or 0.3 to 0.6 for brushed or oxidized finishes. Non-metals should have metallic set to 0, with roughness around 0.1 to 0.3 for glossy plastics and 0.3 to 0.6 for matte plastics. Skin typically uses a specular value near 4 percent and roughness between 0.5 and 0.8 to capture its softer, less uniform reflection.
How we researched this
This article was assembled from 14 cited references.
Nothing here is based on hands-on testing. Where a figure or finding appears, it belongs to the source cited beside it, and the writing says so rather than implying otherwise. Every source is listed below so you can check it.
Sources
- Verge3D for Blender: Shader Nodes Reference, Soft8Soft
- Blender Shader Nodes Cheat Sheet: Every Node You Need to Know in 2026 | StraySpark
- Blender update adds a time-saving feature 3D artists dreamed of
- PBR Overview · MochiesCode/Mochies-Unity-Shaders Wiki · GitHub
- Blender PBR Materials: Principled BSDF Setup Guide | CraftPBR
- Displacement, Normal, and Bump Maps Are Not Interchangeable, Here's How to Use Each One Right, BlenderCG
- Subsurface scattering (SSS) explained, with Blender settings
- Lighting & rendering in Blender - Zach
- All the ways to render faster in Blender / Cycles - Blendergrid
- Multiple GPUs in Blender: When and How to Use Them | RenderJuice Blog
- From Nodes to Renders: The Definitive Guide to PBR Textures in Blender
- Blender PBR Textures: Full Setup · FS Modworks
- PBR Reflectance Values for Metals - Blender Stack Exchange
- Bump Map vs Normal Map in Blender Explained - blender
Related Articles
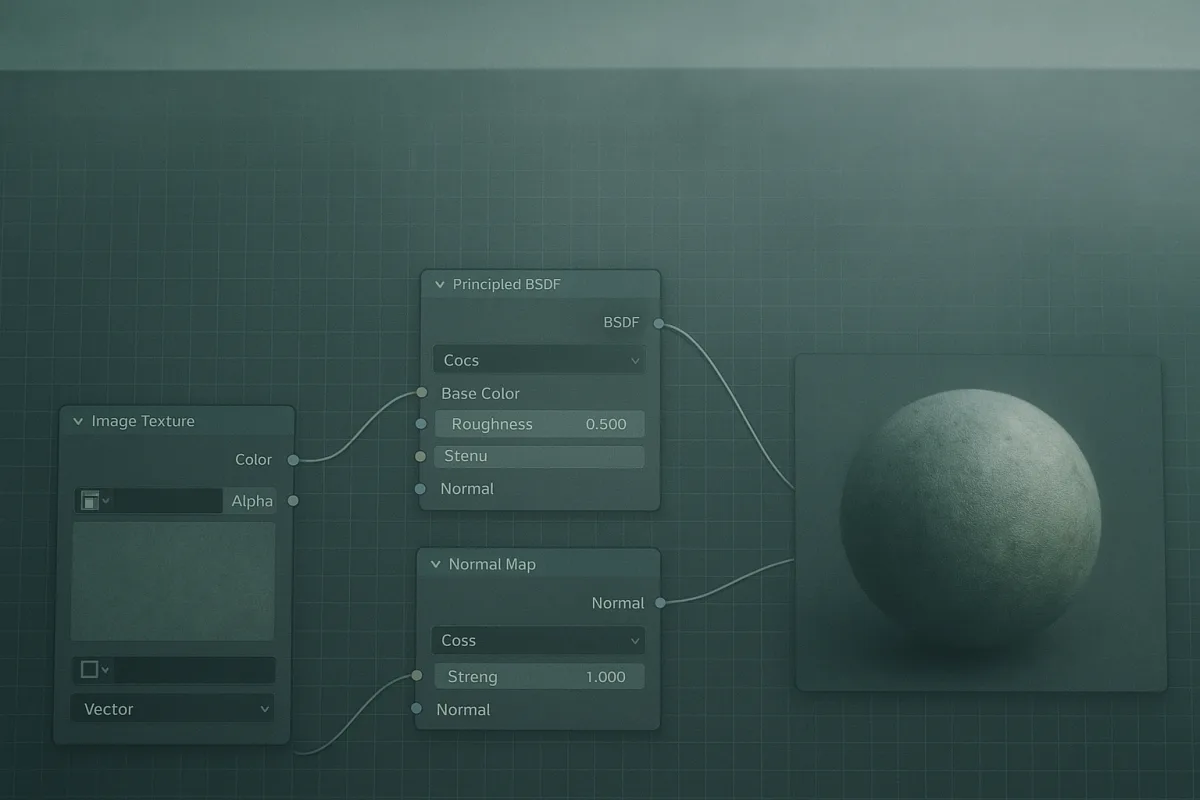
Using Nodes for Shading in Blender: A Practical Guide
Learn how to use nodes for shading in Blender with tips on Principled BSDF, texture color spaces, and Cycles vs Eevee differences.
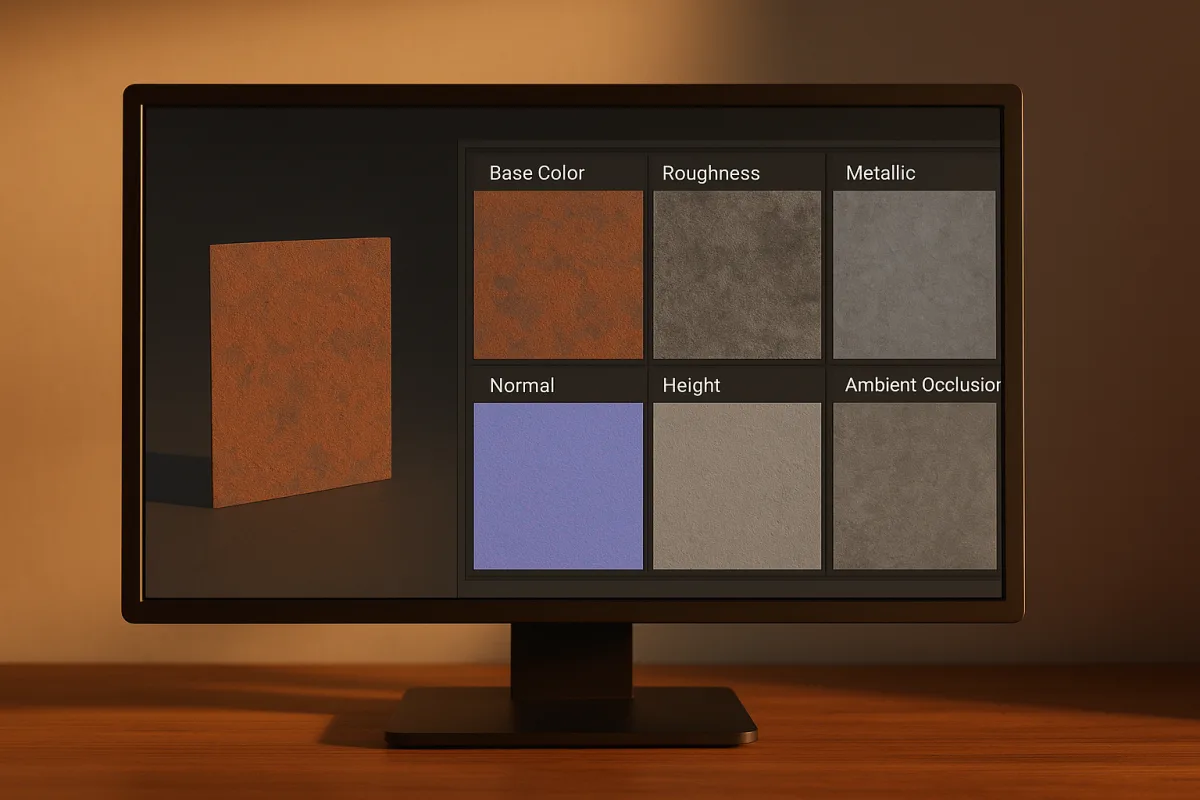
Create PBR Materials from Scratch: A Practical Guide
Learn how to create PBR materials from scratch with correct texture maps, workflows, and software tips for realistic 3D rendering.
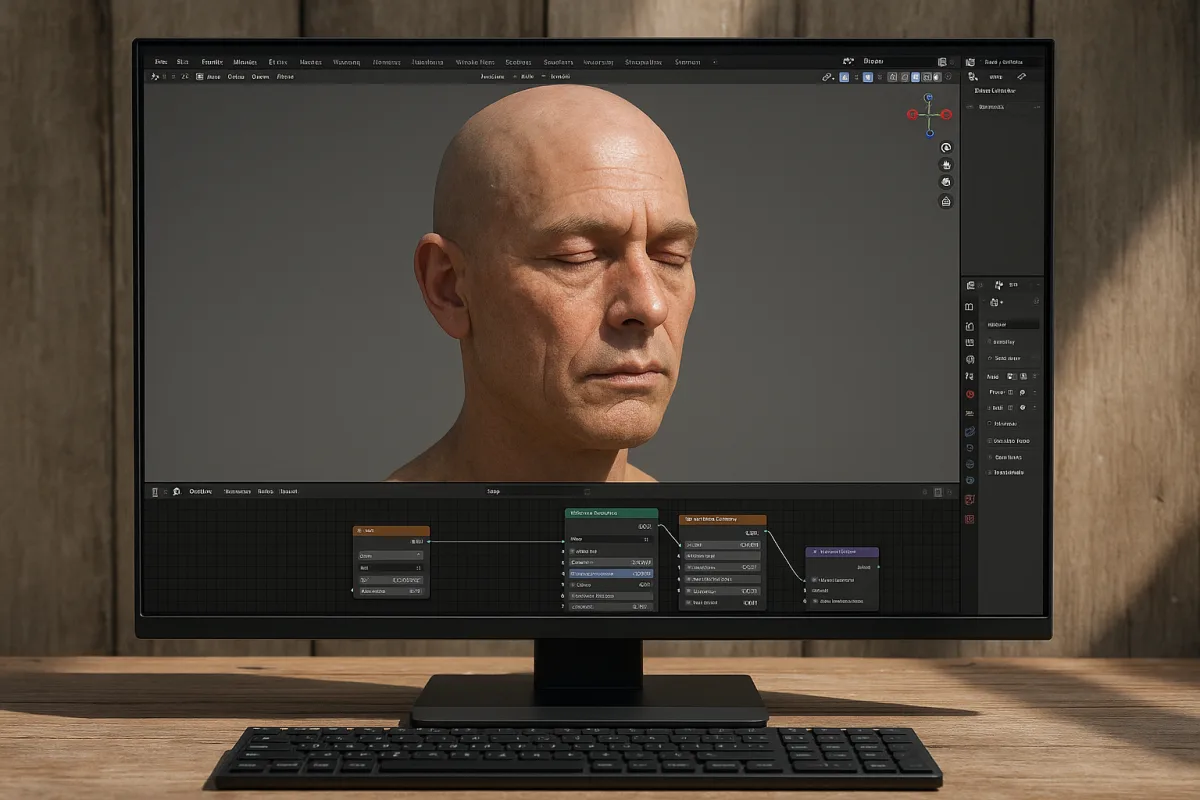
Realistic Character Skin Shader Blender: Step-by-Step Guide
Learn how to create a realistic character skin shader in Blender using subsurface scattering, proper texture setup, and scale considerations.
Using Blender for Education
Learn how to use Blender for education with tips on setup, hardware, and teaching modeling, lighting, and rendering effectively.