
How to Bake Textures in Blender: A Practical Guide
Learn how to bake textures in Blender with tips on UVs, resolution, and Cycles baking for game-ready assets and efficient workflows.
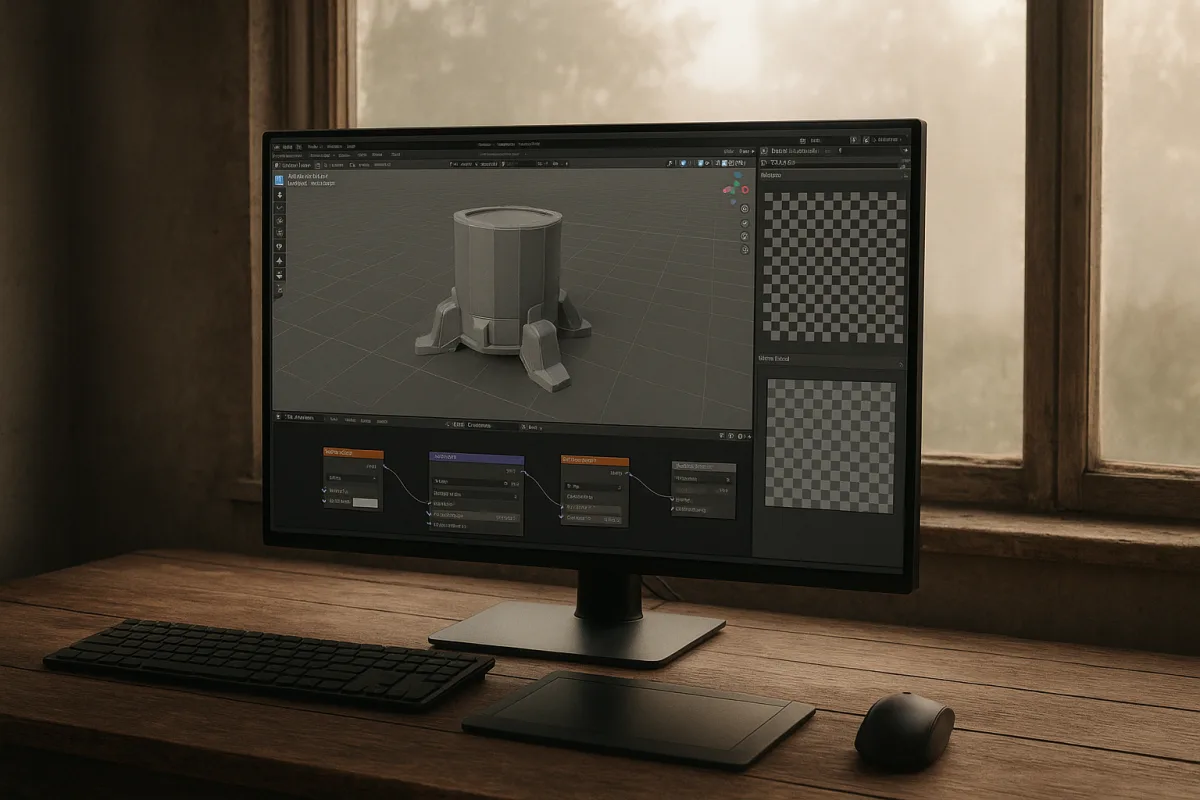
First, decide what you are actually trying to remove at runtime
Texture baking is not magic optimization. It moves information that would otherwise be calculated from geometry, procedural nodes, lights, or multiple materials into image files that the target renderer can sample more cheaply.
The familiar example is a dense sculpt baked onto a game-ready low-poly mesh. The low-poly asset keeps the silhouette that matters, while a tangent-space normal map supplies most of the fine surface response. [1]
That is useful because real-time performance has several costs. Excessive geometry affects vertex processing, many separate materials increase draw-call pressure, and expensive procedural shader graphs cost work per pixel. Baking can reduce all three, depending on what you consolidate.
Do not assume that a baked asset is automatically lighter. Large images consume VRAM, add disk size, and can become the new bottleneck. The performance goal is fewer, appropriately sized textures and simpler runtime materials, not maximum-resolution maps for every prop. [2]
For Blender work, I would begin in Blender 5.2 LTS, released July 14, 2026, and use Cycles for baking. Cycles provides the bake passes needed for PBR-oriented outputs, including Diffuse, Glossy, Normal, Ambient Occlusion, Roughness, and Combined. [7] [9]
Your bake fails before it starts if the low-poly UVs are not ready
The baked image is a 2D record of information projected onto a 3D mesh. UV mapping defines that correspondence, so the receiving low-poly mesh needs usable UVs before you touch Bake. [9]
Every UV island needs room between its neighbors and within the 0 to 1 tile unless your delivery pipeline explicitly supports a different layout. Overlapping islands are only safe where you deliberately want identical texture information, such as mirrored, truly symmetrical parts.
That caveat matters for normal maps. Mirrored UVs can introduce visible seam or directional problems depending on the tangent basis and engine import settings. For a hero asset, unique UVs around visible asymmetry are usually the safer performance-versus-quality decision.
Next, establish consistent texel density. A tiny UV island on a prominent handle should not receive a fraction of the resolution given to an unseen underside, unless that handle is deliberately meant to look softer. Consistency avoids the patchwork sharpness that makes efficient assets look accidental. [2]
TextureX’s 2026 guidance puts mobile and VR assets in the 512 by 512 to 1024 by 1024 range. Typical PC game assets fit 2048 by 2048, while 4096 by 4096 belongs primarily to hero assets. Offline work may justify 4096 to 8192 pixels. [2]
Those are delivery targets, not instructions to start every bake at the largest listed size. Bake a representative asset at the smallest plausible size, inspect it at gameplay distance, then increase resolution only where a visible artifact survives normal viewing.
Prepare the high and low meshes for projection, not just appearance
For a high-to-low workflow, keep the source sculpt or dense model and the target low-poly mesh aligned in the same space. The high model supplies detail, while the low mesh, its UVs, and its shading setup determine the final real-time asset. [1]
Apply or otherwise control transforms consistently before troubleshooting projection. Unexplained scale differences make ray distance and cage adjustments much harder to reason about, because the same numeric distance no longer means the same physical gap across objects.
Disable modifiers that do not contribute to the bake. Complex active modifiers can slow baking considerably, especially when the scene contains more evaluated geometry than the bake needs. Blender Artists contributors specifically identify active modifier complexity as a source of slower bakes. [5]
Do keep the modifiers that define the receiving surface. A low-poly mesh whose final silhouette relies on a subdivision or smoothing arrangement must be evaluated in the same form you intend to export, otherwise the normal map can compensate for a mesh that no longer exists.
In Blender 5.2 LTS, set Cycles as the render engine, create a new image at the chosen target resolution, and make that image node active in the low-poly material before baking. The image node is the destination, not merely a texture preview.
This is also the point where people lose an afternoon’s work. A baked image can exist in the Blender file without being written as a separate asset. Save each completed map deliberately, with names that identify the asset, map type, and resolution. [5]
Bake base color without accidentally baking a lighting rig
For a reusable PBR base-color map, choose the Diffuse bake type and include the Color contribution only. Disable Direct and Indirect contributions, so the map records material color rather than the lighting in your Blender scene. [4]
This distinction is easy to miss because a Combined bake can look pleasing immediately. It is also usually the wrong output for a game asset, because it bakes highlights, cast shadows, and environmental tint that the engine will calculate again.
Use sRGB for this Base Color image. Color maps are intended to pass through color management, unlike numeric material controls. StraySpark’s Blender PBR guidance specifically distinguishes color textures from data maps on this basis. [4]
Ambient Occlusion deserves restraint. Bake it when the target material needs controlled contact darkening, but do not confuse it with general lighting. It is often multiplied gently into presentation, or packed as a separate channel, rather than permanently painted into the base color.
A Combined bake can still suit a fixed-lighting use, such as a static background card or a stylized asset designed for one unchanging scene. That is a production choice, not a rule, but it sacrifices flexibility in exchange for a simpler runtime look.
Bake the data maps with the right color space
Bake tangent-space Normal for the standard high-poly-to-low-poly workflow, then set the resulting image to Non-Color. A normal map stores directional vector data, so treating it as display color distorts the values and produces incorrect shading. [4]
Set Roughness, Metallic, Ambient Occlusion, and Height or Displacement maps to Non-Color as well. These maps represent values rather than visible color, and sRGB conversion changes those values. [4]
Blender’s bake list includes Roughness, but Metallic may require an Emission workaround in a practical PBR workflow. Feed the metallic value into an Emission shader or emission path, bake Emit, then reconnect the resulting grayscale image as Metallic. [4]
That workaround is worth understanding rather than memorizing. Emission produces a value without scene illumination contaminating it, making it useful whenever you need to record a shader parameter rather than render a lit material response.
For thin paper or glass-like material work, Blender 5.2 LTS adds Principled BSDF Thin Wall Mode. It can improve the material behavior you are baking for thin surfaces, though it does not remove the need to validate how the target engine interprets that result. [7]
Fix projection errors with a cage, then tune ray distance
If you are baking high-poly detail onto a low-poly target, select the high-poly source or sources, then make the low-poly object active for a Selected to Active bake. The low-poly UV image remains the destination for the projected result. [9]
Projection artifacts usually appear as spikes, unrelated details bleeding onto nearby surfaces, or missing grooves. They are not generally solved by increasing texture resolution. They mean the rays are starting or travelling through the wrong volume.
Blender exposes Extrusion and Ray Distance controls, and a starting ray distance around 0.01 is commonly suggested. Raise it for details that sit farther from the low mesh, or lower it when rays catch nearby overlapping geometry. [11] [3]
That 0.01 value is a starting point, not a recommended final setting for every model. Its usefulness depends on object scale, thin parts, nearby components, and the actual gap between your high and low meshes. [11]
For controlled work, make a manual cage. Duplicate the low-poly mesh, move its vertices outward along normals so it encloses the high-poly form, and use that cage for projection. Blender Stack Exchange guidance favors this over relying solely on automatic extrusion because it gives local control where the asset needs it. [11]
Edit the cage around troublesome regions instead of expanding everything. A globally inflated cage may capture a recessed screw correctly while projecting an adjacent panel’s detail onto the wrong component. This is why cage work is often slower initially but cleaner overall.
Pack maps and atlases only after the individual bakes are correct
Once the standalone maps are clean, reduce material and draw-call overhead where the engine allows it. A texture atlas combines several asset regions into fewer texture sets, which can reduce draw calls for objects that otherwise need separate materials. [12]
Atlasing is especially useful for repeated small props, modular environment pieces, or UI-like surface elements. It is less attractive when one object needs much higher texel density than its neighbors, because the atlas then forces a wasteful compromise.
For Unreal Engine 5, keep Blender materials close to Principled BSDF conventions, export unlit base color, and use tangent-space, Non-Color normal maps. Unreal supports common formats including PNG and TGA, but format support does not excuse incorrect map interpretation. [4]
For Unity 2026, the metallic and roughness workflow needs an extra check. Metallic and Roughness are commonly combined, and Roughness must be inverted when the target expects smoothness instead. Plan that packing step after baking, not by corrupting the source roughness map. [12]
Do not pack maps merely because a channel is empty. Channel packing reduces texture fetches, but it also makes iteration less convenient and can complicate compression choices. It is a useful delivery optimization once the material is stable, not a mandatory early-stage habit.
Manage memory while you bake and while you render
Baking multiple maps saves runtime computation but costs memory during the bake. Large source meshes, multiple 4K images, and heavy modifier stacks can make a scene feel like a GPU problem when the underlying issue is simply too much data evaluated at once. [1] [5]
Blender 5.2 LTS’s Cycles Texture Cache is designed to load only needed image tiles and resolutions instead of holding all texture data resident. Blender’s developer documentation reports GPU memory reductions of up to 80 percent on large texture-heavy scenes. [10]
The tradeoff is potential render slowdown, since data may need to be loaded as work proceeds. Exact performance benchmarks remain limited, so treat Texture Cache as a memory-management option, then measure it against the target hardware and scene rather than assuming a free speed gain. [10]
Blender 5.1 also introduced a Raycast shader node that may support more advanced procedural effects before baking. Practical evidence that it accelerates ordinary baking workflows is still thin, so I would not redesign a dependable bake pipeline around it yet. [8]
Finally, inspect the exported maps in the target engine, not only in Blender’s image editor. Check seams under moving light, mipmapped distance, normal-map orientation, packed-channel interpretation, and VRAM use. A bake is finished when it meets the runtime budget, not when the progress bar reaches 100 percent.
Frequently Asked Questions
How do I bake textures in Blender for game assets?
Begin by preparing your low-poly mesh with clean, non-overlapping UVs and consistent texel density. Use Blender 5.2 LTS with the Cycles renderer for baking, selecting appropriate bake passes like Diffuse, Normal, and Ambient Occlusion. Align your high-poly and low-poly meshes in the same space and disable unnecessary modifiers before baking to ensure accurate projection and efficient performance.
What are the best settings for baking textures in Blender?
Use the smallest texture size that maintains quality at the asset’s intended viewing distance—512 to 1024 pixels for mobile/VR, 2048 for typical PC assets, and 4096 for hero assets. Set margin values to prevent seams, and for data maps like Normal, Roughness, and Ambient Occlusion, use Non-Color color space, while Base Color remains sRGB. Adjust ray distance and use a manually edited cage mesh for precise projection control.
How to avoid lighting baked into base color textures in Blender?
Bake the base color without direct or indirect lighting to prevent embedding lighting information into the albedo texture. This preserves the texture’s versatility, allowing lighting, shadows, and reflections to be handled dynamically by the game engine or final render instead of being fixed in the texture.
How to prepare UVs for texture baking in Blender?
Ensure UV islands are arranged within the 0 to 1 tile with sufficient padding between them, avoiding overlaps unless intentional for mirrored parts. Maintain consistent texel density across the mesh to prevent uneven texture sharpness, and create unique UVs around visible asymmetries to avoid normal map seams and directional issues.
When should I use a cage for baking in Blender?
Use a manually created and edited cage mesh when projection errors matter, such as in high-to-low poly baking workflows. A manual cage offers better control over ray projection than relying on automatic extrusion or ray distance values, reducing artifacts and improving bake quality.
How we researched this
This article was assembled from 14 cited references.
Nothing here is based on hands-on testing. Where a figure or finding appears, it belongs to the source cited beside it, and the writing says so rather than implying otherwise. Every source is listed below so you can check it.
Sources
- Texture Baking in Blender: Normals & Beyond - Blender Base Camp
- Texture Resolution Guide: What Size Do You Actually Need in 2026? | TextureX
- Getting Your Bakes Right in Substance Painter Without the - Toxigon
- PBR Texture Baking in Blender: A Beginner's Guide to Getting It Right | StraySpark
- Does having a larger filesize with more objects inherently slow down baking? - Materials and Textures - Blender Artists Community
- How to Bake Textures in Blender | 3D Texture Generator
- Blender 5.2 LTS Release — Blender
- Blender update adds a time-saving feature 3D artists dreamed of
- Render Baking - Blender 5.2 LTS Manual
- Cycles Texture Cache — Blender Developers Blog
- texturing - How to know the best value of extrude and ray distance while baking a normal map from low poly to high poly model? - Blender Stack Exchange
- How to Bake Procedural Materials (Blender to Unity) | The Guidebook
- Cycles - Blender Developer Documentation
- LODify — Blender Extensions
Related Articles
Using Nodes for Shading in Blender: A Practical Guide
Learn how to use nodes for shading in Blender with tips on Principled BSDF, texture color spaces, and Cycles vs Eevee differences.
Difference Between Normal Maps and Displacement Maps
Learn the difference between normal maps and displacement maps and when to use each for 3D modeling and rendering.

Create Realistic Sky in Blender
Learn how to create a realistic sky in Blender using procedural textures, HDRIs, and sun direction for believable outdoor lighting.
Realistic Textures in Blender: A Complete Guide
Learn how to create realistic textures in Blender with techniques for UV unwrapping, PBR materials, and avoiding common mistakes.