
Realistic Textures in Blender: A Complete Guide
Learn how to create realistic textures in Blender with techniques for UV unwrapping, PBR materials, and avoiding common mistakes.
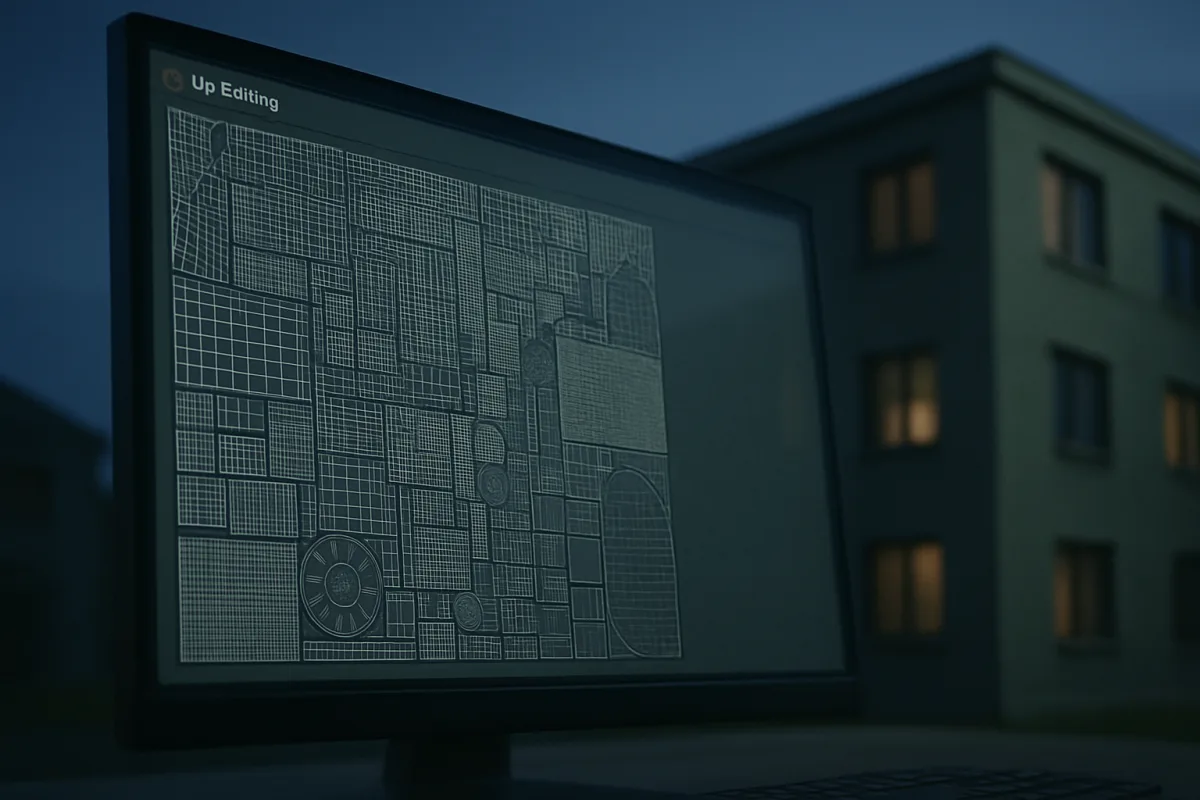
How to Create Realistic Textures in Blender: A Practical Guide to Enhancing Your Models
Creating realistic textures in Blender isn’t simply a matter of slapping a few images onto your 3D models and calling it a day. No, it requires a meticulous approach, a keen eye for detail, and the right techniques to elevate your models from the bland and boring to the stunningly lifelike. So, let’s roll up our sleeves and dive straight into the problems you’ll encounter and how to tackle them like a seasoned pro.
Problem 1: The Dreaded UV Unwrapping
If there’s one thing that can ruin your texturing experience, it’s abysmal UV unwrapping. A model with poor UV maps will result in textures that are stretched, squished, or simply don’t align properly. This is akin to trying to fit a square peg into a round hole, frustrating and ultimately fruitless.
Solution: Start with clean and efficient UV unwrapping. In Blender, you can do this by selecting your model, going into Edit Mode, and using the UV Mapping tools. You want to ensure that your UV islands are laid out neatly in the UV Editor. A good rule of thumb is to keep your texel density consistent across your model, which is crucial for realism. But don’t panic if minor inconsistencies creep in; sometimes they can work in your favor depending on the model's context (it-s.com).
Problem 2: Choosing Texture Resolutions
Now that your UVs are unwrapped and ready to go, you need to consider the texture resolutions. Choosing the wrong resolution can either leave your model looking pixelated or bog down your system with unnecessarily large files.
Solution: Follow the widely accepted resolution guidelines. For small props, a resolution of 512x512 pixels should suffice. When it comes to hero assets, however, you’ll want to crank it up to 4K. This ensures that your textures have the detail they need without dragging your computer into the depths of despair (strayspark.studio).
Problem 3: Setting Up PBR Materials
You might think that one image is enough for your model's texture, but if you’re aiming for realism, you’ll want to set up a Physically-Based Rendering (PBR) material. This involves multiple texture maps that define different aspects of your model's surface.
Solution: At the very least, you should include the following maps in your material setup:
- Base Color: The primary color of your material.
- Roughness: This defines how shiny or matte your surface appears.
- Normal Map: Adds surface detail without increasing the polygon count.
- Metallic: Indicates whether parts of your model are metallic.
- Ambient Occlusion (AO): Adds depth to your textures, particularly in crevices.
- Height Map: Provides additional detail by affecting the displacement of the surface.
By using these maps in conjunction, you can achieve a level of realism that will make your models pop (strayspark.studio).
Problem 4: Common Mistakes That Ruin Realism
Even the most seasoned artists can fall into traps that lead to less-than-realistic textures. You might think you’re nailing it, but if you overlook the following common pitfalls, your textures could end up more cartoonish than convincing.
Solution: Avoid these mistakes:
- Poor UV Unwrapping: This is a cardinal sin. Always double-check your UVs.
- Inconsistent Texel Density: Aim for uniformity unless context dictates otherwise (it-s.com).
- Over-saturated Colors: Keep your colors grounded in reality. A vivid purple tree might work in a fantasy setting, but a brownish-green is more believable for most environments.
- Uniform Roughness Values: Natural materials are rarely uniform in their roughness. Introduce variations to make your textures more lifelike.
- Ignoring Edge Wear: Real-world objects experience wear and tear. Adding slight imperfections can significantly enhance realism.
- Over-reliance on Normal Maps: While normal maps are fantastic for adding detail, don’t let them do all the heavy lifting. Realism comes from a combination of techniques (relebook.com).
Problem 5: The Challenge of Texture Seams
Texture seams can be a double-edged sword. On one hand, minimal seams can help unify your texture; on the other, well-placed seams can add detail and complexity to your model. The key is knowing how to use them effectively.
Solution: Consider the context of your model. If the seams are placed thoughtfully in less visible areas or where natural breaks would occur, they can enhance realism. Some sources suggest that a few strategically placed seams can improve detail without compromising the overall appearance of your textures (it-s.com).
Problem 6: Time Management in Texturing
You may find yourself sinking into the abyss of time consumption when creating textures. While some artists report spending anywhere from 6 to 16 hours on texturing, others might complete the task in significantly less or more time depending on their workflow.
Solution: Develop a structured approach to your texturing process. Break down your tasks into manageable chunks, focusing on one aspect at a time (like UV unwrapping, followed by texture painting). This will help you avoid burnout and maintain quality throughout your project (chasingillusions.com).
Problem 7: The Role of AI in Texturing
In today’s rapidly evolving digital landscape, AI-driven tools have begun to emerge as potential time-savers in the texturing process. However, their effectiveness is still a point of contention.
Solution: If you choose to explore AI tools, evaluate them critically. Some artists report that while AI can speed up certain aspects of texturing, it might not always align with your artistic vision or produce the desired quality. It’s best to use these tools as supplements rather than replacements for traditional methods (arxiv.org).
Conclusion
Creating realistic textures in Blender is a journey fraught with challenges, but armed with the right knowledge and techniques, you can transform your models from the mundane to the magnificent. By focusing on UV unwrapping, selecting appropriate resolutions, setting up PBR materials, avoiding common mistakes, managing your time effectively, and being cautious with AI tools, you’ll be well on your way to achieving stunning results.
Embrace the intricacies of texturing, and soon enough, your models will not only stand out, they’ll leave your audience utterly captivated. Now, get back to your Blender and start crafting those textures!
Frequently Asked Questions
What is UV unwrapping and why is it important in Blender?
UV unwrapping is the process of mapping a 3D model's surface to a 2D texture space. It is crucial because proper UV unwrapping ensures that textures align correctly on the model, preventing issues such as stretching or misalignment that can detract from the realism of the final render.
What are the best techniques for texturing in Blender?
Effective texturing techniques in Blender include starting with clean UV unwrapping, selecting appropriate texture resolutions based on the asset type, and setting up Physically-Based Rendering (PBR) materials using essential texture maps like Base Color, Roughness, and Normal maps. Additionally, avoiding common mistakes such as poor UVs and over-saturated colors can significantly enhance the quality of your textures.
Sources
- UV Mapping Best Practices for Clean Textures | Blended BORIS | Digital Art IP
- Getting Technical: Best Practices for UV Unwrapping - Soma Games
- Blender Texture UV Mapping Guide for Clean Unwraps | NormalMap.ai
- UV Operators - Blender 5.0 Manual
- Texture Resolution Guide for Games: When to Use 512, 1K, 2K, or 4K | StraySpark
- Material & Texture Mapping in 3D: Tips to Make Surfaces Look Real | Space Visual Blog | Space Visual
- Texture Resolution for 3D Assets: What Do You Really Need? - 3DSkillUp
- Set Up PBR Material Packs in Blender (Principled BSDF) | StraySpark
- PBR in Blender: Realism Techniques - Blender Base Camp
- Blender Material Setup for Beginners | Texturize
- Viewport Shading(3Dビューのシェーディング) - Blender 4.2 LTS Manual
- Introduction - Blender 5.2 LTS Manual
- Texture Paint - Blender 4.1 Manual
- Advanced Texture Paint Tips in Blender (Masks and Layers) | NormalMap.ai
- How Long Does It Take to Create a 3D Model? Realistic Guide 2026
- How Long Does a 3D Model Take to Make? Time by Complexity
- Make-A-Texture: Fast Shape-Aware Texture Generation in 3 Seconds
- Common Minor Mistakes Novice 3D Modelers Make (And How to Avoid Them)
- How to Make Textures for 3D Models
- How to Texture 3D Models: A Step-by-Step Beginner Guide
- Mastering Textures in 3D Rendering: A Comprehensive Guide - Toxigon
Related Articles
Create Realistic Environment in Blender: Step-by-Step Guide
Learn how to create a realistic environment in Blender with tips on terrain, texturing, lighting, and scale for believable 3D scenes.
Realistic Fire Effect in Blender
Learn how to create a realistic fire effect in Blender using Mantaflow, shaders, lighting, and simulation tips for photorealistic results.
Realistic Water in Blender
Learn the best techniques for creating realistic water in Blender using Ocean Modifier, fluid sims, and layered shading for stunning results.

Create Realistic Sky in Blender
Learn how to create a realistic sky in Blender using procedural textures, HDRIs, and sun direction for believable outdoor lighting.