
Blender Tips for Beginners: Master Object and Edit Modes
Learn essential Blender tips for beginners, including object vs edit mode, applying scale, and mastering transform shortcuts for better 3D modeling.
The beginner concept that prevents many later problems
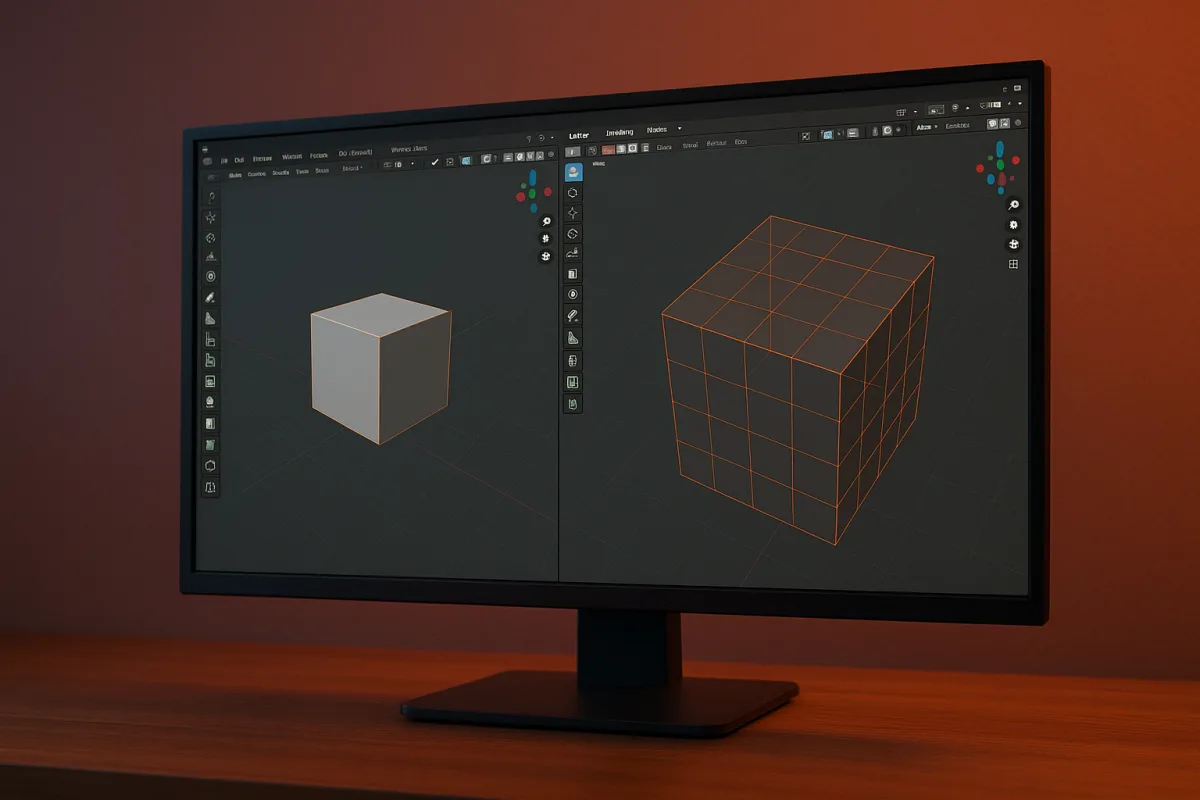
This article uses Blender 4.5 LTS terminology. The central beginner idea is simple: an object’s position, rotation and scale are not the same thing as its mesh shape.
A cube can look stretched, rotated and moved across a scene while its underlying eight vertices remain an untouched unit cube. Blender stores those visible changes as object transforms, layered on top of the mesh data.
That distinction sounds technical until you make furniture, props or characters. Then it determines whether a bevel remains even, whether a modifier gives predictable results, and whether an object pivots where you expect.
Most beginner tutorials introduce G, R and S early because moving, rotating and scaling are basic operations. The important part is not memorising the keys, but knowing what each operation is modifying. [1][2]
Object Mode changes the instance
In Object Mode, Blender treats a mesh as one scene object. Pressing G moves the object through the scene, R rotates it, and S changes its displayed scale. [1][20]
Think of this as moving a physical prop around a film set. You have not rebuilt the prop, you have only changed where it sits and how it is oriented relative to the world.
The object has an origin, shown as a small orange dot when selected. By default, that origin is the point Blender uses for many rotations, scaling operations and object-level placement decisions.
If you move a chair across a room in Object Mode, its origin travels with it. Rotate the chair afterwards and it turns around that origin, which is normally exactly what scene layout requires.
Object Mode is therefore the right place for composition. Use it to position lamps, arrange product parts, place a character on the ground, or duplicate a bolt around a larger assembly.
Blender’s Outliner is useful here because it shows the scene as a list of objects and collections. It helps confirm whether you are selecting the lamp itself, its parent empty, or a different object with similar geometry. [1]
Edit Mode changes the mesh itself
Press Tab to enter Edit Mode on a mesh object. Now Blender exposes its vertices, edges and faces, and transformations alter the mesh data rather than the object’s scene transform. [1][20]
This is the equivalent of cutting, bending or rebuilding the physical prop before placing it on set. A face extruded in Edit Mode becomes actual geometry that stays with the mesh wherever it goes.
Suppose you want a cube to become a crate. Enter Edit Mode, select a face, and move or extrude it. The cube’s Object Mode location, rotation and scale can remain unchanged.
That separation is valuable because it lets you establish a clean asset before layout. A correctly proportioned crate can be duplicated, moved and rotated freely without changing its construction every time.
Edit Mode also explains a common beginner surprise. If you select all vertices and move them, the visible mesh moves but the orange object origin stays where it was.
That is not Blender malfunctioning. You have shifted the mesh relative to its origin, so later Object Mode rotation occurs around a point that may now sit outside the visible object.
There are valid reasons to do this. A door’s origin often belongs at its hinge, for example, because the door needs to rotate from that edge rather than from its geometric centre.
For most early modeling exercises, though, an origin far from the mesh is accidental. It makes placement and rotation feel unpredictable, when the underlying system is behaving consistently.
What G, R and S are really asking
G, R and S start interactive transforms: grab or move, rotate and scale. Blender then waits for additional information, such as an axis constraint or a typed value. [2][20]
Pressing G followed by X means move along the current X axis. Pressing S followed by Z means scale only in Z, which stretches or compresses height without changing width or depth.
Typed numbers turn vague mouse movement into controlled modeling. S, Z, 2 makes an object twice as tall on Z, while G, X, 1 moves it one Blender unit along X.
The outcome still depends on where you are working. The same S, X operation scales the whole object in Object Mode, but stretches only selected vertices, edges or faces in Edit Mode.
Transform orientation matters as well. Global axes follow the world, while Local axes follow the object’s own rotation. Blender’s transform tools and shortcuts expose those choices because a rotated object has its own useful directions. [20]
A practical example is a rotated shelf bracket. Scaling it along global X may push it diagonally relative to its shape, whereas local-axis scaling follows the bracket’s own length.
This is why experienced modelers often pause before transforming anything. The useful question is not “which key do I press?” but “am I changing the asset, or placing the asset?”
Scale is the transform beginners most often overlook
Scale deserves special attention because it can make an object look correct while leaving inconvenient values behind. A cube stretched into a tabletop might display scale values of 3, 1 and 0.1.
That is called non-uniform scale, because each axis has a different multiplier. It is perfectly acceptable for quick blocking, scene dressing and many simple layouts, so do not treat it as a forbidden state.
The trouble begins when you ask Blender to create geometry based on dimensions. A Bevel modifier, for instance, needs a width, and uneven object scale can make that width appear different across directions.
The same principle can affect thickness-producing operations, arrays and procedural setups whose results depend on the object’s dimensions. The model may look fine until you add the next stage of the workflow.
The usual fix is Apply Scale. In Object Mode, Blender’s Apply command transfers the object’s scale into the mesh data and resets the displayed object scale to 1, 1 and 1. [20]
After applying scale, the tabletop should look the same size in the scene. What changes is the bookkeeping: its vertices now describe that stretched shape directly, rather than relying on an object-level multiplier.
This is a workflow habit, not an absolute rule. Keep unapplied scale when you deliberately need an object-level scale control, but apply it before judging precision-dependent modifiers or finalizing a reusable asset.
Do not apply transforms automatically without looking. Applying location or rotation changes different data, and an object used in a hierarchy, rig or animation setup may rely on its current transform values.
Why this matters for topology and shading
Topology is the arrangement of vertices, edges and faces that defines a mesh. Object Mode scaling does not add edges, improve edge flow, or create supporting loops around a hard-surface corner.
If a rounded edge needs to hold its form under close lighting, solve that with appropriate geometry, a bevel workflow, or carefully managed normals. Stretching the entire object only changes its overall proportions.
This distinction also helps when assessing a model in rendered light. A broad highlight reveals the curvature actually present in the mesh, while object transforms merely determine how that mesh is presented in the scene.
Beginners sometimes keep adding material complexity when a model still feels wrong. Before adjusting roughness or colour, inspect the silhouette, the real geometry, and whether uneven scale is distorting a modifier result.
That is a general 3D lesson, not a Blender-only one. ZBrush, Houdini, Substance 3D tools and other applications use different interfaces, but every pipeline separates shape data from scene placement somehow.
A small exercise worth repeating
Create a default cube in Blender 4.5 LTS and leave it at the world origin. In Object Mode, scale it into a low rectangular block, then inspect the Scale fields in the Item panel.
You should see values other than 1. Enter Edit Mode and notice that the mesh still consists of the default cube’s basic vertex arrangement, despite its stretched appearance in the viewport.
Return to Object Mode and apply only Scale. The block should retain its visible proportions, but its Scale fields should return to 1, proving that Blender has changed the mesh data rather than its appearance.
Now add a Bevel modifier before and after repeating that process on a fresh stretched cube. The point is not to memorise a preferred setting, but to see why scale state matters to generated geometry.
Finally, enter Edit Mode, select all geometry, and move it sideways. Return to Object Mode and rotate the block. The offset origin makes the object’s two layers visible in a very direct way.
Use the viewport deliberately while doing this. Middle mouse button orbits, Shift plus middle mouse pans, the wheel zooms, and numpad views give reliable ways to inspect whether geometry and origin are where you think they are. [2][3]
If a command is forgotten, use Blender’s F3 operator search rather than guessing through menus. It is a sensible bridge while you build muscle memory for the few transformations you use constantly. [2][20]
The aim is not to become fast at shortcuts in one afternoon. It is to build a dependable mental model, so every later tool, from extrude to bevel to procedural modeling, has somewhere sensible to attach.
Frequently Asked Questions
What are essential Blender tips for beginners?
Beginners should understand that an object’s transforms (position, rotation, scale) are separate from its mesh shape. Learning to switch between Object Mode and Edit Mode using Tab is crucial, as is mastering the G, R, and S keys for moving, rotating, and scaling. Applying scale before size-dependent operations and using Blender’s Outliner to manage scene objects are also important early practices.
How do object mode and edit mode differ in Blender?
Object Mode treats the mesh as a single object that can be moved, rotated, or scaled in the scene without changing its shape. Edit Mode exposes the mesh’s vertices, edges, and faces, allowing you to change the actual geometry. Switching between these modes lets you position objects in a scene or edit their form separately.
Why should I apply scale in Blender before modeling?
Applying scale is important before using size-dependent operations like bevels or solidify modifiers because non-uniform scaling (e.g., flattening on one axis) can cause uneven results. Applying scale resets the object’s scale to 1, ensuring these operations behave predictably and maintain consistent proportions.
How do G, R, and S keys work in Blender for beginners?
G (grab/move), R (rotate), and S (scale) start interactive transformations that depend on mode, transform orientation, pivot point, and axis constraints. For example, pressing G then X moves the selection along the X axis. In Object Mode, these keys affect the whole object, while in Edit Mode they modify selected mesh components.
What common beginner mistakes should I avoid in Blender modeling?
A common mistake is confusing object transforms with mesh shape, leading to unexpected modifier results or pivot behaviors. Another is neglecting to apply scale before size-dependent edits, which causes uneven geometry. Also, moving vertices in Edit Mode without adjusting the object origin can make rotations feel unpredictable.
How we researched this
This article was assembled from 21 cited references.
Nothing here is based on hands-on testing. Where a figure or finding appears, it belongs to the source cited beside it, and the writing says so rather than implying otherwise. Every source is listed below so you can check it.
Sources
- Blender Tutorial: 3D Modeling in Blender for Beginners
- The Most Important Blender Keyboard Shortcuts for Beginners
- Shortcuts | Blender for Visual Investigation
- Requirements — Blender
- Hardware Recommendations for Blender | Puget Systems
- How Long Does It Take to Learn Blender? (2025 Guide) | HowLongFor.com
- Learn Blender 3D - Free Beginner Modelling & Animation Course
- 8 Common Mistakes to Avoid in 3D Architectural Rendering | SampleBoard
- Best Practices for Rendering in Blender - Toxigon
- Stop Blaming Your Materials: The Real Reason Your Blender Renders Look Lifeless — BlenderCG
- The Top 20 Blender Addons for Beginners in 2026
- 10 Best Blender Addons for Procedural Modeling & Texturing (2026) | 3DxDEV
- PolyQuilt addon for Blender 2.8 - #590 by Dangry - Released Scripts and Themes - Blender Artists Community
- Blender Cycles/Eevee Add-ons to Speed Up Rendering 2025 - Super Renders Farm
- Best Blender Plugins & Add-ons in 2026 | todo3ds
- Blender Add-On Development. A short blog to get you started with… | by Varun K Gupta | Medium
- ZBrush vs Blender for Sculpting in 2026 — Re:Form Blog
- Sculpting Software for Beginners: Blender vs Nomad Sculpt
- Blender 3D groups | Meetup
- Default Keymap — Blender Manual
- Common Mistakes in Blender Video Production | 2026 Guide
Related Articles
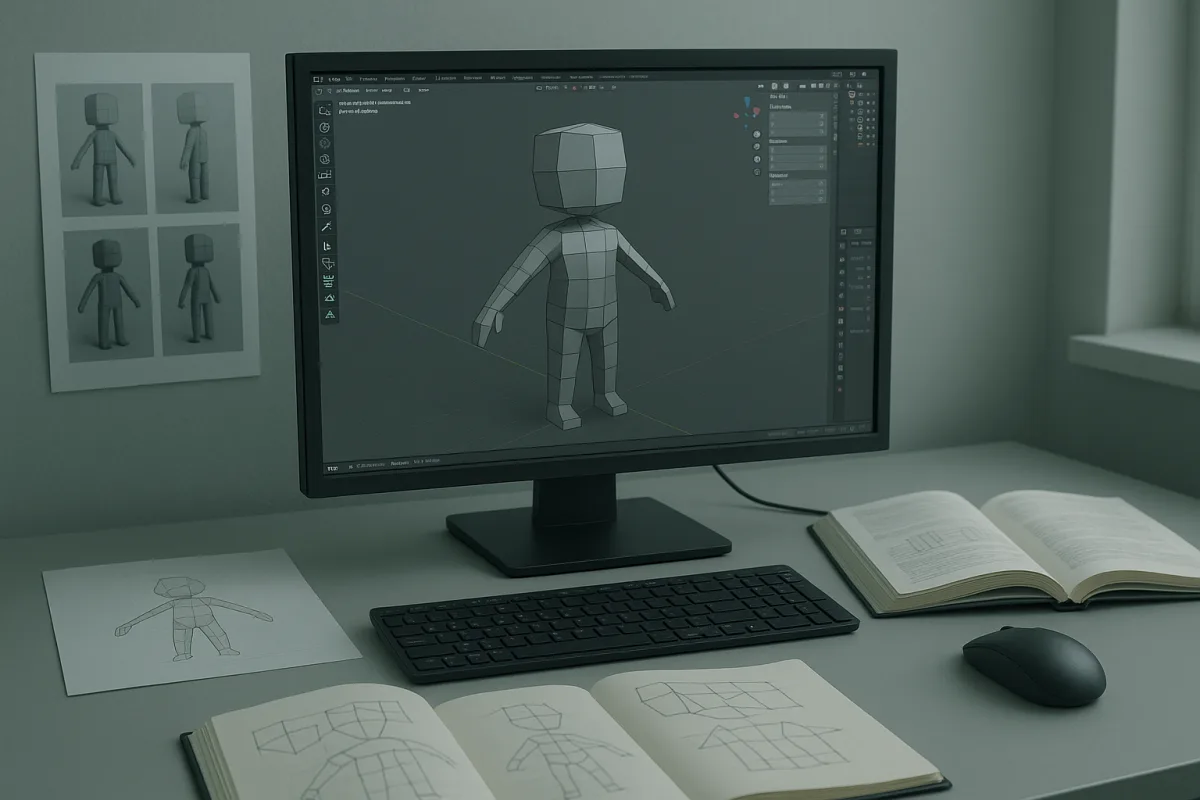
Blender 5 Beginner Tutorial Series: Learn 3D Modeling Basics
Explore a Blender 5 beginner tutorial series that teaches 3D modeling, topology, lighting, and rendering with a focus on workflow dependencies.
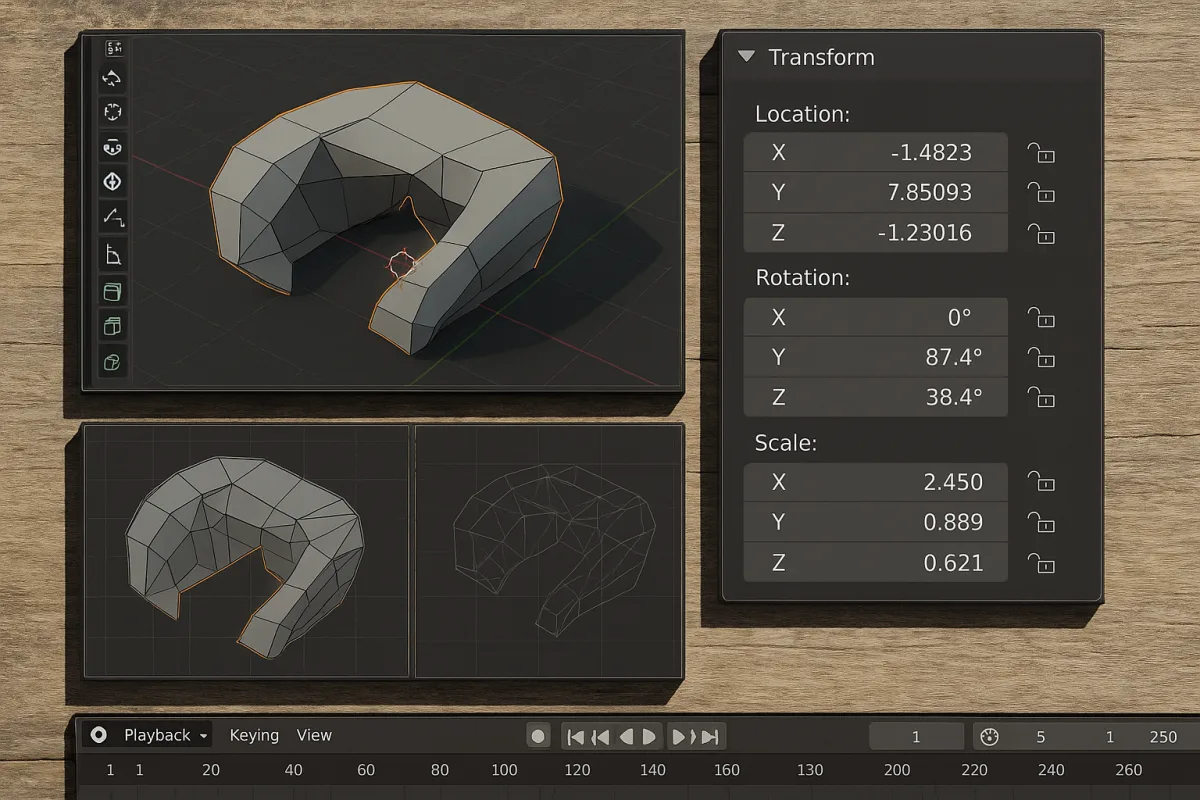
Common Mistakes in Blender Modeling
Learn common mistakes in Blender modeling focused on scale and transforms, and how to fix them for better results.
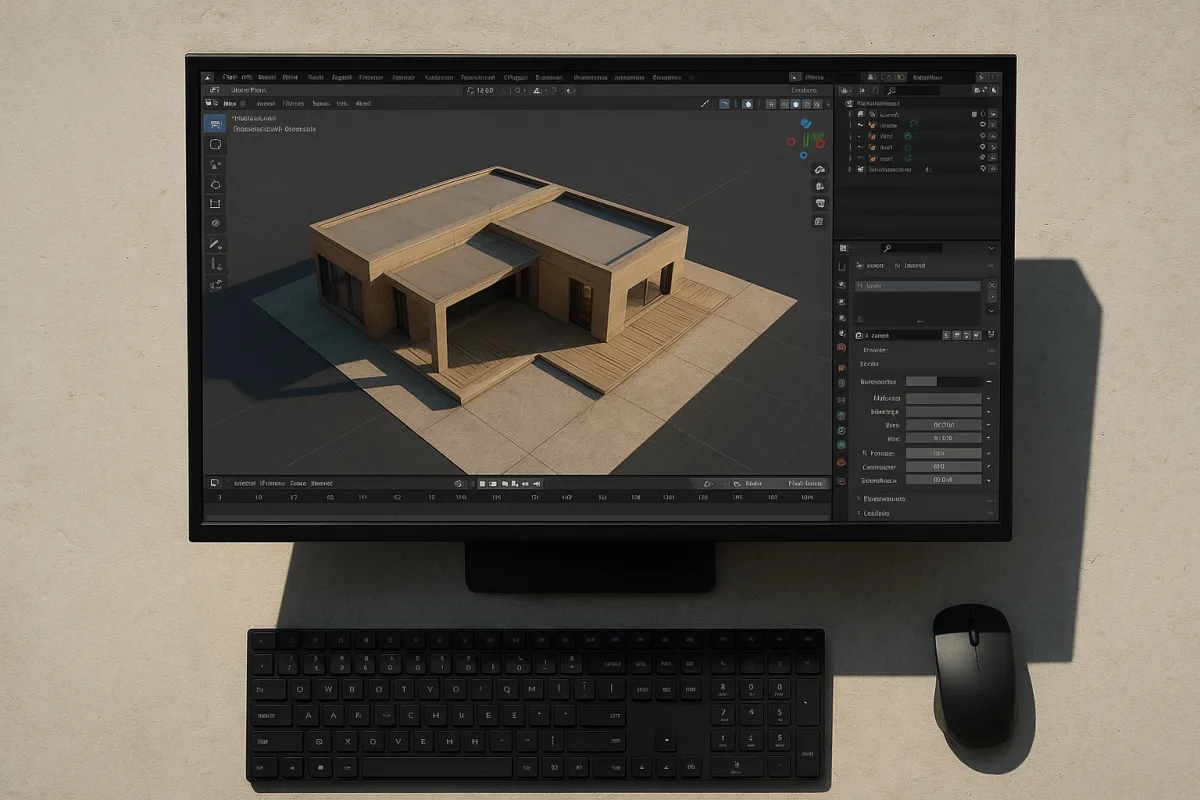
Blender Architectural Visualization Workflow
Learn the Blender architectural visualization workflow: import CAD, model accurately, set scale, and create realistic materials and lighting for renders.
Create Realistic Environment in Blender: Step-by-Step Guide
Learn how to create a realistic environment in Blender with tips on terrain, texturing, lighting, and scale for believable 3D scenes.