
Manage Large Scenes Efficiently in Cinema 4D
Learn how to manage large scenes efficiently in Cinema 4D with tips on optimization, instances, LOD, and viewport performance.
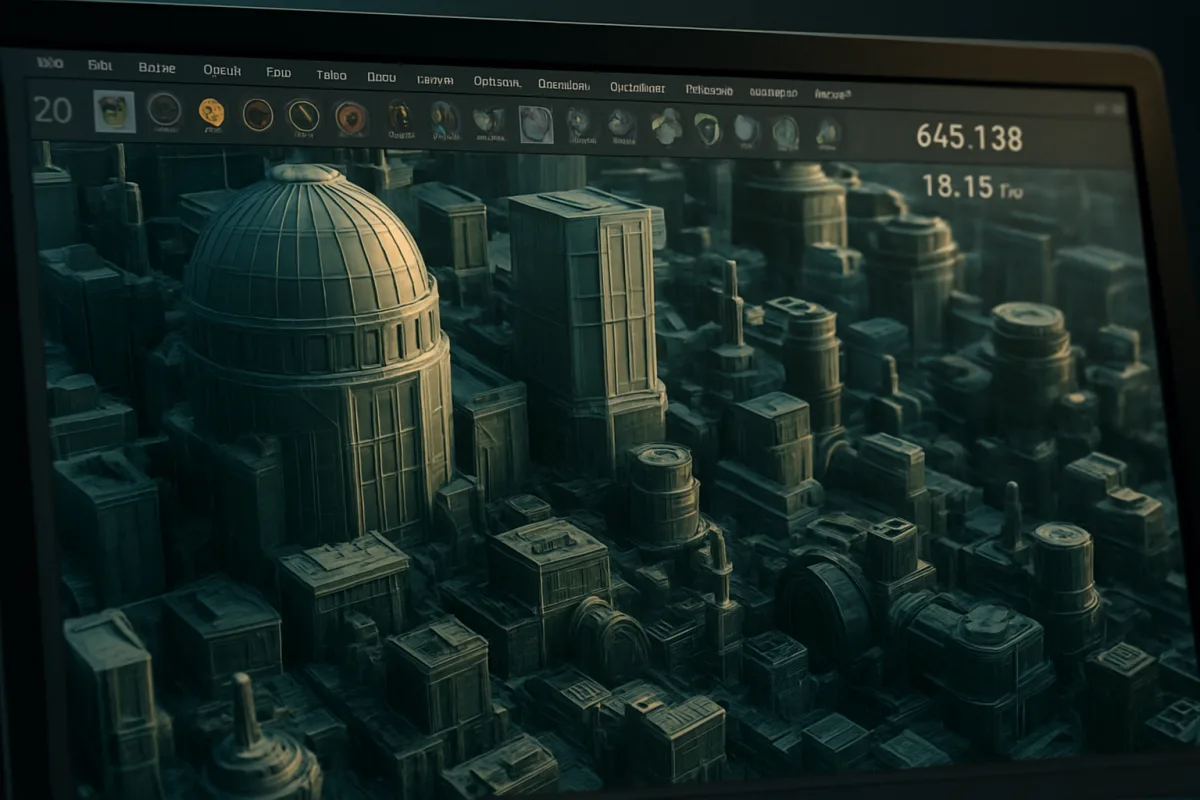
Measure the scene before simplifying it
The frame-rate readout drops as you orbit a packed set, while a distant forest, a dense product assembly, and several procedural objects all remain visible. Before editing, turn on the Cinema 4D R25-2026 Heads-Up Display and watch polygon count and frame rate. [1][11]
Use those readings while hiding groups, disabling generators, or removing a camera’s view of one environment section. The point is to identify what changes responsiveness, not to chase a published polygon ceiling, because Maxon does not publish a fixed scene or object polygon limit. [1][11]
A large scene can stall from many places at once: geometry, textures, generators, viewport effects, or renderer memory. We would diagnose in broad chunks first, then narrow the expensive collection or object, because random reduction can damage assets that were never the bottleneck.
Build a hierarchy you can hide safely
Give the Scene Manager a structure that follows production work: environment, hero assets, background dressing, lighting, cameras, effects, and reference. Cinema 4D’s Scene Manager, Layer Manager, and Take System are built to organize object groups and scene variations. [4]
Put objects you need to hide together in the same group or layer. A city block, foliage set, crowd section, or interior room should disappear with one controlled visibility change, leaving you able to inspect the portion currently receiving work.
Name groups for their job, not only their asset type. “Kitchen foreground,” “Street background,” and “Hero product internals” tell you what can be excluded from a camera or viewport without forcing you to open every nested object.
Use Takes for deliberate variations such as alternate cameras, lighting setups, or render states. This keeps a single master scene organized while allowing changes to remain specific to one output, instead of accumulating duplicate files with unclear differences. [4]
This organization is a habit, not a rule about a single naming convention. The rule is that you must be able to find, isolate, and restore a costly scene component quickly, especially after the Outliner has become several levels deep.
Convert repetition into instances
A hundred identical bolts, leaves, chairs, rocks, or window modules should not carry a hundred independent copies of the same geometry. Use Cinema 4D Render Instances for high duplicate counts to reduce memory use and improve viewport responsiveness. [4]
Keep one source object clean and recognizable, then instance it wherever the design repeats. If the asset changes, every instance updates from that source, which also reduces the chance that a late correction leaves mismatched copies throughout the scene.
Reserve unique copies for cases where an object needs distinct topology, deformation, or a truly different silhouette. Small material and placement differences do not automatically require unique geometry, so do not turn every variation into an independent mesh by default.
For architectural arrays and dressing passes, we would reach for instances before polygon reduction. Reducing a repeated asset can lower quality everywhere, while instancing preserves the model and removes duplicated scene cost at the same time. [4]
Control subdivision and generated geometry
Subdivision surfaces multiply the cost of a base mesh, so keep the starting topology simple and add subdivision only where the camera needs smooth curvature. Cinema 4D performance guidance favors selective subdivision instead of dense base meshes across the whole asset. [1]
Check every Subdivision Surface in the scene from the camera that matters. A close-up product edge may need the extra smoothness, while a background chair, cable, or building trim can often retain a lower level without changing the shot.
Generators and splines deserve the same attention. Adjust spline subdivision levels and use adaptive intermediate points where appropriate, so a curve receives points according to its shape instead of carrying uniform density through long straight sections. [1]
Do not collapse generators merely because they are procedural. Keep them editable while their parameters still help you make changes, then reduce their resolution only after comparing the camera result and the viewport response.
Test Level of Detail by camera distance
Level of Detail swaps a detailed model for a lower-resolution version as it moves farther from the camera. In Cinema 4D, it can improve navigation and render efficiency by keeping distant assets from carrying unnecessary detail. [4]
Create the high, medium, and low versions around visible silhouette changes. A low version needs to preserve the profile, large openings, and material breakup that read at distance, not every bevel, screw thread, or hidden interior surface.
Test the LOD setup in the actual shot range. LOD is not a universal performance switch, because managing the switches can add computational overhead and, on some scenes or hardware, offset the expected gain. [4]
We would use LOD for repeated environments, large prop libraries, and long camera moves. We would skip it for a small scene with few assets, where the setup takes longer than direct cleanup and adds another system to maintain.
Strip the viewport to the decisions in front of you
During modeling and layout, reduce viewport anti-aliasing and turn on backface culling where it helps you see dense geometry clearly. Use X-ray mode only for the objects that need internal access, because full-scene transparency can make selection harder. [1][10]
Disable or simplify real-time reflections and shadows while you position assets, animate, or repair topology. Those features can consume viewport performance without changing the structural decisions you are making during those stages. [10]
Turn them back on for lighting and final look checks. Reflection shape, shadow contact, and visibility still belong to look development, but they do not need to update continuously while you are moving hundreds of unseen background objects.
Treat this as a working display state, not a new visual standard for the project. The goal is a responsive interface while you build the scene, followed by focused checks in the quality level needed for the image.
Clean meshes before reducing polygons
Polygon reduction works best on geometry that is ready to be simplified. Convert the target to an editable object, make sure it is visible and unlocked, then inspect it for n-gons, overlapping vertices, and other cleanup issues. [5]
Preserve UVs and normals before starting. Those data determine how the reduced object receives textures and shades, so a mesh that looks lighter may still fail when it shows broken seams, warped maps, or faceted highlight bands in the render. [5]
Reduce in stages and inspect the result between passes. Aggressive one-step reduction can remove the loops that hold a silhouette, a hard edge, or a shading transition, leaving you with an asset that saves polygons but no longer matches the original. [5]
Use reduction on unique heavy assets that cannot be instanced or replaced with LOD. We would not make it the opening move for every object, because clean instances, generator settings, and viewport controls often address the larger cost first.
Set texture budgets alongside geometry budgets
A scene can remain slow after topology cleanup if it carries oversized textures into every material. Render optimization guidance recommends managing texture sizes and using proxies alongside geometry controls, especially when the renderer must fit a full scene into available memory. [9]
Review which maps contribute to the visible shot. A close product label may need its full-resolution color and roughness maps, while distant environmental props can use smaller textures if their detail no longer resolves in the camera.
Keep texture decisions connected to the asset’s screen size and material role. Normal maps, roughness variation, and opacity can be crucial to a close silhouette, but their cost needs review when the same material is spread across thousands of instances.
If your renderer begins failing on heavy frames, examine geometry and textures together. GPU scenes consume VRAM through the complete working set, so reducing only polygon count may not solve a memory-driven crash. [7]
Choose the renderer by scene memory
Redshift and Octane use GPU acceleration and can deliver fast rendering, but large Cinema 4D scenes are constrained by GPU VRAM. When the working scene exceeds that memory budget, instability and crashes become a real production risk. [6][7]
Arnold is CPU-based and can handle larger scenes more steadily, though its render times can be longer. That makes it a credible choice for a memory-heavy scene when predictable completion matters more than the fastest possible GPU frame. [8]
We would choose Redshift or Octane when the scene fits comfortably in GPU memory and turnaround speed drives the job. We would consider Arnold for very large scenes that repeatedly fail or become unstable under a GPU memory limit. [7][8]
Do not assume a renderer change repairs an unorganized scene. Instances, reduced texture demands, proxy use, and targeted visibility still lower the workload, whichever engine produces the final frames. [9]
Configure rendering for the image you need
Use proxies when a high-detail asset must appear in the render but should not remain fully loaded for everyday scene manipulation. Pair that with managed texture sizes so the scene carries detail where the camera can actually reveal it. [9]
Render in passes or tiles when the project and delivery setup support them. These approaches break the output into manageable units and can make a demanding render less dependent on one massive all-at-once frame calculation. [9]
Use denoising features as part of a controlled render-quality decision. If denoising supports the target image at lower sampling demands, it can reduce render time, but check fine texture, glossy reflection, and edge behavior before committing across a sequence. [9]
Save final-quality settings in a dedicated Take or clearly labeled render setup. Your interactive scene state can stay lighter, while the final output state restores the reflections, shadows, geometry resolution, and render settings needed for delivery. [4][10]
Keep the master scene editable
A heavy Cinema 4D R25-2026 project needs a master scene that remains understandable after weeks of changes. Keep source objects, instances, proxies, LOD versions, and render-specific settings identifiable, so optimization does not become permanent confusion. [4][11]
Separate viewport convenience from final-image decisions. Hidden background collections, simplified display settings, and lower working subdivisions can all accelerate the day, provided the final Take restores the asset state required by the shot. [4][10]
Recheck the HUD after every major optimization pass. If frame rate does not improve after an LOD change, polygon reduction, or viewport setting adjustment, undo the complexity you added and direct effort toward the component that still limits the scene. [1][4]
Frequently Asked Questions
How do I improve viewport performance with large scenes in Cinema 4D?
Start by using Cinema 4D’s Heads-Up Display (HUD) to monitor polygon count and frame rate as you navigate the scene. Hide groups or disable generators to isolate bottlenecks rather than randomly reducing geometry. Adjust subdivision surfaces and spline subdivisions selectively, and consider disabling real-time reflections and shadows to improve responsiveness without compromising look development.
What are best practices for organizing large scenes in Cinema 4D?
Organize the Scene Manager with a hierarchy reflecting production needs, such as environment, hero assets, background dressing, lighting, and cameras. Group objects you want to hide together and use clear, descriptive names based on their role in the scene. Employ the Take System for variations like alternate cameras or lighting setups to keep a single master scene manageable without duplications.
How can I use render instances to optimize large Cinema 4D scenes?
Convert repeated assets like bolts, leaves, or chairs into Render Instances to reduce memory usage and improve viewport responsiveness. Maintain one clean source object and instance it wherever repetition occurs, updating all instances when the source changes. Reserve unique geometry only for objects requiring distinct topology or deformation, avoiding unnecessary copies for minor material or placement differences.
When should I use Level of Detail in Cinema 4D for large scenes?
Use Level of Detail (LOD) to swap detailed models for lower-resolution versions as they move farther from the camera, which can improve navigation and rendering efficiency. However, test LOD changes on your specific cameras and hardware because it can sometimes add overhead and reduce performance instead of improving it. Adjust LOD settings carefully based on the scene and workflow needs.
How do I identify bottlenecks in large Cinema 4D projects?
Use the HUD to monitor frame rate and polygon count while hiding or disabling parts of the scene to see which components affect performance most. Diagnose in broad chunks first, then narrow down to specific objects or collections causing slowdowns. This approach prevents unnecessary reductions to assets that are not the source of bottlenecks.
How we researched this
This article was assembled from 12 cited references.
Nothing here is based on hands-on testing. Where a figure or finding appears, it belongs to the source cited beside it, and the writing says so rather than implying otherwise. Every source is listed below so you can check it.
Sources
- Cinema 4D Tip: Cinema 4D Viewport Performance Optimization
- Hardware Recommendations for Cinema 4D | Puget Systems
- Cinema 4D Workstations | Redshift Rendering | Renderboxes
- Maxon
- Cinema 4D Polygon Reduction Not Working? Fix Issues Fast
- Redshift Render Farm for Cinema 4D in 2026: GPU + Setup | SuperRenders
- How to Fix Redshift and Octane Crashes on Heavy Renders | Blog | Drop & Render
- Comparativa de renderizadores para Cinema 4D: Redshift, Octane, Corona y Arnold
- How to Render Faster on Cinema 4D (7 Tips for Optimization) - Vagon
- Cinema 4D Settings Guide: Best Practices
- Cinema 4D System Requirements (R25 - 2026), Knowledge Base
- Effects
Related Articles

Optimize Blender for Large Scenes
Learn how to optimize Blender for large scenes with viewport, texture, and asset management tips to improve performance and reduce memory use.
Blender Tips for Optimizing Scene Performance in Cycles
Learn Blender tips for optimizing scene performance in Cycles, including adaptive sampling, tile size, samples, bounces, and denoising techniques.
Blender Project Setup for Rendering: Organize and Optimize
Learn how to set up a Blender project for rendering with proper file organization, scale, render engine choice, and output settings for efficient
Blender File Management Tips for Organized Projects
Learn Blender file management tips to organize projects, name files clearly, use relative paths, and manage backups effectively.