
How to Use Sculpt Mode in Blender: A Practical Guide
Learn how to use sculpt mode in Blender with tips on brushes, mesh resolution, masking, and workflows for effective 3D sculpting.
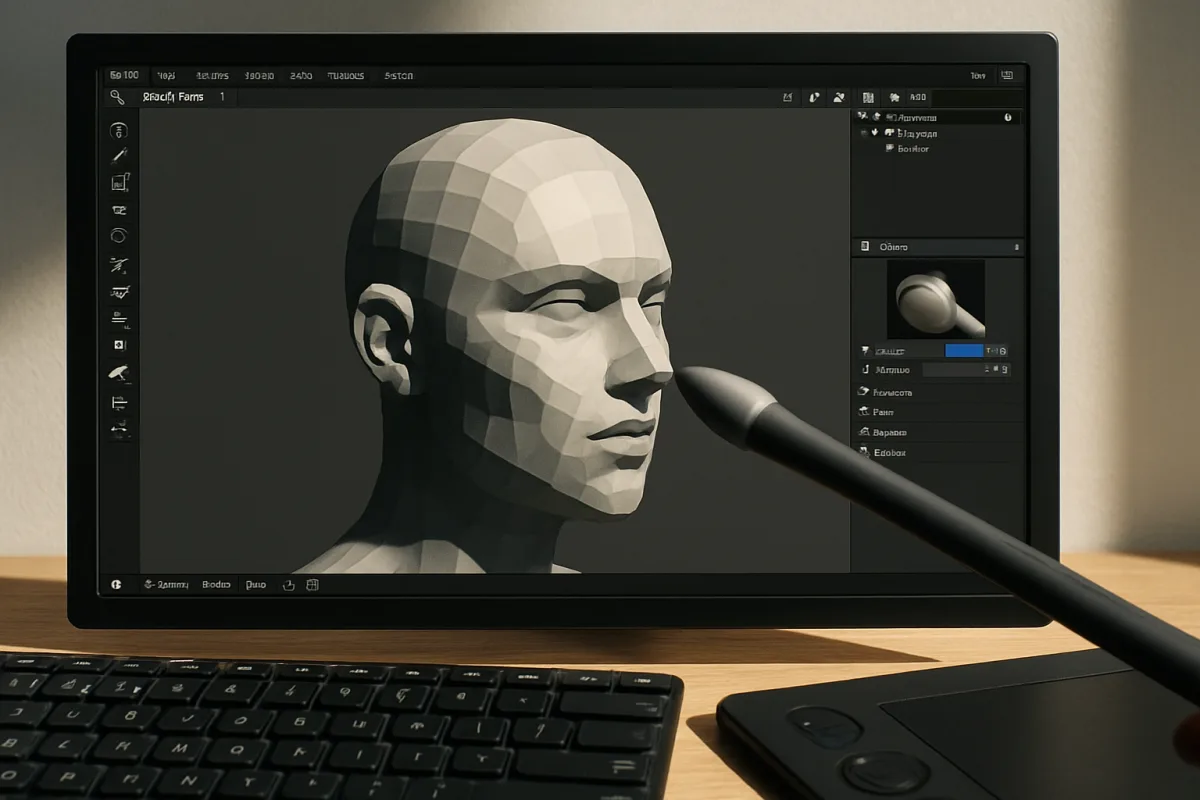
Start with the silhouette under your brush
A Draw stroke that produces a lumpy ridge instead of a clean cheekbone usually points to a mesh-resolution problem, brush size problem, or unapplied object scale. Enter Blender Sculpt Mode, version unspecified in the cited guidance, only after checking the object’s scale and surface density. [2][3]
Apply scale before serious sculpting so brush radius and strength behave predictably across the model. Unapplied scale is a common reason a brush feels disproportionately large, weak, or inconsistent from one axis to another. [3]
Look at the model in silhouette before adding pores, seams, or wrinkles. A character’s head, creature’s shoulder mass, or hard-surface dent must read from a distance first, because high-frequency marks cannot rescue an unconvincing large form.
We would begin with a neutral material and simple lighting, then rotate constantly. Sculpting under a dramatic viewport matcap can hide uneven transitions, while a plain view exposes whether a form actually turns through space.
Give the mesh enough surface to deform
Sculpt brushes move vertices, so a primitive with too few faces cannot hold a rounded transition, a sharp fold, or a small indentation. If the brush seems to pull a handful of obvious points, add usable surface resolution before chasing the stroke. [2]
Do not begin every model at its highest possible polygon count. High-resolution geometry early in the process costs viewport responsiveness and makes it easier to polish details that will be erased when the underlying proportion changes. [1][13]
Blender offers three broad routes to resolution: Dynamic Topology, voxel remeshing, and the Multiresolution modifier. They solve different production problems, so treat them as workflow choices, not interchangeable buttons. [14]
Dynamic Topology, commonly called Dyntopo, adds sculptable density where you work and lets you control detail size adaptively. It suits exploratory organic work, when you need to pull a new horn, reshape a mouth, or carve damage without planning every edge loop first. [14]
Voxel remeshing rebuilds the mesh around a chosen voxel size, giving you an even, unified surface for broad sculpting. Use it when separate pieces need to become one continuous clay-like volume, or when stretched and uneven areas are getting in your way.
Multiresolution subdivides an existing base mesh across levels, preserving a lower-resolution foundation while you sculpt finer information above it. We would choose it for a model whose base topology needs to remain organized, especially if animation or a controlled low-poly asset is part of the job. [13]
No universal Dyntopo detail size, voxel size, or subdivision level fits every asset. Set resolution by the smallest feature you need to make, then stop increasing it when the mesh supports that feature cleanly and your viewport remains responsive. [14]
Block the large forms with a short brush list
Start with Draw or Clay Strips to establish mass. These are the brushes for building a brow ridge, packing volume into a creature’s shoulder, or laying broad clay across a torso, not for tracing a final crease. [14]
Use Grab when the entire outline needs to move. A larger Grab brush can shift the skull, widen a jaw, lengthen a limb, or improve a silhouette without covering the surface in repetitive build-up strokes. [14]
Smooth is a corrective brush, not a default finish. Use it to soften unwanted stepping and blend separate clay deposits, but avoid holding it down until every plane becomes uniformly soft and swollen. [2]
Inflate helps when a recessed or thin area needs volume without the directional feel of a Draw stroke. It can support soft tissue, padded forms, rounded ornament, and localized bulging, provided you check the surrounding silhouette after each pass. [14]
Keep brush size large during this stage. A brush roughly matched to the form you are changing makes fewer visible ripples, while a tiny brush used too soon tends to leave a field of small dents on what should remain one clean plane.
Carve planes and transitions after the volume works
Crease cuts a groove and helps establish folds, separations, and compressed areas. Use it after the surrounding volume exists, because a crease drawn over a flat surface often reads as a line scratched into digital clay. [14]
Pinch pulls nearby surface toward the center of the stroke, making a transition tighter. It is suited to lips, eyelids, narrow seams, and crisp ornamental boundaries, though repeated Pinch strokes can make forms look unnaturally squeezed. [14]
Scrape, Fill, and Flatten help organize planes. Use them on stylized stone, worn metal, armor, and planar anatomy, where a deliberately broad plane reads better than an endlessly rounded surface. [14]
Alternate between adding, moving, cutting, and smoothing. A productive sequence might be Draw for a cheek mass, Grab for its placement, Crease for the mouth fold, then Smooth only where those operations need a softer handoff.
Do not assume Blender Sculpt Mode automatically preserves animation-ready topology or performs automatic retopology as you sculpt. The available guidance does not establish either behavior, so plan a separate retopology stage when a deforming production mesh is required.
Protect finished work with masks and face sets
A mask prevents a brush from changing selected areas of the surface. Paint one over the forehead before reshaping the nose, for example, or protect a finished armor plate while you work the fabric and skin around it. [2]
Invert a mask when you need to work inside the protected region, then clear it when the operation is complete. This is faster and safer than trying to steer every stroke away from a finished edge by hand. [2]
Face sets divide the mesh into editable regions. Assign them to a hand, sleeve, boot, or separate armor component so you can isolate parts of a dense sculpt and keep your attention on one form family at a time. [2]
Masks are best for temporary protection. Face sets are better when the separation describes a lasting part of the model, such as a character’s clothing panels or a creature’s claws, and you expect to revisit that region repeatedly.
Use visibility controls alongside both tools when a surface is blocked by another surface. Hiding the far side of a head, a belt behind a jacket, or the underside of a creature lets you sculpt the accessible form without accidental strokes passing through your working view.
Add secondary detail only after the forms hold up
Wrinkles, pores, chipped paint, and fine fabric grain belong at the end of the sculpting order. They describe the material, but they also make an unfinished primary form harder to read and much harder to revise.
Use Crease and Pinch for compression, such as where a lip meets the face or leather pulls against a buckle. Use broader Clay Strips, Draw, and Smooth operations for the larger deformation that caused that compression in the first place. [14]
For hard-surface wear, build the panel, edge, and dent before adding small scratches. A scratch pattern does not establish the weight of a cast-metal part, and a perfectly smooth panel can still need a controlled plane change or softened edge.
Check normals if the sculpted surface appears visually broken in a way the geometry does not explain. Neglecting normals is among the common problems that can leave an otherwise solid model looking wrong in the viewport or after export. [2]
Keep the viewport responsive as the sculpt grows
A slow stroke is often a polygon-management issue before it is a graphics-card issue. Dense meshes ask Blender to process more geometry for every brush movement, and buying a new GPU alone may not address that bottleneck. [1][13]
Keep only the resolution you need visible and active. Lower viewport complexity where possible, hide unrelated objects, and avoid carrying dense geometry across every object in the scene while you are concentrating on a single head, prop, or body section. [1][13]
A Multiresolution workflow lets you move down to lower levels for proportion changes, then return upward for fine work. This is one reason we would favor it over a permanently dense mesh when the base mesh needs continued editing. [13]
Voxel remesh only when it serves the sculpt, because every rebuild changes the surface structure you have been working on. Dyntopo also needs restraint, since adaptive detail can quietly create far more geometry than the current form actually needs. [14]
High single-core CPU speed and sufficient RAM are commonly recommended for dense Blender sculpt sessions, but no fixed hardware specification or performance gain applies to every asset. Your scene scale, brush use, modifiers, and mesh density all change the result. [1][13]
Avoid the habits that derail beginner sculpts
Do not confuse Object Mode, Edit Mode, and Sculpt Mode when a tool seems unavailable. Mode confusion is a frequent reason new users cannot access expected sculpt controls or believe that a brush has stopped working. [3]
Do not rely on a high-resolution mesh to solve weak proportions. More polygons give you smaller marks, not better anatomy, design, or silhouette, and they make broad corrections slower after you notice the underlying shape is off. [1][2]
Do not skip masks, face sets, and visibility controls because the model still looks simple. Those tools become valuable before the sculpt becomes complicated, since they establish clean working regions and reduce the number of accidental changes you must repair. [2]
Do not ignore topology if the finished asset must deform. A sculpture can look good as a static object while its edge flow causes poor bending at shoulders, knees, eyelids, or mouth corners in motion. [5]
Bake and export the detail you need
A high-resolution sculpt is often too heavy for real-time use, animation delivery, or a textured asset library. Preserve its visible information by baking detail from the dense sculpt onto a lower-resolution model with usable UV mapping. [11][12]
Normal maps carry small surface-direction changes, displacement maps can reproduce stronger height information, and ambient-occlusion maps can support texture work. Bake the maps only after confirming that the lower-resolution mesh and its UVs are ready to receive them. [11]
Apply the Multiresolution modifier before exporting when the export requires the actual subdivided geometry. Also apply transforms so scale and orientation remain consistent when the model moves to another application or downstream tool. [12]
FBX and glTF are among the formats used when a model needs to travel with texture or material information. Check the target application’s import requirements before delivery, because geometry, UVs, baked maps, and materials must all survive the handoff together. [11][12]
Pick Blender, ZBrush, or Nomad Sculpt for the job
Blender Sculpt Mode fits artists who want sculpting inside an integrated modeling, UV, material, lighting, and rendering pipeline. Blender is free to access, and its broad toolset makes it a strong starting point when the sculpt is one stage of a larger asset build. [6][7]
ZBrush is the specialist choice for advanced high-resolution sculpting, extensive brush options, and workflows common in professional character and creature work. We would reach for it when extreme sculpt depth is the central task, not one part of a generalist scene. [6][7][8]
Nomad Sculpt is aimed at mobile sculpting with a touch-optimized interface. It suits artists who want to sketch forms on a tablet, while Blender and ZBrush offer deeper desktop-oriented environments for larger and more involved projects. [9][10]
No documented cross-application workflow establishes a single correct route among Blender, ZBrush, Substance, Houdini, Marmoset, Plasticity, or Nomad Sculpt. Keep the handoff simple: retain the base mesh, maintain UVs where needed, and bake high-resolution detail when a lighter asset must travel.
Frequently Asked Questions
How do I start sculpting in Blender sculpt mode?
Begin by checking and applying the object’s scale to ensure brush behavior is consistent. Start with a low mesh density to block in the silhouette and major planes before adding finer detail. Use simple lighting and a neutral material to clearly see the form from multiple angles.
What brushes should I use first in Blender sculpt mode?
Start with broad, form-building brushes like Draw, Clay Strips, and Grab to shape large volumes and silhouette. Use Smooth sparingly to blend forms without losing sharpness. Reserve finer brushes like Crease or Pinch for later stages after the main shapes are established.
When should I use Dynamic Topology vs Multiresolution in Blender sculpting?
Use Dynamic Topology (Dyntopo) for exploratory organic sculpting where you need to add detail adaptively and reshape topology freely. Choose Multiresolution when you need to keep an organized base mesh with multiple subdivision levels, especially for models intended for animation or controlled low-poly assets.
How do I protect parts of my sculpt in Blender?
Use masks and face sets to isolate or protect finished areas of your sculpt. These tools help keep complex sculpts manageable by allowing you to work on specific regions without affecting others.
How do I fix mesh resolution issues in Blender sculpt mode?
If your brush strokes create lumps or uneven details, it often indicates insufficient mesh resolution. Add usable surface density by increasing mesh detail through Dynamic Topology, voxel remeshing, or the Multiresolution modifier, depending on your workflow needs. Avoid starting with a very high polygon count to maintain viewport responsiveness.
How we researched this
This article was assembled from 14 cited references.
Nothing here is based on hands-on testing. Where a figure or finding appears, it belongs to the source cited beside it, and the writing says so rather than implying otherwise. Every source is listed below so you can check it.
Sources
- Polygon Count Is Killing Your Sculpt Session, And Buying a New GPU Won't Fix It, BlenderCG
- How to Sculpt in Blender: The Beginner Guide That Starts Right
- Why Can't I Get To Sculpt Mode In Blender? Troubleshooting Guide
- How to Get Started with 3D Modeling in Blender for Beginners
- Why perfectly built models can still look wrong in motion, and how to fix it
- Blender vs ZBrush (2026): Features, Pricing & Which to Pick
- ZBrush vs Blender for Sculpting in 2026, Re:Form Sculpt Blog
- ZBrush vs Blender: Which Is Better for Sculpting in 2026? - Blog - Meshy
- Nomad Sculpt Review: Can Architects and Sculptors Share It? | illustrarch
- Nomad Sculpt vs ZBrush (2026): Pricing & Features | MobilesTalk
- Blender: How to Export Textures, A Comprehensive Guide - Texture Gen
- Best Practices Exporting Models from Blender
- performance - Slow sculpting on high density meshes - Blender Stack Exchange
- Adaptive Sculpting, Blender Manual
Related Articles
Realistic Hair Sculpting Techniques in Nomad Sculpt
Learn realistic hair sculpting in Nomad Sculpt with step-by-step techniques for volume, detailing, and brush use to create believable hair forms.
Sculpting in Blender for Beginners
Learn sculpting in Blender for beginners with key brushes, workspace setup, and dynamic topology tips to start your 3D sculpting journey.
Complete Beginner Blender Project Workflow Explained
Learn the complete beginner Blender project workflow from modeling to rendering with the donut tutorial and course length tips.
Blender Character Animation Tutorial: Rigging to Posing
Learn Blender character animation with rigging, weight painting, posing, and timing in this step-by-step tutorial for Blender 5.2 users.