
Export glTF Files with Textures from 3ds Max
Learn how to export glTF files with textures from 3ds Max, including material baking, exporter choices, and optimization tips for web-ready assets.
Decide what the asset must carry
Before opening an export dialog in Autodesk 3ds Max 2026, decide whether you are delivering a static prop, a product viewer model, or a rigged realtime character. The native exporter handles geometry and PBR glTF Materials, which covers many web-ready props well. [8]
Do not assume it will carry your complete Max scene. Autodesk 3ds Max 2026’s native exporter does not support animations, skin or Morpher data, vertex colors, and it flattens hierarchies. Nested Multi/Sub-Object and Shell material setups are also limited beyond two levels. [8]
For a static chair, tool, appliance, or environment module, those limits can be manageable if you prepare deliberately. For a character, animated mechanism, or scene relying on object parenting, the exporter choice comes before material cleanup.
Pick the exporter for the asset
We would start with Autodesk 3ds Max 2026’s native exporter for a static asset using straightforward Physical Materials. It keeps the handoff close to the Max scene and supports the geometry and PBR material data a basic glTF deliverable needs. [8]
Choose the Khronos Group’s open-source glTF importer and exporter for Autodesk 3ds Max when animation and extensions are requirements. Released in July 2026 with Khronos sponsorship, it offers broader glTF 2.0 support, including animations. [2]
Other routes suit narrower pipelines. Babylon.js’s glTF Exporter, Alin glTF/glb Exporter, the Poliigon 3ds Max plugin, and Glossi Max Exporter offer workflows with features such as Draco compression, multiple UV sets, and direct upload integration. Glossi supports Autodesk 3ds Max 2021 and later. [3][4][9][11]
Do not install another exporter solely because a static asset has many materials. First reduce the asset to a clean, baked PBR set. Change exporters when the native exporter’s documented omissions affect the data your destination actually needs.
Set a realtime budget before detailing
A web asset has to load, decode, and render on hardware you do not control. Autodesk has not published a polygon cap for glTF exports from Autodesk 3ds Max 2026, so use delivery-platform targets to set your own ceiling. [8]
Google’s Android AR guidance places a model under 100,000 triangles, with 30,000 to 50,000 triangles preferred, and under 10 MB. Unity’s Asset Transformer guidance also emphasizes minimizing GLB file size for realtime performance. [13]
For a primary web asset, aim for a 3 to 5 MB file. Keep secondary assets under 1 MB where possible, then reserve extra budget only for silhouette, visible mechanical joints, or close-up surface information. [10]
This is a topology decision, not an export checkbox. Remove hidden backsides, dense bevels that disappear at viewing distance, and duplicate parts that could share geometry before you bake or author final textures.
Prepare geometry and UVs
Give every textured mesh a valid, non-empty UV map before you bake. Missing or empty UVs are a common reason that a glTF material appears untextured or incorrect after export. [5][7]
Inspect the unwrap where it will hurt most: curved highlights, hard-surface seams, labels, and areas with distinct roughness changes. A normal map cannot rescue texture data that has been stretched across a poor UV island.
Apply an appropriate object scale before export and check it alongside the UVs. Improper scale is another documented contributor to incorrect glTF texture display, especially when an asset has passed through several applications or unit setups. [5][6]
Keep your material boundaries intentional. Every separate material can mean more state changes for the renderer, so combine compatible parts where a shared texture set will not compromise texel density or make revisions painful.
Rebuild the look as Physical Materials
Use Autodesk 3ds Max 2026 Physical Material for the surfaces you intend to export. The glTF workflow is PBR-based, and Autodesk’s export guidance centers on glTF Materials and Physical Material-compatible texture data. [8]
Do not rely on an elaborate Max shading network surviving unchanged. Automatic conversion of other material types, including Standard Surface to Physical Material, can alter the result or leave you diagnosing a conversion instead of the asset. [5][8]
We would convert and inspect materials before export, then bake the final response into conventional maps. That gives you a defined base color, normal, roughness, and metallic set instead of asking the exporter to interpret renderer-specific nodes.
Keep transparent, metallic, coated, and emissive parts separate during look development until you know how the target viewer presents them. Your goal is not to preserve every procedural decision, it is to preserve the visible response in a portable PBR material.
Bake the maps before exporting
In Autodesk 3ds Max 2026, use Bake to Texture with Physical Materials to generate the maps your glTF asset needs: albedo or base color, normal, roughness, and metallic. Autodesk’s documented workflow requires those baked textures to be assigned back to Physical Materials before export. [8]
Bake after the low-poly geometry, UV layout, and high-poly relationship are stable. If you rebake after changing seams or smoothing, replace the assigned maps too, because the exported material reads the files currently connected to the Physical Material.
Check the normal map on the intended low-poly asset before moving on. A flipped-looking normal, a mismatched bake cage, or a changed UV channel costs little to fix now and can be misread later as a glTF viewer problem.
Skip renderer-specific maps that have no clear glTF destination. If a surface depends on a procedural blend, layered coat, or special shader behavior, bake the appearance into the supported PBR channels you will actually deliver.
Pack textures for the destination
Use PNG or JPEG for the safest glTF texture handoff. They are the officially supported formats cited for this workflow, while unsupported formats are a frequent reason exported textures fail to appear. [5][7]
Put occlusion, roughness, and metallic information into one ORM texture where your target workflow accepts it. Industry guidance recommends an ORM texture at half the resolution of the base-color and normal maps, reducing both file count and texture memory. [10]
Start base color and normal maps at 1024 by 1024 or 2048 by 2048. Use the larger size only when the asset’s intended viewing distance shows a real gain, then cut maps down before assuming the mesh needs further reduction. [10]
Texture atlasing can also reduce draw calls. Combining several objects into one 2048 by 2048 atlas is a documented option for related parts, although it works best when those parts share a similar texel-density requirement. [10]
For a pipeline that supports it, Basis Universal compression through KHR_texture_basisu and KTX2 textures can reduce file size and improve loading time. Confirm that the chosen exporter and the final viewer support that extension before making it your delivery format. [10]
Choose GLB or external glTF files
Export GLB for browser delivery, quick client review, and platforms where you want one asset file to travel intact. GLB encapsulates the textures, avoiding many broken-path cases and reducing CORS issues that can stop browser-hosted textures from loading. [5]
Use separate glTF and image files only when your web pipeline needs independently cached or swapped textures. In that case, preserve correct relative paths from the glTF file to every image, and move the full folder together when testing. [5][7]
Do not point a delivered glTF at a texture location on your workstation. An asset can appear complete in Autodesk 3ds Max 2026 while the receiving viewer gets no image at that path.
Export a clean deliverable
Export a copy of the scene that contains only the intended asset, its final Physical Materials, and its baked textures. This keeps accidental helpers, unused construction geometry, and unresolved material experiments from becoming part of the delivery problem.
Before committing the file, verify that every texture used by each Physical Material is present, correctly linked, and saved in a supported format. Then choose GLB for an embedded package, or preserve the texture folder and relative paths for a glTF package. [5][7]
If the asset uses native Autodesk 3ds Max 2026 export, inspect it for the exporter’s known losses before sending it on. Animation, skins, morphs, vertex colors, and hierarchy structure need a different exporter path, not a last-minute workaround. [8][2]
Check the asset in its final viewer
Open the GLB or glTF outside Autodesk 3ds Max 2026 before delivery. A correct Max viewport is not the target condition, because the browser or realtime viewer must resolve the texture files, interpret the PBR channels, and render the model itself.
If textures are missing, check pathing and texture packing first. Incorrect relative paths, unpacked textures, unsupported formats, and missing UVs are the recurring causes identified for glTF texture failures. [5][6][7]
If materials look wrong, inspect whether a material was converted automatically during export, confirm that the baked maps remain assigned to the Physical Material, and check object scale. Those three checks address common failures without rebuilding the asset blindly. [5][6][8]
Test the platform that will receive the model. Babylon.js accepts JPG, BMP, PNG, GIF, and TGA, and converts TIFF and DDS to PNG automatically, while PNG and JPEG remain the safest cross-platform choice. [12]
For a browser, test from the same kind of hosted environment your audience will use, not only from a local file. For a marketplace viewer such as Sketchfab, upload the GLB and inspect base color, normal response, and metal-roughness behavior before marking the asset final. [5]
Frequently Asked Questions
How do I export glTF files with textures from 3ds Max?
To export glTF files with textures, first build and bake every export material as a Physical Material in 3ds Max. Use the “Bake to Texture” tool to generate albedo, normal, roughness, and metallic maps, then assign these baked maps back to the Physical Material before export. Exporting as a GLB file is recommended for web use because it embeds textures, avoiding broken relative paths and many CORS issues.
Which exporter should I use to export animated glTF files from 3ds Max?
For assets requiring animation, skins, morphs, vertex colors, or preserved hierarchy, use the Khronos Group’s open-source glTF importer and exporter plugin for 3ds Max. This plugin supports broader glTF 2.0 features including animations, unlike the native 3ds Max exporter which does not support animation or skin/morpher data.
How do I bake textures for glTF export in 3ds Max?
Baking textures involves using Physical Materials and the “Bake to Texture” tool to create the necessary PBR maps such as albedo, normal, roughness, and metallic. After baking, assign these texture maps back to the Physical Material so the glTF exporter can include them correctly.
What are the best practices for preparing materials before exporting glTF from 3ds Max?
Use Autodesk 3ds Max 2026 Physical Material for all export surfaces and avoid relying on complex shading networks that may not convert properly. Bake all textures into PBR maps and assign them back to the Physical Material. Also, ensure UV maps are valid and non-empty, and combine compatible materials to reduce renderer state changes.
How can I optimize my 3ds Max model for web-ready glTF export?
Set a polygon budget appropriate for your target platform, typically between 30,000 and 50,000 triangles for web assets, and keep file sizes around 3 to 5 MB for primary assets. Remove hidden geometry, dense bevels, and duplicate parts before baking textures. Use packed ORM textures and consider file size as part of your asset budget from the start.
How we researched this
This article was assembled from 13 cited references.
Nothing here is based on hands-on testing. Where a figure or finding appears, it belongs to the source cited beside it, and the writing says so rather than implying otherwise. Every source is listed below so you can check it.
Sources
- Exporting from 3ds Max | Creating Game Data | Castle Game Engine
- Khronos Sponsors Open-Source glTF Importer/Exporter for Autodesk 3ds Max
- glTF/glb Exporter and Importer
- Poliigon 3ds Max Plugin - Poliigon
- GLTF Textures Not Showing? Common Fixes | GeometryViewer
- 3ds Max Practice Models Broken? Fix Textures & Lag
- Why Are Textures Missing From My 3D Model? | GLBKit
- Exporting to glTF
- Export GLB/GLTF from 3DS Max | GMetri Documentation
- Mobile glTF Texture Resolution Standards - gltf
- 3ds Max Plugin
- 3DS MAX Plugin | Babylon.js Documentation
- Export guidelines • 2026.5 • Asset Transformer SDK
Related Articles
Best Software for Procedural Texture Creation in 2026
Explore the best software for procedural texture creation, comparing Substance Designer and Houdini for different workflows and material needs.
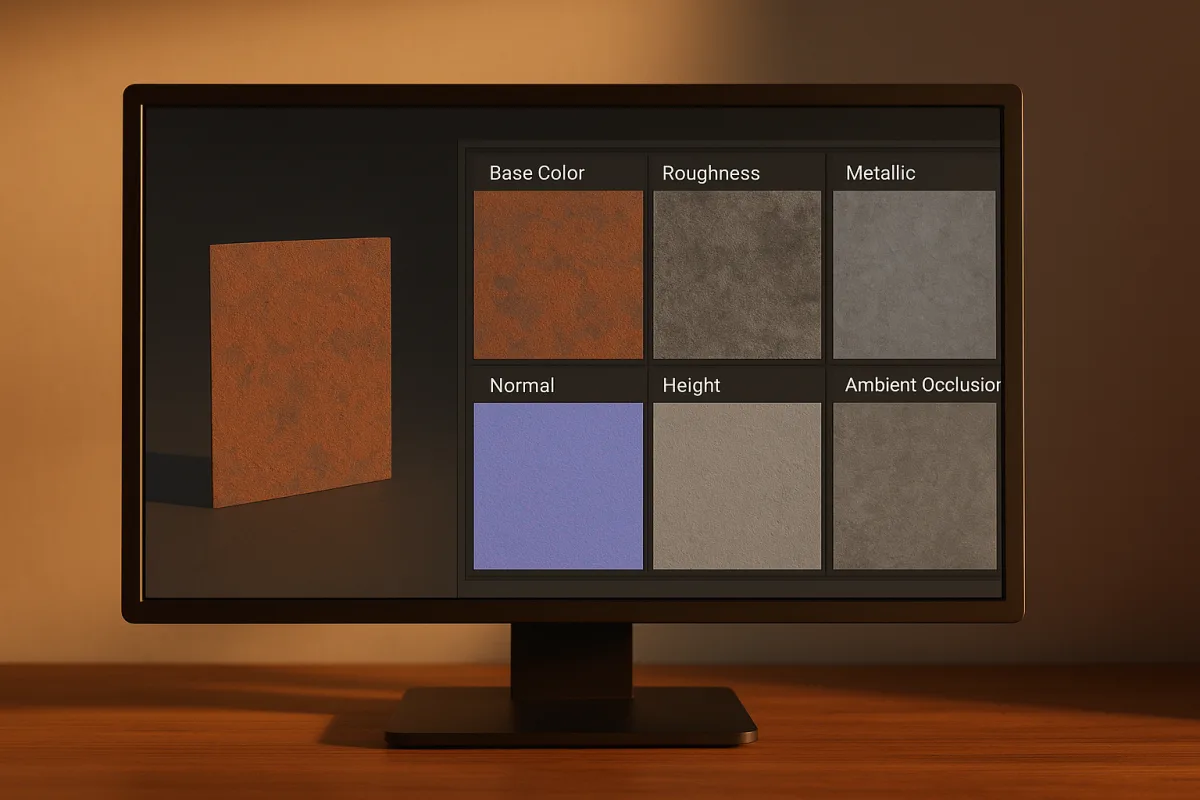
Create PBR Materials from Scratch: A Practical Guide
Learn how to create PBR materials from scratch with correct texture maps, workflows, and software tips for realistic 3D rendering.
Create 3D Logo in Blender: Step-by-Step Modeling Guide
Learn how to create a 3D logo in Blender with SVG import, extrusion, beveling, lighting, and export tips for web and print.
Using Nodes for Shading in Blender: A Practical Guide
Learn how to use nodes for shading in Blender with tips on Principled BSDF, texture color spaces, and Cycles vs Eevee differences.