
Common Mistakes in Blender Modeling
Learn common mistakes in Blender modeling focused on scale and transforms, and how to fix them for better results.
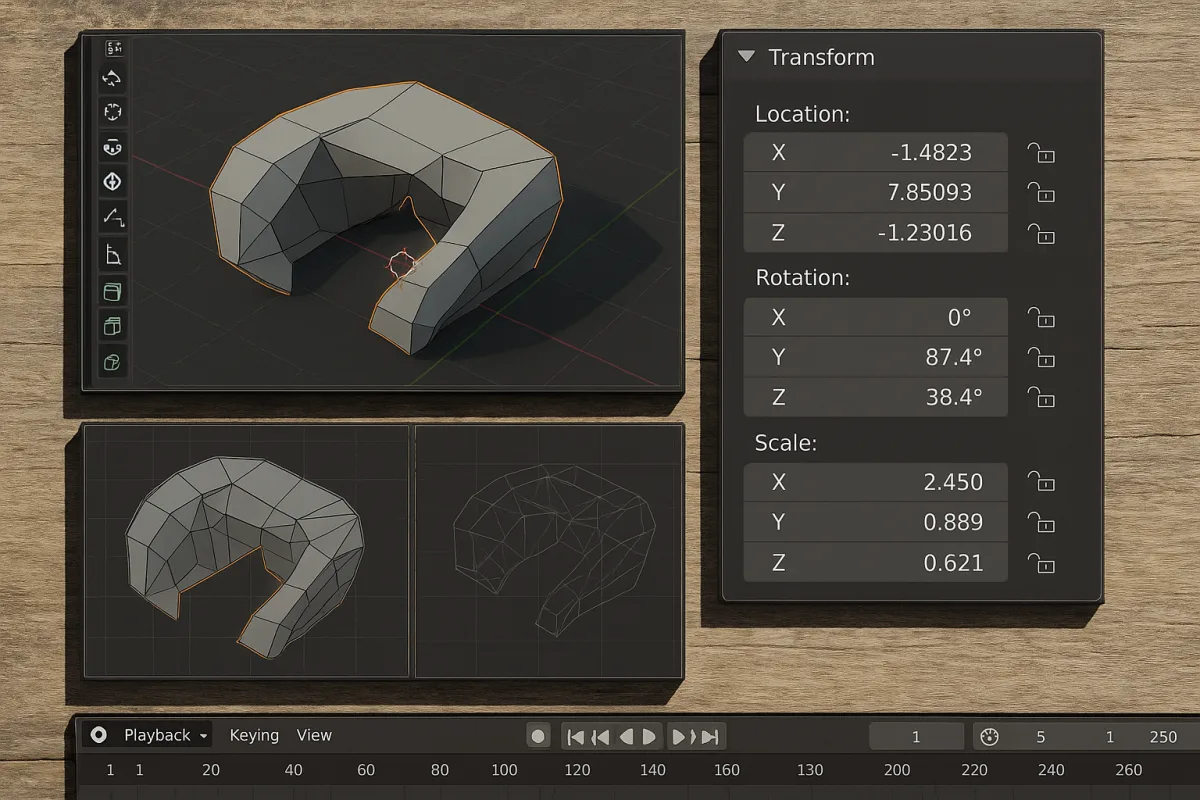
The modeling mistake underneath several other mistakes
Many Blender modeling problems that look unrelated have the same root cause: the object’s displayed size, its mesh data, and its transform scale no longer agree. The model may appear fine in the viewport, then bevel badly, shade unpredictably, bake incorrectly, or import at an absurd size.
I will use terminology from Blender 4.5 LTS here, although the principle is not Blender-specific. The same distinction between underlying geometry and object transforms matters in Maya, Houdini, Marmoset Toolbag, Substance Painter, Unity, Unreal Engine, and CAD-oriented tools such as Plasticity.
This is why “fix your scale” can sound like beginner advice while remaining one of the more persistent production problems. It is not about making a chair one metre rather than ten metres. It is about ensuring every part of the pipeline interprets that chair as the same physical object.
A Coohom guide focused on models that look wrong identifies incorrect scale as a source of visual distortion, and that is accurate, but distortion is only the visible symptom. Scale affects modifier calculations, viewport precision, texture projection, export conversion, and sometimes the ability of another application to read the mesh consistently. [3]
Object scale is not mesh size
In Blender, a mesh has vertex positions stored in its local coordinate space. An object transform then places, rotates, and scales that mesh in the scene. If you scale a default cube by 100 in Object Mode, you have not necessarily made its underlying mesh 100 times larger.
Instead, you have told Blender to display the same mesh with a scale transform of 100, 100, 100. This is efficient and often useful. It is also where the trouble starts if you forget that modifiers and exports may evaluate the transform differently.
Applying scale converts that visible transform into the mesh data. After application, the object can retain the same dimensions in the scene, but its Scale values return to 1, 1, 1. The vertices now carry the size rather than the transform.
That distinction matters because many modeling operations have a real distance behind them. A bevel width of 0.002, a Solidify thickness of 0.01, or a displacement strength of 0.05 is not an abstract number. It is evaluated against the object’s geometry and transforms.
A beginner often scales a blockout upward, adds a bevel, sees inconsistent corner widths, then keeps adjusting bevel settings until it looks acceptable. The better diagnosis is to ask whether the object has unapplied non-uniform scale before treating the bevel as the problem.
Why non-uniform scale causes visible damage
Uniform scale means an object has been enlarged or reduced equally on every axis. A scale of 2, 2, 2 may still need applying before export, but it will generally preserve the object’s proportions. Non-uniform scale, such as 2, 1, 0.5, is more disruptive.
Non-uniform scale means a circle can display as an ellipse and a nominally square bevel can display with different widths across axes. It can make a procedural texture stretch, alter modifier results, and confuse later decisions about actual dimensions.
Subdivision Surface is a good example. It smooths a mesh according to its topology, but its result is judged through the object’s transform. Blender Base Camp’s troubleshooting guide lists scale-related checks among the causes of unexpected Subdivision Surface behaviour. [19]
The topology has not changed merely because you scaled the object. Yet the model can look as though its topology is failing because support loops, bevels, and rounded edges no longer present as intended. Artists then add more loops to compensate, creating denser and harder-to-edit geometry for the wrong reason.
This is one route into excessive early subdivision, a common modeling mistake noted by AnimSchool and other training resources. [1] The extra geometry may conceal a scale issue temporarily, but it adds cost everywhere: slower viewport response, heavier files, more difficult UV edits, and less forgiving iteration.
Solidify exposes the same issue differently. Its purpose is to give a surface thickness, such as the wall of a bottle, a sheet-metal panel, or the fabric shell of a bag. If the object has uneven unapplied scale, that thickness can become visually uneven.
Safefins’ guide to Solidify problems specifically calls out transform-related causes when thickness does not behave as expected. [20] The important point is not that Solidify is unreliable. It is that the modifier is being asked to calculate a physical-looking thickness from a mathematically inconsistent object state.
Scale should be decided during blockout
The practical habit is simple: establish units and approximate dimensions when the object is still a blockout. This is a habit, not an unbreakable rule. A quick concept sculpt, a background asset, or a purely illustrative scene can tolerate looser discipline.
For an asset that will be exported, textured, rigged, printed, or handed to another artist, dimensions are part of the brief. A game prop needs an agreed size relative to the character and world. A 3D print needs dimensions suitable for the intended machine and material.
Polygon budgets make no sense without this context. A small game prop can use more triangles than a larger one if its silhouette, viewing distance, and gameplay role require them. The same logic applies to scale, because detail size determines whether bevels, normals, and textures read convincingly.
Published guidance places mobile hero characters around 1,500 to 5,000 triangles, while PC and console characters may range from 10,000 to 60,000 polygons depending on the project. Film and VFX assets can range from 100,000 to more than one million polygons. [4][5]
Those ranges are not targets to copy into every Blender file. They demonstrate that geometry density follows delivery requirements. A model intended for a normal map and real-time renderer should be built differently from a close-up film asset, and both should be sized coherently before detail is judged.
For 3D printing, guidance ranges from roughly 100,000 to 1.5 million faces depending on whether the target is FDM or resin technology. [5] A dense mesh does not rescue an incorrectly scaled part, however. It can simply produce a highly detailed object that does not fit.
Scale reaches into UVs and look development
UV errors are often blamed on unwrapping, but scale contributes to the conditions that make a UV layout difficult to assess. If related objects have wildly inconsistent dimensions or unapplied scale, procedural mapping and texture projection can appear to have arbitrary density.
Texel density is the practical connection. It describes how much texture resolution is assigned to a given amount of surface area. A door handle and a building wall do not necessarily need identical texel density, but their difference should be intentional rather than an accident of transform history.
Kitchendemy’s overview of distorted Blender UV maps identifies poor topology and distorted UVs as central causes of texture problems. [10] Blender Artists Community discussions on seam and texture issues similarly point to seam placement and layout quality, not merely the act of pressing unwrap. [11]
Scale does not replace good topology. Long thin quads, badly placed poles, random triangles across a deformation area, and unplanned n-gons can still cause shading and baking problems. But correct scale gives you a stable basis for deciding whether a texture seam, bevel, or surface breakup is actually the issue.
This is especially important before sending a mesh to Substance Painter. A CyPaint import troubleshooting guide covers Blender-to-Substance mesh glitches, while a Blender Stack Exchange export case documents a mesh becoming effectively invisible after transfer because of scale-related conditions. [17][24]
The handoff is not magical. Substance Painter receives an exported interpretation of the asset, not your Blender viewport intent. If the model, transforms, normals, UVs, and export settings disagree, the texturing application has no way to infer which state you meant.
Export is where a small mistake becomes a pipeline mistake
Blender scenes commonly use metres as their conceptual world unit, while game engines and DCC applications may interpret scale through centimetres or their own import conventions. The result can be a character arriving tiny in one application or a prop arriving 100 times too large in another.
Guides focused on FBX exchange with Unreal Engine and Unity repeatedly identify unit scale, applied transforms, and export settings as the things that need to agree. [14][15][16] This is not because FBX is uniquely bad. It is because interchange exposes assumptions that one application can quietly hide.
Before export, inspect dimensions, scale values, rotation, normals, UV placement, and the destination’s expected unit convention. Do this on a representative test asset before producing a library of props. Ten minutes spent validating a cube and a simple named object can prevent days of correction later.
Negative scale deserves its own check. It often appears after mirroring an object by scaling it to minus one on an axis. Blender can display the result plausibly, but negative scale can invert orientation expectations and contribute to flipped normals or incorrect shading after export.
Mirror is usually the cleaner solution for symmetrical modeling because it keeps the relationship explicit and editable. Holik Studios’ modifiers introduction describes modifiers as non-destructive operations, which is their real value: they let you preserve intent while you are still making proportion and topology decisions. [18]
Modifier order is not universal law. A hard-surface artist may place Bevel before Subdivision Surface, while another asset needs the reverse for a specific result. What matters is understanding that a stack is a sequence of geometric operations, and scale-sensitive operations need a stable input.
Do not confuse performance problems with geometry problems
A huge object with dense subdivision can make Blender feel unreliable when the underlying issue is simply excessive scene cost. High-density sculpting, displacement, and GPU rendering all put pressure on available memory and hardware capacity.
Blender’s official requirements and GPU rendering documentation make clear that hardware support and available GPU resources affect what workflows are practical. [21][26] Lack of GPU memory does not create bad topology, but it can make it harder to inspect, edit, bake, and diagnose an already heavy asset.
Sculpting makes this particularly visible. A ZBrush, Nomad Sculpt, or Blender Sculpt Mode mesh can quickly become dense and unstructured because sculpting prioritises form over edge flow. Blender for Visual Investigation notes the relationship between sculpting and high-density mesh work. [6]
That is not a sculpting failure. It simply means the sculpt is usually not the final production mesh. Retopology creates an animation-friendly or bake-friendly surface over the form, after which dimensions, transforms, UVs, and export scale should be checked again.
The useful mindset is to treat scale as asset hygiene. It is not glamorous, and it will not improve a weak silhouette by itself. It does make every later judgment more trustworthy, from a two-millimetre bevel to a game-engine import, because the numbers finally describe the object you think you built.
Frequently Asked Questions
What are common mistakes in Blender modeling related to scale?
Common mistakes include having the object’s displayed size, mesh data, and transform scale out of sync. This leads to problems like inconsistent bevel widths, shading artifacts, baking errors, and incorrect import sizes. Non-uniform scale often causes visible distortion and can prompt unnecessary geometry subdivision, making models harder to edit and heavier to process.
How does unapplied scale affect Blender modeling?
Unapplied scale means the object’s transform scale differs from its mesh data size, causing modifiers like Bevel, Solidify, and Subdivision Surface to calculate distances incorrectly. This results in uneven thickness, distorted shapes, and unpredictable shading. The model may look correct in Blender but behave unexpectedly in other applications or exports.
Why should I apply scale before exporting in Blender?
Applying scale converts the object’s transform scale into the mesh data, ensuring consistent size interpretation across different software. Without applying scale, models can import at incorrect sizes, have flipped normals, or shading issues caused by negative or non-uniform scale values. Applying scale deliberately before export avoids these problems.
How does non-uniform scale cause problems in Blender models?
Non-uniform scale means scaling is unequal across axes, which distorts shapes like circles into ellipses and makes bevels uneven. It can stretch procedural textures and alter modifier results, causing visual artifacts and misleading topology appearance. This often leads artists to add unnecessary geometry, increasing file size and complexity without fixing the root issue.
When should I set scale and units in Blender modeling?
Scale and units should be established early during the blockout phase of modeling, especially for assets intended for export, texturing, rigging, or printing. Setting real-world dimensions upfront ensures modifiers and downstream operations behave predictably and that the asset fits correctly within its intended environment or pipeline.
How we researched this
This article was assembled from 26 cited references.
Nothing here is based on hands-on testing. Where a figure or finding appears, it belongs to the source cited beside it, and the writing says so rather than implying otherwise. Every source is listed below so you can check it.
Sources
- 5 Common Modeling Mistakes and How to Avoid Them – AnimSchool Blog
- How to Get Started with 3D Modeling in Blender for Beginners
- 3D Modeling Mistakes Making Models Look Wrong? Fix Scale
- Does Polygon Count Matter in 3D Modeling for Game Assets? – 3D-Ace Studio
- Polycount Guidelines in 3D Modeling: Everything You Should Know - 3D Services India
- Sculpting | Blender for Visual Investigation
- Three common 3D modeling mistakes and how to avoid them
- Common 3D Modeling Mistakes and How to Avoid Them | 4dviz Studio
- Fix Common Blender 3D Modeling Mistakes: A Step-by-Step Tutorial – furmuse.com
- Why Does Blender Distort Uv Map? A Comprehensive Guide - Kitchendemy
- UV Unwrapping Seams & Texture Issues - Materials and Textures - Blender Artists Community
- UV mapping in blender not showing properly when unwrapping - Stack Overflow
- AI UV Unwrapping in Blender: What Actually Works | Mixar
- Blender FBX Export Settings for Unreal Engine 5: Scale,…
- Blender FBX Armature Scale Wrong in Unity - Unit Scale and Apply Transform Fix
- Blender FBX Export for Game Engines: The Right Way to Do It | BeingAnimator
- Fixing The Blender-Substance Painter Mesh Import Glitch | CyPaint
- Introduction to Modifiers
- Troubleshooting Problems With The Subdivision Surface Modifier - Blender Base Camp
- Blender Solidify Modifier Not Working? Top Fixes and Solutions
- Requirements — Blender
- Work with CAD and AutoCAD? These are the best laptop options out there
- Blender Cycles Not Detecting Your RTX 5090? Version and Driver Requirements Explained | Blender Render farm
- scale - Mesh is invinsible after exporting model to Substance Painter - Blender Stack Exchange
- Top 10 Mistakes Blender Artists Make (and How to Fix Them)
- GPU Rendering — Blender Manual
Related Articles
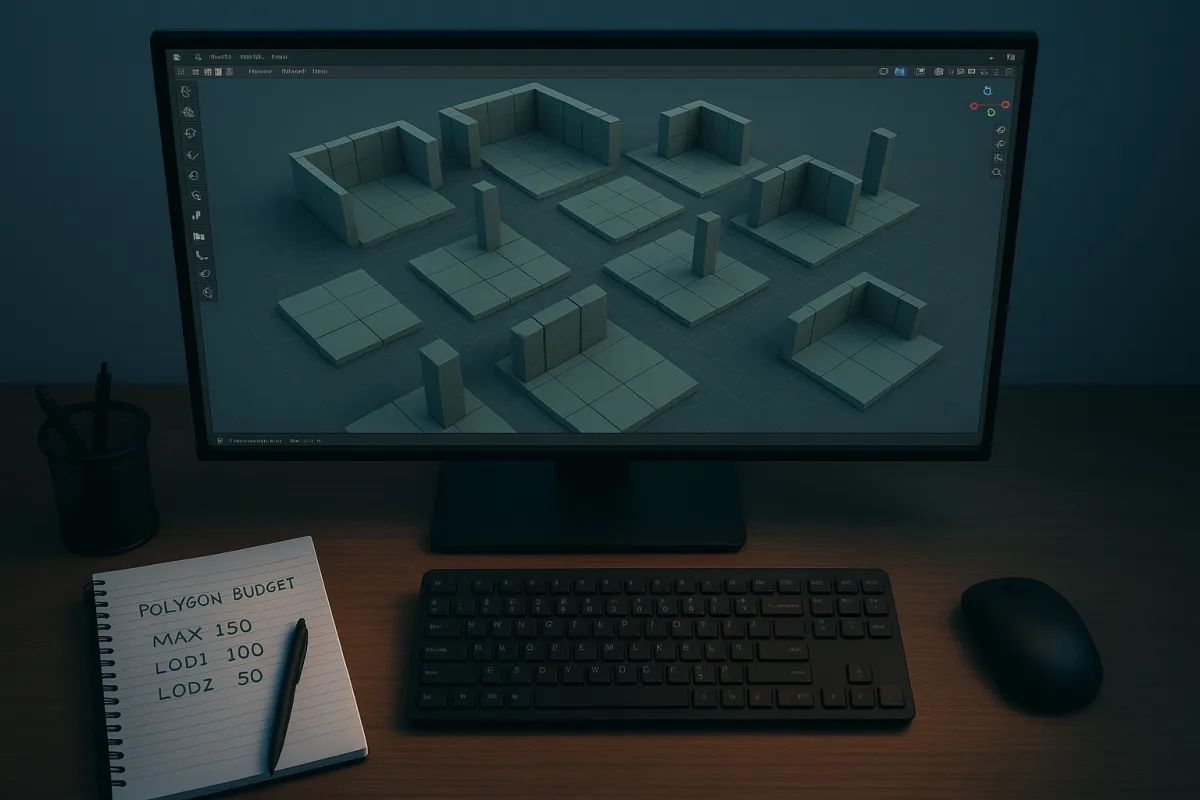
Best Practices for Creating 3D Environments in Blender
Learn best practices for creating modular, efficient 3D environments in Blender with topology, LOD, and Geometry Nodes tips.

Best Practices Exporting Models from Blender
Learn best practices exporting models from Blender, including applying transforms and choosing correct export settings for FBX and OBJ formats.
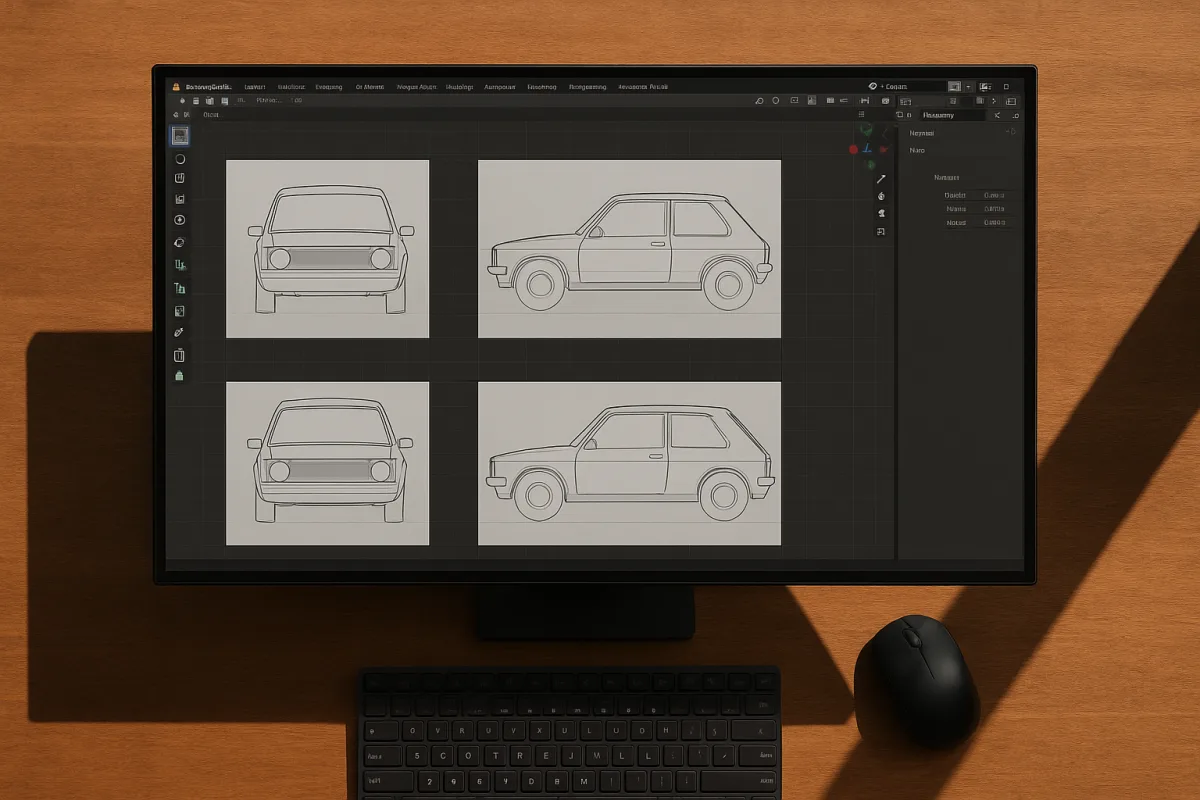
Using Reference Images in Blender
Learn best practices for using reference images in Blender to ensure accurate scale, alignment, and organization in your 3D modeling workflow.
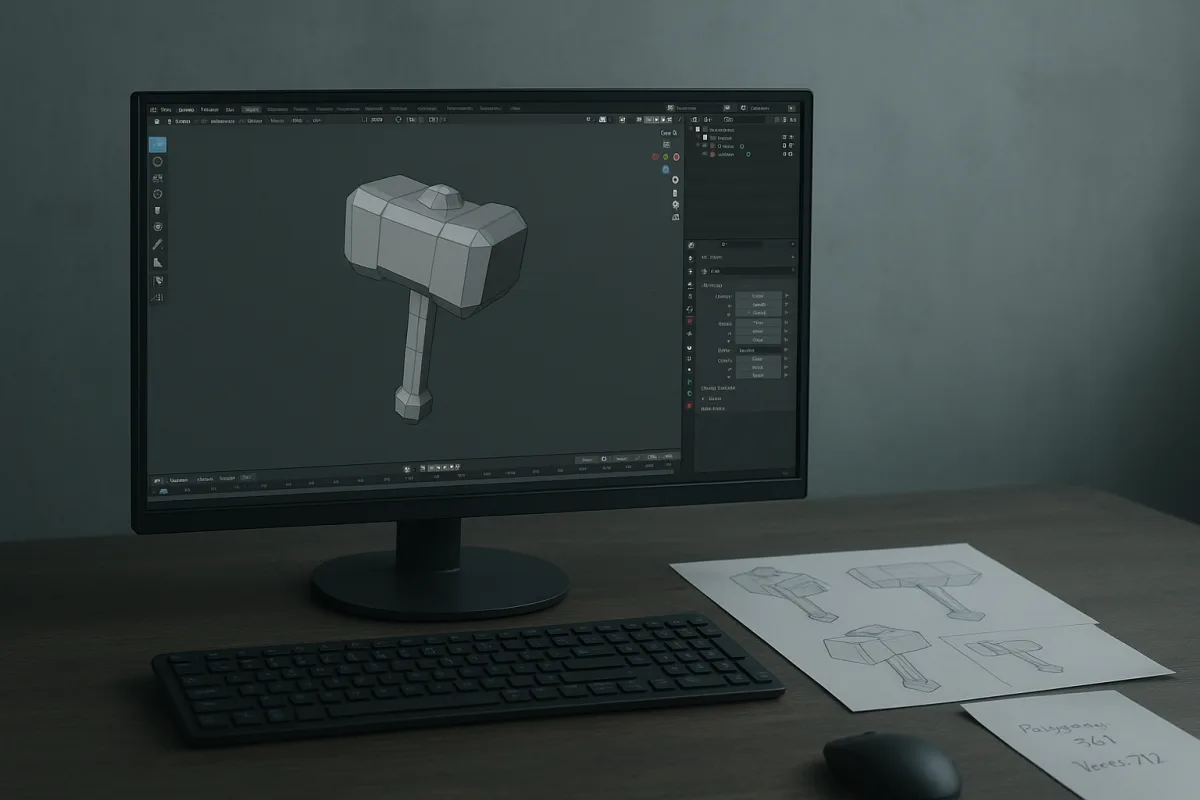
Create Game Asset in Blender: Modeling, Topology, and Export
Learn how to create game assets in Blender with tips on modeling, topology, optimization, and exporting for game engines.