
Export Assets from Modo to Houdini for Simulation
Learn how to export assets from Modo to Houdini for simulation, including file formats, scale setup, and mesh preparation tips.
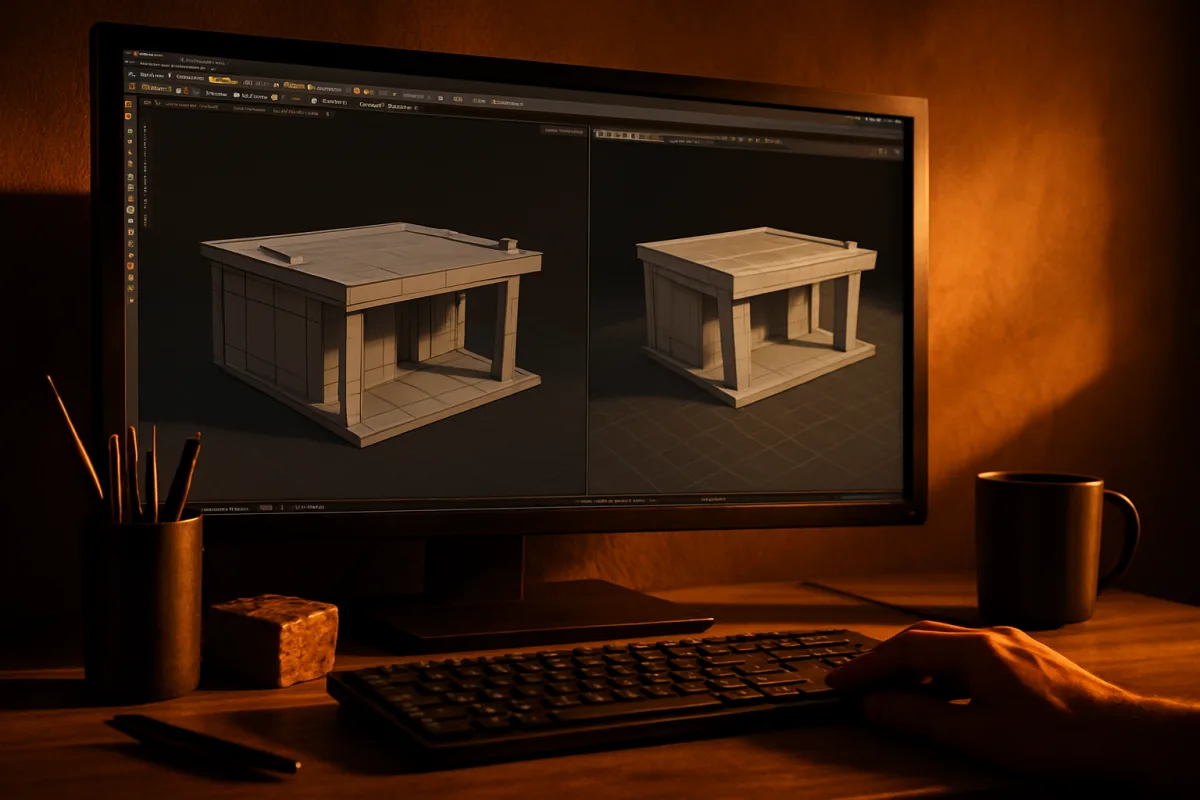
Set the asset’s world scale
A one-meter-wide panel arriving as a one-unit-wide panel is fine in Houdini. A one-centimeter button arriving as one meter wide is not. Houdini’s default convention is one unit equals one meter, so establish what one Modo unit represents before you export. [5]
Write the convention into the job’s scene setup and keep it consistent across modelers, layout artists, and FX. If the object needs a scale correction, make that correction deliberately during export or import, then confirm its real-world dimensions before building the simulation.
Scale affects more than how an asset looks beside a Houdini grid. Cloth thickness, collision offsets, gravity, stiffness, particle separation, and other solver values are interpreted against scene scale, so an incorrect handoff can make a plausible setup behave wildly.
We would start with a simple measured object, such as a one-meter cube or a known-width prop component, alongside the actual asset. Send both through the same path. That small check exposes a scale mismatch before you spend time tuning a simulation around it.
Freeze the model before you write the interchange file
The transform values on the Modo asset should describe its intended final state, not a chain of uncommitted scale, rotation, and placement adjustments. Unapplied transformations are a common interchange failure, particularly when a receiving application evaluates object space differently. [6]
Apply the model’s intended transforms before export, then inspect the result in Houdini. Check the pivot, object orientation, dimensions, and whether any hierarchy has introduced an unexpected inherited scale. Do this before adding collision proxies or creating simulation constraints.
Modo uses a Y-up coordinate system, while Houdini expects Z-up. That difference can leave a character lying on its back, turn a hanging cloth setup sideways, or rotate a rigid-body collision object away from its modeled orientation.
Export a small orientation test with an obvious front, top, and left side. On import, check which axis Houdini treats as up, then use the same correction for the production exports. Do not assume an interchange format will resolve this consistently without inspection.
Pick FBX, Alembic, or USD for the job
FBX, Alembic, and USD are the main formats for moving assets from Modo into Houdini. FBX is broadly supported, Alembic is commonly used for animated geometry and simulation handoffs, and USD is developing into a wider scene-interchange option. [11]
We would reach for FBX when you need a static modeled asset, a straightforward hierarchy, and a handoff that is easy to inspect. It is the conservative choice when the Houdini scene needs geometry to become a collision object, a cloth source, or a rigid-body piece.
Use Alembic when the asset already carries changing geometry or animation that Houdini needs to evaluate over time. Alembic is designed around baked geometry sequences, which makes it the natural candidate for deforming surfaces and animated handoff caches. [1]
Treat Alembic attributes as something to test, not promise. Reports from Blender-oriented Alembic workflows indicate that point attributes may not always survive every interchange route intact, but direct evidence for the Modo-to-Houdini path is not established. [1]
USD fits a larger scene pipeline where geometry, scene structure, and look-development information need to circulate among multiple departments or applications. It is not a shortcut around preparation, though. You still need to verify transforms, geometry, paths, and the attributes your Houdini network expects.
No dedicated Modo-to-Houdini plugin is documented to automate this work. The handoff relies on standard interchange formats, so we would avoid building a pipeline around an assumed one-click export and instead keep a small validation scene for each format. [11]
Separate render detail from simulation geometry
The dense bevels, micro-panels, and subdivision-ready topology that make a Modo hero asset render well can make a Houdini simulation slow or unstable. Large polygon counts raise the computational burden, so reduce the geometry that the solver actually needs. [4]
Bring the render mesh into Houdini, but create or derive a lower-resolution simulation representation when the deformation does not need every visible edge. A cloth cape can simulate on a simpler surface. A rigid prop can collide through a cleaner proxy volume.
Houdini provides PolyReduce and Remesh nodes for this stage. PolyReduce helps remove unnecessary polygons, while Remesh can create a more even mesh distribution when irregular source topology would make downstream processing difficult. [4]
Keep the high-resolution model available as the render surface and use the low-resolution mesh to drive the simulation where appropriate. This division lets you preserve modeled detail while directing solver resources toward the motion that viewers will actually perceive.
There is no published Modo-specific study that maps one topology pattern to a precise Houdini simulation result. Treat clean topology as a production habit, then validate the mesh in the solver you intend to use instead of assuming the modeling application guarantees success.
Build the mesh the solver needs
Rigid bodies, cloth, fluids, and finite-element deformation do not ask for identical input geometry. The shared requirement is clean, prepared surfaces with predictable normals, UVs where shading needs them, and any needed attributes mapped deliberately into Houdini.
For FEM work, Houdini’s finite-element solver requires tetrahedral meshes. A surface model alone is not the final simulation representation, so plan to generate or prepare the tetrahedral volume Houdini needs for deformable solids.
A lower-resolution embedded mesh can improve FEM efficiency while the higher-resolution object remains available for visible detail. Build the simple internal or simulation mesh first, then use the high-resolution model for the final appearance and deformation transfer.
Do not invent export presets for cloth, fluids, or rigid bodies based on format names alone. Detailed Modo-to-Houdini export settings tailored to individual solver types are not documented, so consult the requirements of the specific Houdini solver before committing the asset structure.
Check normals, UVs, and material boundaries
A flipped normal can turn a collision shell inside out, produce black or missing faces in the viewport, or make a surface behave unexpectedly when you inspect it. Check face orientation after import, especially on mirrored, booleaned, or manually repaired Modo meshes. [6]
UVs also deserve a quick inspection even if the immediate job is simulation. You may need the same imported asset for texture projection, render look development, attribute masks, or transferring the final simulated deformation back to the render mesh.
Keep material boundaries and named parts organized when the simulation needs separate behavior. A garment may need different cloth settings by panel, and a mechanical assembly may need individual rigid pieces. The exact mapping method depends on the Houdini network, so confirm the imported groups and attributes.
We would use simple, readable names for object parts before export, then check those names in Houdini immediately. A clean naming pass costs little in Modo and can prevent confusion once an imported asset becomes a network of collision, render, proxy, and cached nodes.
Bake Modo’s procedural appearance
Modo procedural textures and Enhance:modo textures cannot be exported as live procedural shading networks. If the material depends on them, bake the result into maps on the mesh before it leaves Modo.
Bake the channels Houdini or your renderer will need, such as base color, roughness, normal information, masks, or displacement-related data where the asset setup calls for them. The exact map set comes from the Modo material and the Houdini shading network, not the geometry format.
Use relative texture paths whenever the pipeline permits it. Absolute paths are a frequent reason a scene looks correct on one workstation but loads with missing textures or incorrect materials elsewhere. [9]
Open the imported Houdini scene from the intended project location and confirm every texture resolves there. Do not wait until rendering or cache submission to find path problems, because a missing map can obscure whether the issue is shading, UVs, or the transfer itself.
Import, inspect, and make one solver test
In Houdini, inspect the imported asset before connecting it to a full simulation network. Look at dimensions, orientation, normals, topology density, part names, UVs, materials, and any attributes the setup needs.
Make a minimal test appropriate to the asset. For a rigid prop, test collision and rotation. For cloth, test whether the surface drapes and collides at the expected scale. For a deforming object, test whether the intended geometry sequence arrives and updates.
This is where you find format-specific losses. If an Alembic file carries the geometry but misses an attribute you expected, switch to an explicit attribute reconstruction step or test another interchange format before the shot depends on it.
Do not plan around a fixed export-import duration. No documented timing covers complex Modo-to-Houdini transfers, and the result varies with asset complexity, file format, application versions, hardware, and pipeline setup. Benchmark your own representative asset.
Cache the simulation and protect the dependencies
A Houdini simulation is only portable when the cache files, file paths, and software assumptions remain available. Missing caches, broken paths, and mismatched versions are established causes of Houdini renders returning differently from the working scene. [9]
Set the cache location before launching a long simulation, and keep it inside the project structure that will travel with the job. Confirm that the Houdini scene references the intended cache sequence, not a temporary directory or a machine-specific absolute path.
After caching, reopen the Houdini scene and verify that it can load the result without relying on unsaved viewport state. Then check the render-facing geometry, materials, and texture paths again, because a successful simulation cache does not guarantee a complete render handoff. [9]
Record the Modo and Houdini versions used for the test asset, the chosen format, unit convention, axis correction, and any attribute workarounds. With no specialized automation tool documented for this path, that short record becomes the repeatable part of your pipeline.
Frequently Asked Questions
How do I export assets from Modo to Houdini for simulation?
Export assets using standard interchange formats such as FBX for static geometry, Alembic for animated or deforming geometry, and USD for complex scene interoperability. Before exporting, apply all transforms in Modo to freeze the model’s position, rotation, and scale. After import, verify orientation and scale in Houdini to ensure correct simulation behavior.
What file formats work best for Modo to Houdini asset transfer?
FBX is the most broadly supported format for static assets and simple hierarchies, making it a conservative choice for simulation sources like collision objects. Alembic is preferred for animated or changing geometry, as it handles baked geometry sequences well. USD is suitable for pipelines requiring wider scene and look-development interoperability but still requires careful validation.
How to maintain correct scale when exporting from Modo to Houdini?
Houdini treats one unit as one meter by default, so establish and document what one Modo unit represents before export. Apply any necessary scale corrections deliberately during export or import, then confirm the asset’s real-world dimensions in Houdini. Testing with a known-size reference object alongside the asset helps detect scale mismatches early.
How to prepare Modo models for Houdini simulation?
Before export, bake any procedural or Enhance:modo textures because they do not transfer as procedural networks. Freeze all transforms to avoid unintended scale or rotation issues. Use a low-resolution mesh for simulation purposes, reducing polygon count with Houdini’s PolyReduce or Remesh nodes after import to improve solver performance and stability.
What are the best practices for exporting simulation assets from Modo?
Apply all transforms and verify orientation since Modo uses a Y-up system while Houdini expects Z-up. Export a small test asset with clear orientation markers to check axis alignment. Separate high-resolution render geometry from low-resolution simulation proxies, and avoid relying on automated plugins since none are documented for this workflow. Always test one representative asset before committing to a full production export.
How we researched this
This article was assembled from 11 cited references.
Nothing here is based on hands-on testing. Where a figure or finding appears, it belongs to the source cited beside it, and the writing says so rather than implying otherwise. Every source is listed below so you can check it.
Sources
- Exporting particles from Houdini to Blender using an Alembic (.abc) - Other Software - Blender Artists Community
- How Unreal Engine and Houdini power the VFX of Surviving Earth
- From Houdini · Auddomate Docs
- Render with a large number of polygons
- How to generate floor plans and cross-sections from Houdini|smioito
- Houdini to Unreal Handoff Checklist | Hive
- Best Practices Exporting Models from Blender
- How to Import and Use Megascans Assets in Houdini Without Plugins, Artivoxa, 3D Assets Library & Courses
- Houdini Render Came Back Different: Missing Caches, Paths and Versions |
- Changing the look of cloth
- Modo Interoperability: CAD, FBX, glTF, VR | CAD Interop
Related Articles
Blender Project Setup for Rendering: Organize and Optimize
Learn how to set up a Blender project for rendering with proper file organization, scale, render engine choice, and output settings for efficient
Bake Normal and Displacement Maps from High Poly Sculpts
Learn how to bake normal and displacement maps from high poly sculpts with software-agnostic tips for topology, cages, UVs, and texture resolution.
Color Grading Setup in Cinema 4D Renders: A Practical Guide
Learn how to set up color grading in Cinema 4D renders using linear workflow, ACEScg, and OpenEXR for predictable, high-quality results.
Blender Asset Naming Conventions for Organized Projects
Learn Blender asset naming conventions to keep files, datablocks, and collections organized for efficient project workflows.