
Blender Ocean Modifier Settings for Realistic Waves
Learn Blender ocean modifier settings and water shader tips to create realistic ocean waves and animations with proper lighting and materials.
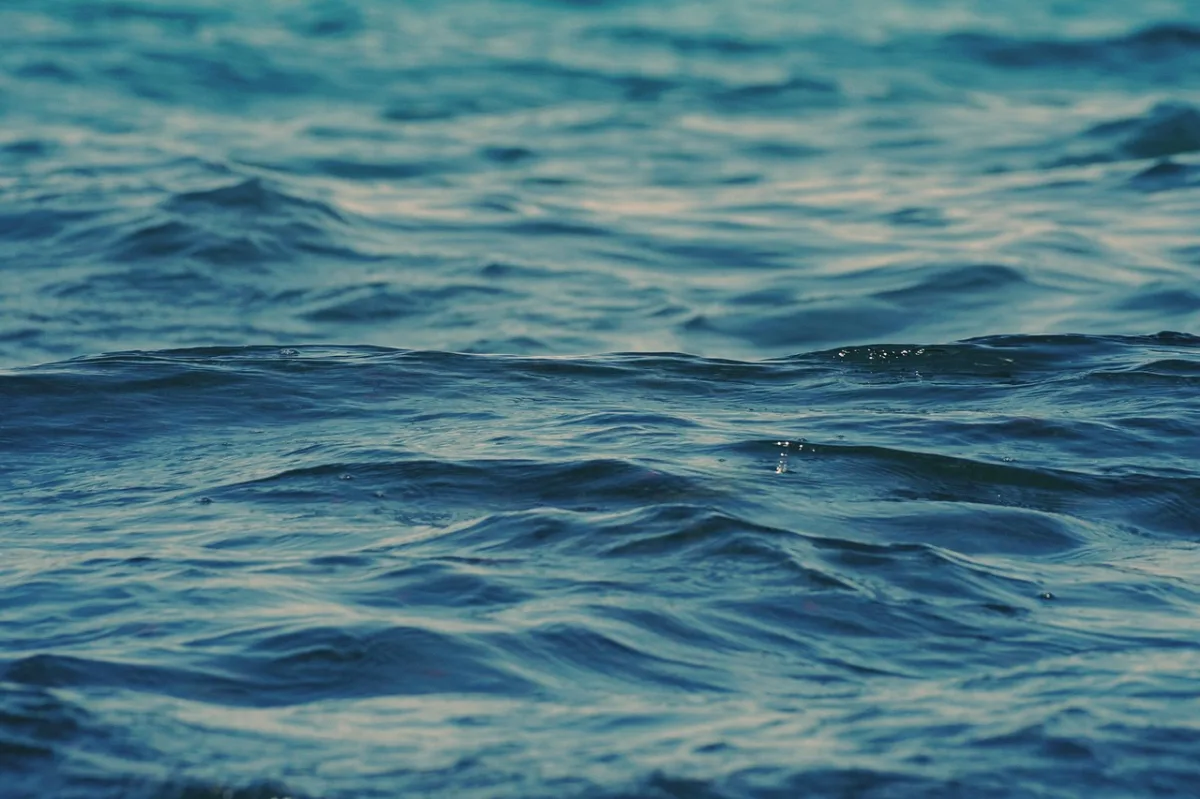
Photo: Kranich17 via Pixabay
Add the ocean surface
A flat plane with a blue material reads as colored plastic the moment it reaches the horizon. In Blender 3.0, begin with a plane large enough to cover the camera view, then add the Ocean Modifier from the Modifiers tab. [1]
Use the modifier’s Generate option so Blender 3.0 creates a mesh grid matched to the simulation data. That gives the surface enough geometry for the displacement to form wave peaks, troughs, and the small highlights that make water feel dimensional. [1]
Keep the plane’s scale understandable before judging the result. The Ocean Modifier’s Scale value starts at 1.0, but it only makes sense against the size of your vessel, shoreline, camera distance, and any object meant to sit in the water. [1]
We would build the ocean as its own object from the start. It keeps the broad water surface separate from boats, rocks, and foreground fluid effects, which makes it easier to adjust the sea without damaging the rest of the scene.
Set the wave scale before adding detail
Set Ocean Modifier Resolution to about 8 for a starting balance between visible wave detail and scene performance. Raise it only when your camera can resolve the added surface structure, particularly in a low, close-to-water shot. [1]
Set Wind Velocity near 10 m/s for a moderate sea, then use Alignment between 0.5 and 0.7 to establish a coherent prevailing wave direction. These settings give the surface a readable flow instead of an evenly noisy pattern. [1]
Set Choppiness between 2 and 3 to sharpen the wave crests. Below that range, the water can look too smooth for an exposed ocean; above it, peaks can become aggressively pointed and distract from the scale of the scene. [1]
Treat these as a starting state, not a universal ocean prescription. Published Blender-focused guidance does not establish how a particular season, coastline, water depth, or geographic location should translate into Ocean Modifier values, so consult oceanographic and environmental literature when the scene must represent a real place.
Match the ocean to the camera
Look through the final camera before increasing Resolution or Choppiness. A distant horizon needs broad directional shape and a convincing reflection field, while a camera inches above the water exposes mesh detail, highlight breakup, and repeating wave patterns.
Keep the horizon clean. If the plane’s edge can enter frame, make the ocean large enough that the camera never sees it, since a visible boundary immediately breaks the illusion of open water.
The Ocean Modifier is built for large-scale ocean waves and foam, not for precise local interactions around a hull or a person. Use it to establish the body of water first, then decide whether the shot needs a separate effect near the camera.
Build the water shader around transmission
In Blender 3.0’s Shader Editor, use a Principled BSDF for the ocean material. Set Transmission to 1.0, keep Roughness near 0.1, use a subtle blue or green Base Color, and set IOR to 1.33 for water. [3]
The low Roughness is there to preserve readable reflections and refractions. Excessive roughness frosts the surface, turning an ocean into a milky sheet that loses the bright broken reflections expected across moving water. [3]
Do not leave IOR at Blender’s 1.45 default when you are building water. That value is identified as a common source of incorrect water behavior; 1.33 is the stated water value. [3]
Keep the Base Color restrained. The surface color should have room to come from the sky, sun, reflection angle, and the darker volume beneath the water, rather than relying on an intense blue shader to carry the whole image.
Give the water something to reflect
Load an HDRI into Blender 3.0’s World shader as an Environment Texture, then rotate it until the bright area and sun direction support the composition. An HDRI supplies the sky reflections that keep the ocean from appearing dull and unlit. [6]
Adjust Background Strength and exposure until the water and sky sit together. Water reflects its environment, so a dark, empty, or poorly placed environment will remain visible in the surface regardless of how carefully you tune the Principled BSDF.
For a clear directional shadow, use an HDRI with an unclipped sun disc or add a Blender 3.0 Sun lamp. HDRI Hub specifically recommends those routes when direct sun shadows matter in an HDRI-lit scene. [6]
CGEES.COM lists CC0 HDRI skies up to 24K for Blender and other 3D applications. High-resolution environment maps can help when a sharp sun reflection or detailed horizon occupies a large part of the frame. [8]
Add controlled light when the HDRI is not enough
An HDRI gives the ocean an environment, but it does not always put the key light exactly where the image needs it. Add a Sun lamp when you need to control the direction, strength, and shadow line independently of the background sky. [6]
Use key, fill, and rim lighting only when the scene needs artistic separation beyond the HDRI. A key establishes the dominant light, fill controls the dark side, and rim light can separate a boat, figure, or foreground rock from the horizon. [7]
We would start with the HDRI and one Sun lamp, not a full three-light rig. Too many controlled lights can create reflection directions that no longer feel connected to one sky, especially on a wide ocean surface.
Put depth below the surface
Add a dark floor beneath the ocean where the camera can see through or into the water. A missing dark underlayer removes depth cues and often makes transmissive water look like a thin, bright sheet floating over the scene. [5]
The floor does not need to become visible as a literal seabed in every shot. Its job is to give transmitted light and refraction a darker field, allowing wave crests, shallows, and reflection angles to read against something other than an empty world.
Keep this depth treatment tied to the composition. A near-camera water shot may need the floor closer to influence the visible surface, while a horizon view benefits chiefly from the sky reflection and broad wave silhouette.
Enable caustics only when the shot can use them
In Blender 3.0 Cycles, enable Shadow Caustics in the light settings and the water material properties when the scene needs refracted light patterns. Caustics are most relevant when light passes through moving water onto a surface beneath it. [4]
Animate the Ocean Modifier’s Time value so the water movement changes the caustic pattern as well. Static caustics beneath an animated surface can make the water and the lighting feel disconnected. [4]
Caustics can increase noise in transmissive renders. Raise render samples or enable denoising when that noise appears, rather than compensating by making the material rougher and losing the clarity of the water surface. [4]
Animate the sea before simulating splash detail
Keyframe the Ocean Modifier’s Time parameter to move the wave pattern through the mesh. This gives Blender 3.0’s generated ocean its basic animation without manually sculpting or displacing individual waves. [1]
Check the motion at the final frame rate and camera angle. A wave pattern can look convincing in a still frame but reveal its procedural nature once the highlights travel across the surface or a fixed object crosses the waterline.
Available Blender guidance supports the generated Ocean Modifier mesh, but does not establish a manual sculpting or topology workflow for improving it. We would avoid hand-sculpting the open sea unless a specific shot requires an art-directed local shape.
Choose a local-fluid tool only for local events
Use Blender 3.0’s Ocean Modifier for the large water body, wave direction, and broad foam behavior. It is the built-in tool aimed at ocean-scale motion, but it has limited ability to produce detailed fluid interaction at small scale.
Blender 3.0 Mantaflow handles liquids and gases, making it an option for fluid simulation inside Blender. The available comparison characterizes it as less intuitive and less realistic than FLIP Fluids for liquid work.
FLIP Fluids, a third-party Blender add-on, targets advanced small- and medium-scale liquid effects including whitewater, bubbles, and spray. It requires purchase, but it is the stronger fit when a close shot depends on water striking geometry or throwing spray.
Combining the Ocean Modifier with FLIP Fluids can produce a broad ocean plus detailed local interaction, but it is a complex setup. We would use that combination only when the camera clearly sees the wake, impact, or breaking water that the Ocean Modifier cannot provide on its own.
Check the failures that make water look fake
If the ocean looks gray, lifeless, or unusually dull, inspect the World shader before rebuilding the material. Missing sky and reflective elements are a documented cause of flat water, because the surface has little useful environment to reflect. [5]
If the surface looks like frosted glass, lower Roughness toward the stated 0.1 starting point. If it bends light oddly, confirm IOR is 1.33, then check whether a dark floor or other depth cue is missing below the water. [3]
If the render becomes speckled around bright refracted areas, address sampling and denoising before changing the material. Caustics and transmissive surfaces can create noise, especially once animated wave geometry begins directing light across the scene. [4]
Keep the final check tied to the shot: a convincing ocean has directional wave structure, a reflection of a believable sky, a surface that transmits and refracts light, and enough darkness below it to suggest volume.
Frequently Asked Questions
How do I set up the Ocean Modifier in Blender for realistic waves?
Start by adding a large plane mesh to cover the camera view, then apply the Ocean Modifier from the Modifiers tab. Enable the Generate option to create a mesh grid that matches the simulation data, providing enough geometry for wave peaks and troughs. Adjust the Scale value based on the size of your scene elements, such as vessels or shorelines, to keep proportions consistent.
What are the best Ocean Modifier settings for a natural sea look in Blender?
A good starting point is Resolution 8 for a balance between detail and performance, Wind Velocity around 10 m/s for moderate wave intensity, Alignment between 0.5 and 0.7 to create a coherent wave direction, and Choppiness between 2 and 3 to sharpen wave crests without making them overly pointed. These settings help produce a readable and natural ocean surface.
How can I animate ocean waves using the Ocean Modifier in Blender?
Animate the waves by keyframing the Ocean Modifier’s Time parameter. Changing this value over time moves the wave pattern and simulates ocean motion. To reduce noise from transmissive caustics during rendering, increase render samples or use denoising features.
How do I create a realistic water shader for the ocean in Blender?
Use a Principled BSDF shader with Transmission set to 1.0 for transparency, Roughness near 0.1 to maintain clear reflections, Base Color in subtle blue or green tones, and an Index of Refraction (IOR) of 1.33 to match real water. Avoid intense colors and excessive roughness to keep the surface looking natural and reflective.
What lighting and HDRI settings improve ocean realism in Blender?
Load a high-resolution HDRI environment texture into the World shader and rotate it to position the bright area and sun direction appropriately. This provides realistic sky reflections on the water surface. For sharper shadows, use an HDRI with an unclipped sun disc or add a Sun lamp. Adjust Background Strength and exposure to balance the brightness between water and sky.
How we researched this
This article was assembled from 8 cited references.
Nothing here is based on hands-on testing. Where a figure or finding appears, it belongs to the source cited beside it, and the writing says so rather than implying otherwise. Every source is listed below so you can check it.
Sources
- Blender Ocean Modifier Tutorial - LEARN 3D TUTORIALS
- Realistic Ocean in Blender : 10 Steps (with Pictures) - Instructables
- Blender water material: glass-style water with absorption
- Caustics: what they are and how to render them in Blender
- How to Make Water in Blender, Blender Tutoring
- Blender HDRI Lighting: Sun, Shadows & Lighting Only | HDRI Hub
- How to use key, fill and rim lighting in 3D art
- Free HDRI Maps & HDRI Skies | CC0 Downloads up to 24K for Blender & More, CGEES.COM
Related Articles
Realistic Water in Blender
Learn the best techniques for creating realistic water in Blender using Ocean Modifier, fluid sims, and layered shading for stunning results.
Using Nodes for Shading in Blender: A Practical Guide
Learn how to use nodes for shading in Blender with tips on Principled BSDF, texture color spaces, and Cycles vs Eevee differences.
Realistic Fire Effect in Blender
Learn how to create a realistic fire effect in Blender using Mantaflow, shaders, lighting, and simulation tips for photorealistic results.
How to Animate Objects in Blender: Step-by-Step Guide
Learn how to animate objects in Blender with keyframes, poses, and timing adjustments for smooth motion in this step-by-step tutorial.