Mastering Realism: Enhancing 3D Renders with Variable Surface Roughness in Blender 4.3
- Authors
- Published on
- Published on
In this riveting episode by Christopher 3D, the team delves into the intricate world of Blender 4.3's Principled BSDF, uncovering a glaring gap in its capabilities when it comes to handling variable surface roughness. Ah, the devil is in the details, isn't it? They embark on a journey to unlock the secrets of realism in architectural scenes, where the play of light on surfaces can make or break the illusion. It's like trying to polish a diamond with a brick - challenging, but oh so rewarding when done right.
With the finesse of a maestro, Christopher 3D demonstrates how surface roughness dictates the way light scatters and dances on different materials. It's a delicate balance, like a tightrope walker navigating between glossiness and roughness to create the perfect visual symphony. By tweaking roughness values with precision, they manage to breathe life into their rendered scenes, transforming mundane surfaces into dynamic, lifelike masterpieces.
But wait, there's more! The team unveils a groundbreaking technique using RGB curves and layer weight functions to mimic real-world surface behavior based on viewing angles. It's like painting with light, sculpting reflections that mirror the complexities of the world around us. This newfound ability to adjust roughness dynamically opens up a Pandora's box of possibilities, allowing for unparalleled levels of customization and realism in 3D rendering. It's a game-changer, a paradigm shift in the way we perceive and interact with virtual environments.
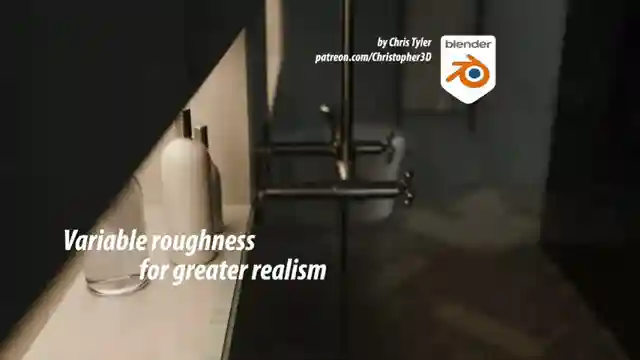
Image copyright Youtube

Image copyright Youtube
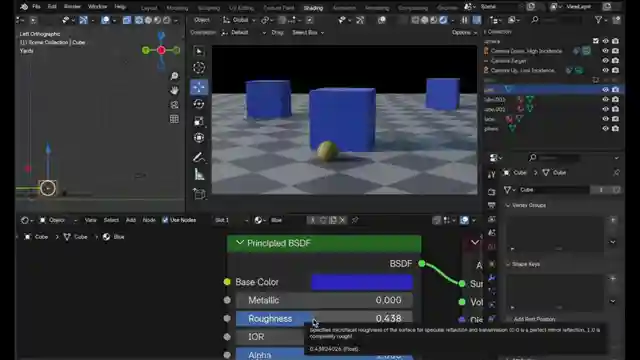
Image copyright Youtube
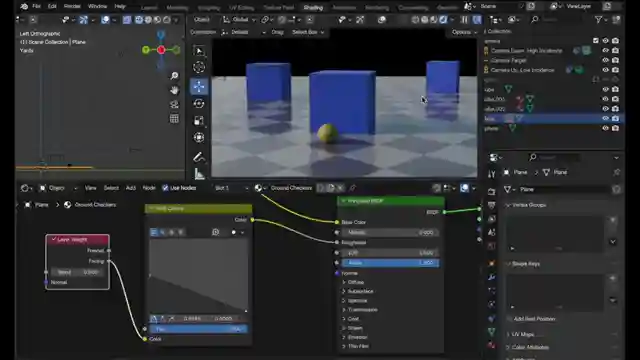
Image copyright Youtube
Watch Variable Roughness: The Key to More Believable Materials using Layer Weight. on Youtube
Viewer Reactions for Variable Roughness: The Key to More Believable Materials using Layer Weight.
Positive feedback on the informative and well-explained content
Appreciation for the practical examples provided
Recognition of the importance of the effect discussed in the video
Gratitude for the knowledge shared and its application in future projects
Comments on the impact of the video on improving renderings
Requests for more coverage on similar topics
Comparison between using RGB Curves Node and Float Curve Node
Questions about the benefits of mixing in a second BSDF shader versus adjusting the output range of the RGB Curves node
Mention of anisotropy and its application in certain scenarios
Comments on the video being top-notch and providing valuable insights
Related Articles
Master Blender Workflow: Bevel Modifier, Limited Dissolve & Object Changes
Discover workflow efficiency tips in Blender! Learn about using the bevel modifier for angled edges, limited dissolve for bezier curves, and applying changes to multiple objects simultaneously. Master 3D modeling tricks for seamless design.
Mastering Direct Polygon Modeling: Retro Camera Tutorial
Discover the power of direct polygon modeling vs. subdivision surfaces in mechanical modeling with Christopher 3D. Learn how to import Adobe Illustrator profiles into Blender, tackle tessellation challenges, and master precision modeling techniques to create a stunning retro camera model.
Mastering UV Mapping for Design Precision
Learn how Christopher 3D's UV mapping technique establishes precise physical sizes for design work, ensuring uniform texel density and accurate printing outcomes.
Master UV Mapping in Blender: Tips for Precise Texture Application
Learn UV mapping in Blender with Christopher 3D: establish object sizes, apply checkerboard patterns, maintain texture consistency, project UVs, add seams for closed objects. Master precise mapping for professional design projects.