Mastering Nature Geometry Scattering with Precision
- Authors
- Published on
- Published on
In this riveting installment from Christopher 3D, the team delves into the intricate art of scattering nature geometry across surfaces using geometry nodes. A crucial point highlighted is the need for consistency in distribution levels between viewport and rendering, ensuring what you see is what you get. By strategically placing trees and rocks with distinct node setups, they lay the groundwork for a vibrant forest scene. The use of subcollections adds a touch of randomness and variety to the ecosystem they are crafting.
With a meticulous approach, the team navigates the geometry node editor to orchestrate the creation of a lush forest. By distributing random points on the surface and assigning tree instances, they bring the scene to life. Careful consideration is given to setting the center of collection instances accurately to maintain predictability in the layout. Adjusting density and scale parameters allows them to strike a balance between visual richness and system efficiency.
To preserve the original textures on surfaces, they deftly merge the original geometry with the propagated instances. The process involves duplicating geometry nodes to segregate the forest floor from the tree distribution, ensuring clarity in the workflow. By controlling density and weight maps based on painted guides, they dictate where instances populate, adding a layer of control and artistry to the natural landscape. The meticulous management of parameters within the geometry nodes streamlines the user experience, making the creation process more intuitive and efficient.
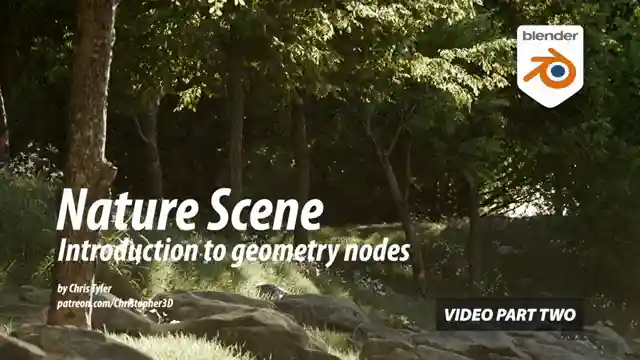
Image copyright Youtube
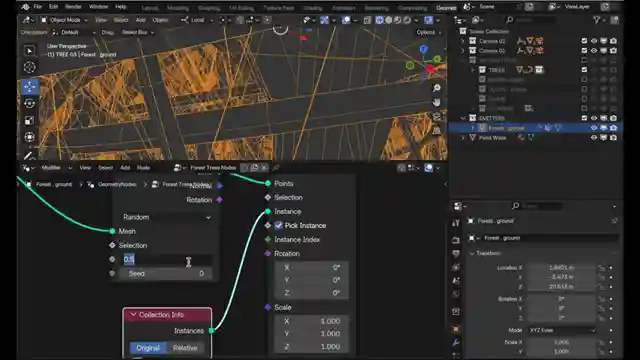
Image copyright Youtube
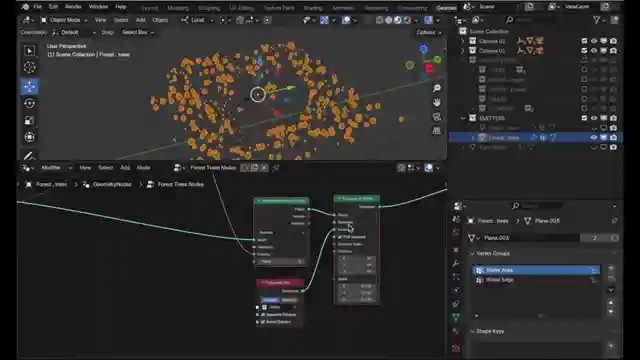
Image copyright Youtube
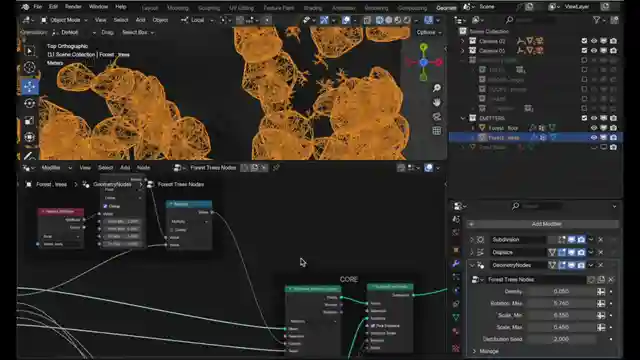
Image copyright Youtube
Watch Sculpt & Scatter: Nature Scene with Geometry Nodes (Part 2) on Youtube
Viewer Reactions for Sculpt & Scatter: Nature Scene with Geometry Nodes (Part 2)
Learner appreciates the detailed tutorial on geometry nodes
Request for more geometry node tutorials
Suggestion for optimizing viewport performance in Blender
Positive feedback on the tutorial and workflow shown
Tip on aligning rocks to normals in Blender
Compliments on the great tutorials
Appreciation for learning new things from the video
Encouragement for the content creator to continue
Tip on a quicker method for connecting nodes in Blender
Question about pronunciation in the video
Related Articles

Master Blender Workflow: Bevel Modifier, Limited Dissolve & Object Changes
Discover workflow efficiency tips in Blender! Learn about using the bevel modifier for angled edges, limited dissolve for bezier curves, and applying changes to multiple objects simultaneously. Master 3D modeling tricks for seamless design.

Mastering Direct Polygon Modeling: Retro Camera Tutorial
Discover the power of direct polygon modeling vs. subdivision surfaces in mechanical modeling with Christopher 3D. Learn how to import Adobe Illustrator profiles into Blender, tackle tessellation challenges, and master precision modeling techniques to create a stunning retro camera model.

Mastering UV Mapping for Design Precision
Learn how Christopher 3D's UV mapping technique establishes precise physical sizes for design work, ensuring uniform texel density and accurate printing outcomes.
Master UV Mapping in Blender: Tips for Precise Texture Application
Learn UV mapping in Blender with Christopher 3D: establish object sizes, apply checkerboard patterns, maintain texture consistency, project UVs, add seams for closed objects. Master precise mapping for professional design projects.