Mastering 3D Cap Design: Blender Tips for Contact Lens Accessories

- Authors
- Published on
- Published on
In this riveting episode from the Christopher 3D channel, the team delves into the intricate world of Blender to craft a cap for contact lenses. With the precision of a skilled craftsman, they meticulously guide viewers through the process of shaping, refining, and perfecting every aspect of this essential accessory. From separating geometry to adjusting angles with surgical precision, every step is a testament to their unwavering commitment to creating a flawless end product.
Utilizing a arsenal of tools like the bevel tool and knife tool, the team sculpts the cap with finesse, ensuring that every edge and contour is meticulously crafted to perfection. They tackle challenges such as overlapping geometry and scaling issues with the finesse of a seasoned artist, showcasing their ability to overcome obstacles with creativity and ingenuity. As they add intricate details and connection strips to the design, the cap begins to take shape, each element seamlessly integrating into the overall structure.
With a keen eye for detail and a relentless pursuit of excellence, the team aligns geometry loops and transitions polygons with precision, creating a harmonious flow throughout the design. The process of merging, aligning, and connecting various components underscores their dedication to achieving a cohesive and visually stunning result. Through their expertise and mastery of Blender, they transform a simple concept into a work of art, showcasing the power of creativity and technical skill in the world of 3D design.
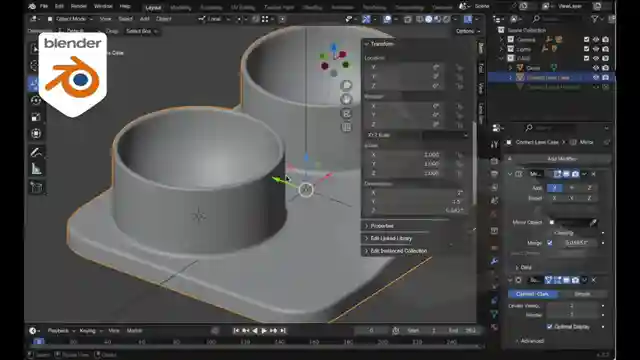
Image copyright Youtube
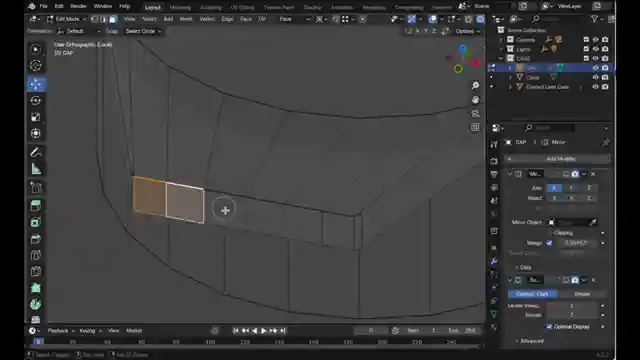
Image copyright Youtube
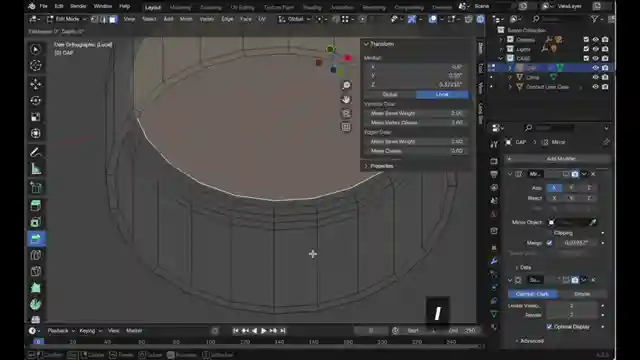
Image copyright Youtube
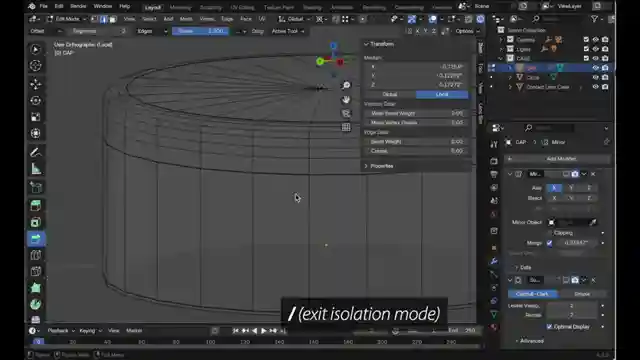
Image copyright Youtube
Watch Master 5 tools in Blender, part 2. Modeling the cap of the contact lens case. on Youtube
Viewer Reactions for Master 5 tools in Blender, part 2. Modeling the cap of the contact lens case.
Great content in the Blender space
Insightful videos
Related Articles

Master Blender Workflow: Bevel Modifier, Limited Dissolve & Object Changes
Discover workflow efficiency tips in Blender! Learn about using the bevel modifier for angled edges, limited dissolve for bezier curves, and applying changes to multiple objects simultaneously. Master 3D modeling tricks for seamless design.
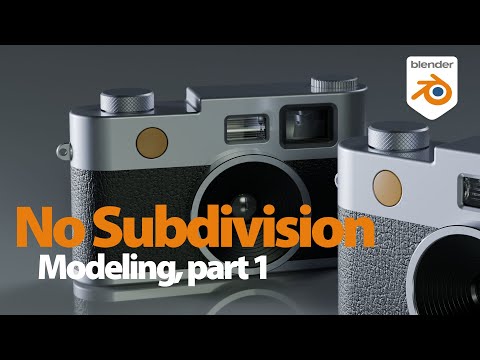
Mastering Direct Polygon Modeling: Retro Camera Tutorial
Discover the power of direct polygon modeling vs. subdivision surfaces in mechanical modeling with Christopher 3D. Learn how to import Adobe Illustrator profiles into Blender, tackle tessellation challenges, and master precision modeling techniques to create a stunning retro camera model.
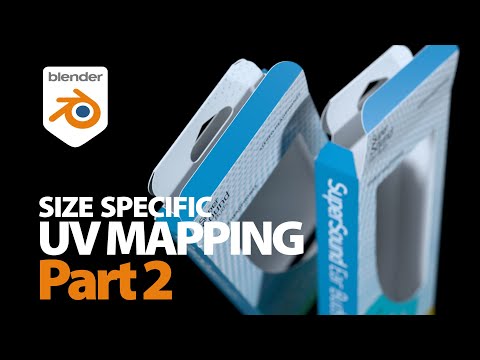
Mastering UV Mapping for Design Precision
Learn how Christopher 3D's UV mapping technique establishes precise physical sizes for design work, ensuring uniform texel density and accurate printing outcomes.
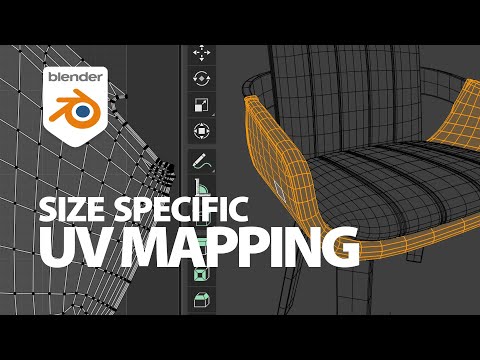
Master UV Mapping in Blender: Tips for Precise Texture Application
Learn UV mapping in Blender with Christopher 3D: establish object sizes, apply checkerboard patterns, maintain texture consistency, project UVs, add seams for closed objects. Master precise mapping for professional design projects.