Blender 4.4 Bump Map Node: Avoid Material Destruction with Filter Width Adjustment

- Authors
- Published on
- Published on
In this latest Blender 4.4 update, Christopher 3D delves into the treacherous waters of the bump map node, unveiling a new addition known as filter width. This seemingly innocuous variable, if mishandled, has the power to wreak havoc on your meticulously crafted materials, leaving you scratching your head in bewilderment. Christopher recounts a tale of creating a chair model and applying a leather texture, only to be met with bizarre renderings that defied all logic. What ensued was a rollercoaster of adjustments, from tweaking roughness to experimenting with different lighting setups, all in vain.
The culprit? None other than the elusive filter width set at a default value of 0.1, lurking in the shadows of the bump node. As Christopher discovered, this seemingly benign setting can turn your beautiful leather texture into a monstrosity of pixels. Through trial and error, he unearthed the solution: adjusting the filter width to 1.0, restoring sanity to his renders and salvaging the integrity of his materials. However, the plot thickens as he uncovers Blender's internal workings, revealing that version 4.3 had its own filter width preset at 1.0, unbeknownst to the user.
As Christopher navigates this minefield of bump mapping intricacies, he sheds light on the underlying purpose of the filter width variable. Designed to enhance bump mapping under specific lighting conditions, this feature aims to empower users in creating more realistic textures. While some models may weather the storm with the default 0.1 value, others, like Christopher's ill-fated chair, fall victim to its destructive potential. Armed with this newfound knowledge, he imparts a crucial lesson to his viewers: tread carefully, lest the filter width unleashes chaos upon your digital creations.
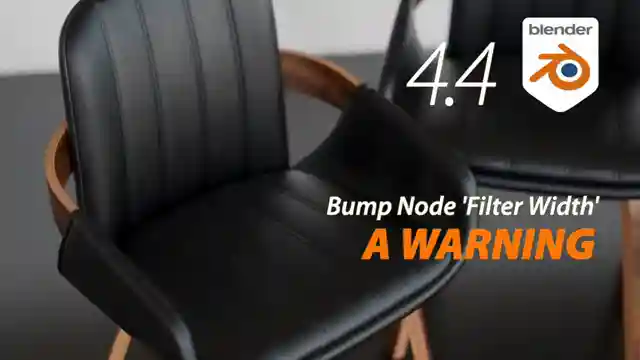
Image copyright Youtube
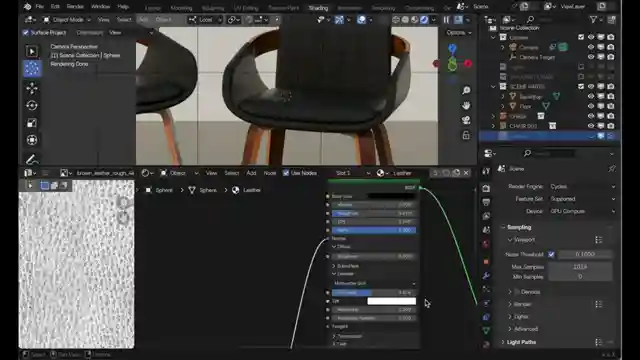
Image copyright Youtube
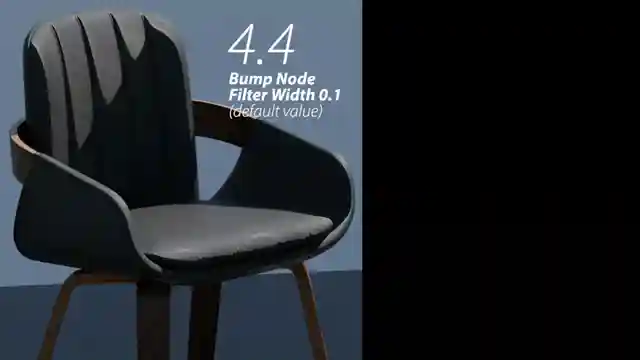
Image copyright Youtube
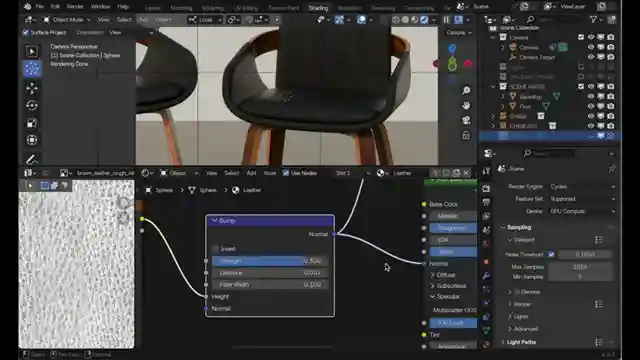
Image copyright Youtube
Watch Bump Map node Filter Width can mess your surfaces up! on Youtube
Viewer Reactions for Bump Map node Filter Width can mess your surfaces up!
Users appreciate the helpful tips and solutions shared in the video
Discussion on the impact of Filter Width on bump maps and reflections
Mention of issues with default values and parameter ranges in Blender
Differences between bump maps and roughness maps
Suggestions for adjusting strength and distance values for realistic results
Request for a video on new camera additions with OSL
Speculation on the behavior of bump maps and potential fixes
Reference to potential bug reports on GitHub
Comparison of bump map correction settings in material properties
Comparison to suede texture in the video
Related Articles

Master Blender Workflow: Bevel Modifier, Limited Dissolve & Object Changes
Discover workflow efficiency tips in Blender! Learn about using the bevel modifier for angled edges, limited dissolve for bezier curves, and applying changes to multiple objects simultaneously. Master 3D modeling tricks for seamless design.
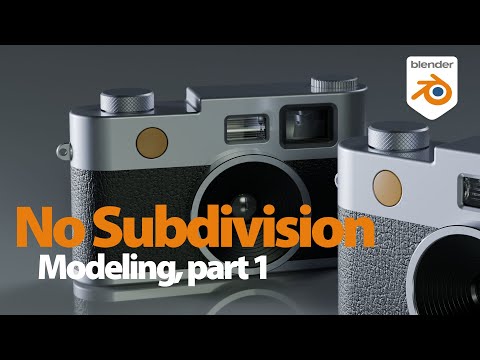
Mastering Direct Polygon Modeling: Retro Camera Tutorial
Discover the power of direct polygon modeling vs. subdivision surfaces in mechanical modeling with Christopher 3D. Learn how to import Adobe Illustrator profiles into Blender, tackle tessellation challenges, and master precision modeling techniques to create a stunning retro camera model.
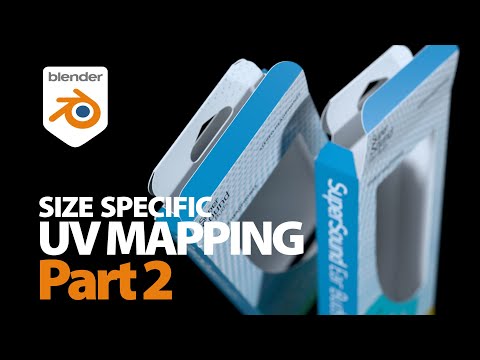
Mastering UV Mapping for Design Precision
Learn how Christopher 3D's UV mapping technique establishes precise physical sizes for design work, ensuring uniform texel density and accurate printing outcomes.
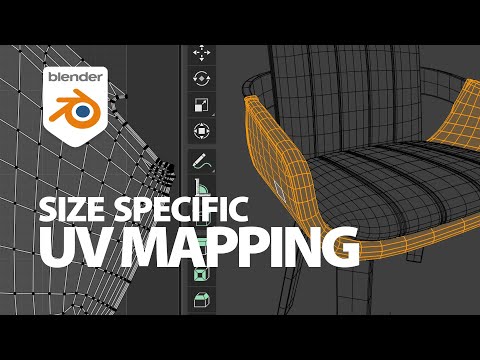
Master UV Mapping in Blender: Tips for Precise Texture Application
Learn UV mapping in Blender with Christopher 3D: establish object sizes, apply checkerboard patterns, maintain texture consistency, project UVs, add seams for closed objects. Master precise mapping for professional design projects.